
Setting up a location profile
Before you can roster group activities, a location profile is needed.1
Open location profiles
From the top menu bar, go to Maintenance → Location Profile.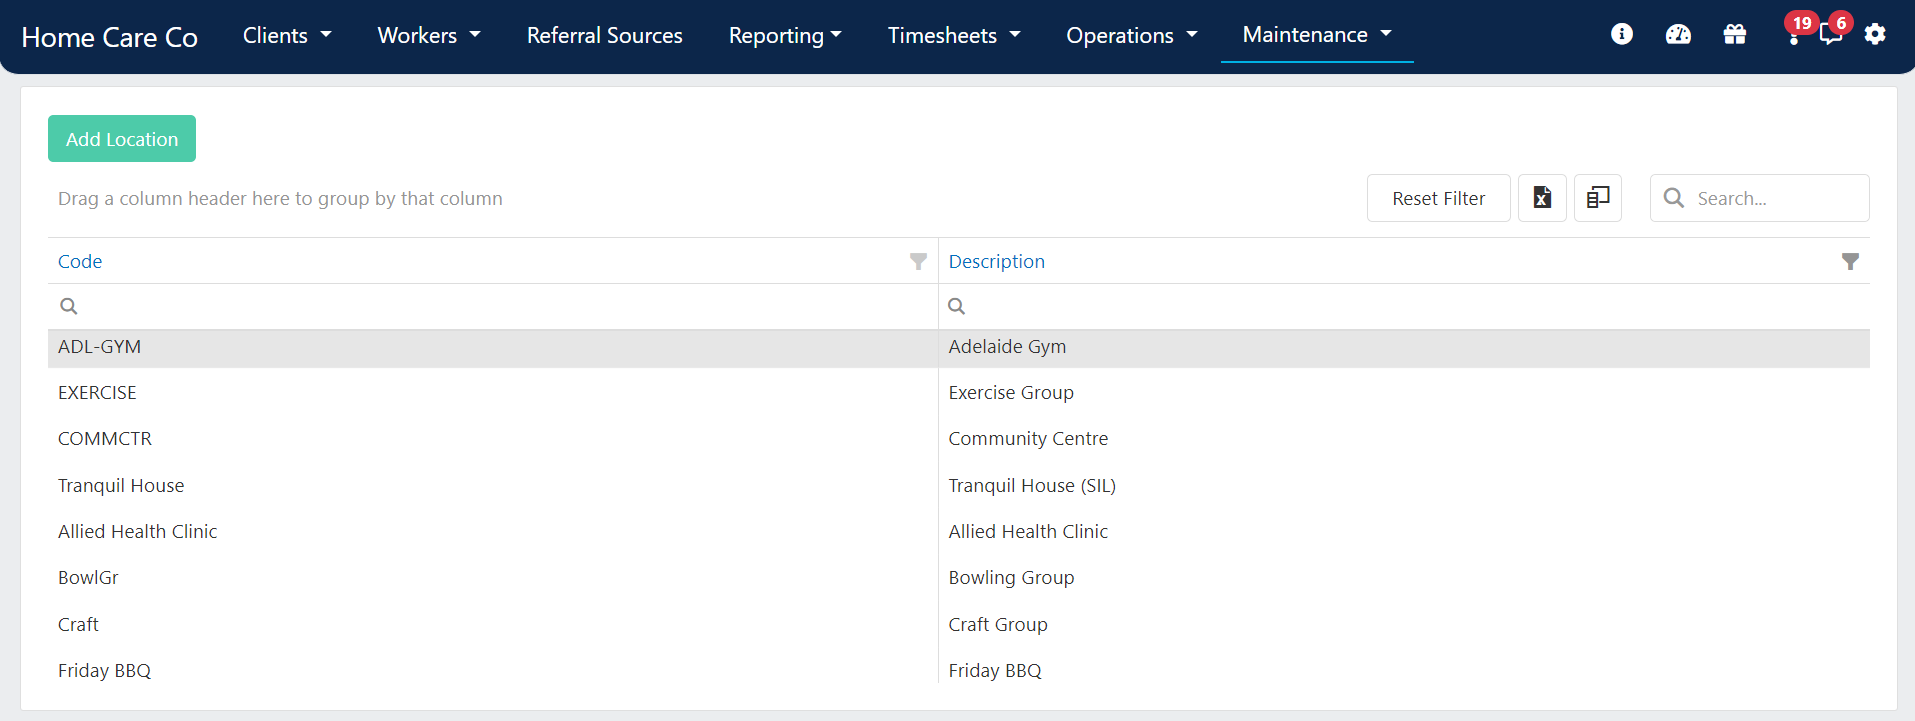
2
Create a new profile
Click Add Location, enter a Code (an abbreviation works well for easy identification) and Description, then click Save.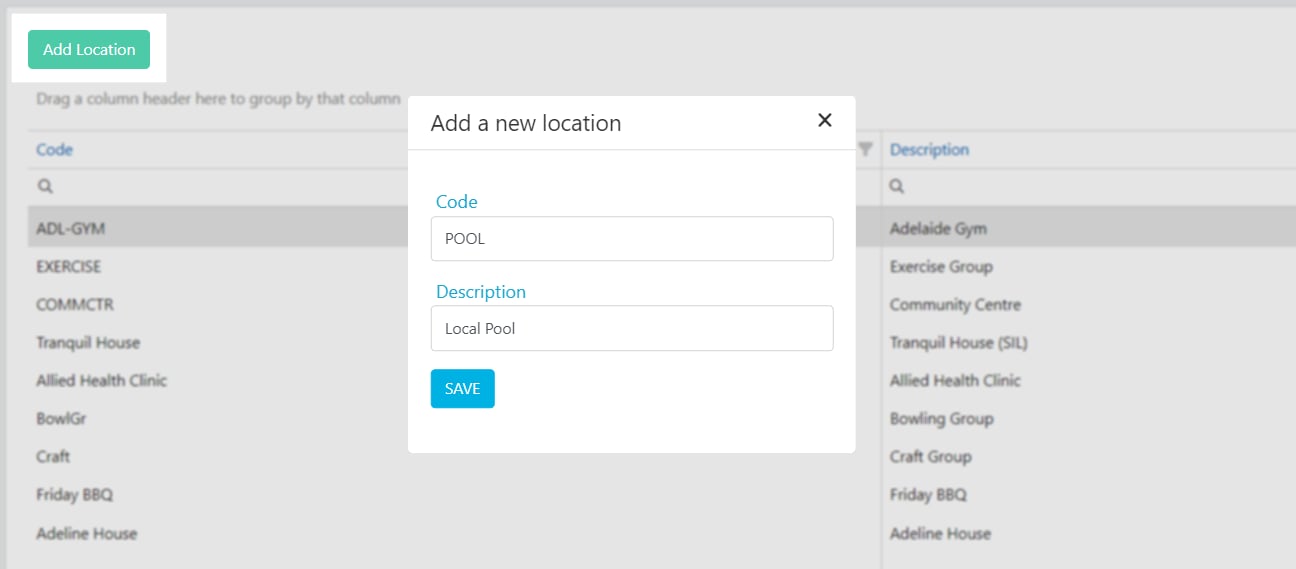
3
Add location details
Double-click the new profile to open it. Add the address, contact information, and upload an image if needed. Click Save.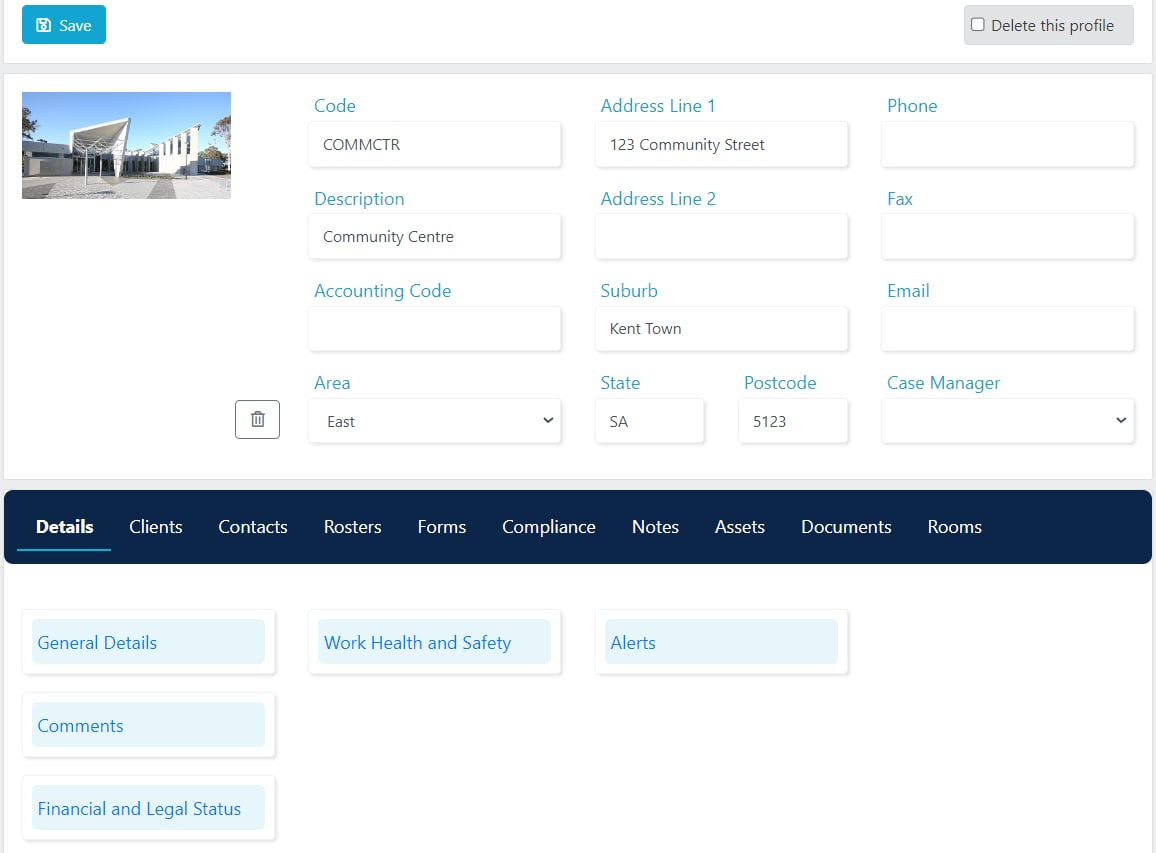
Location profile tabs
Location profile tabs
The location profile includes several tabs for additional information:
Creating a location roster
1
Open location rosters
From the menu bar, go to Operations → Location Roster.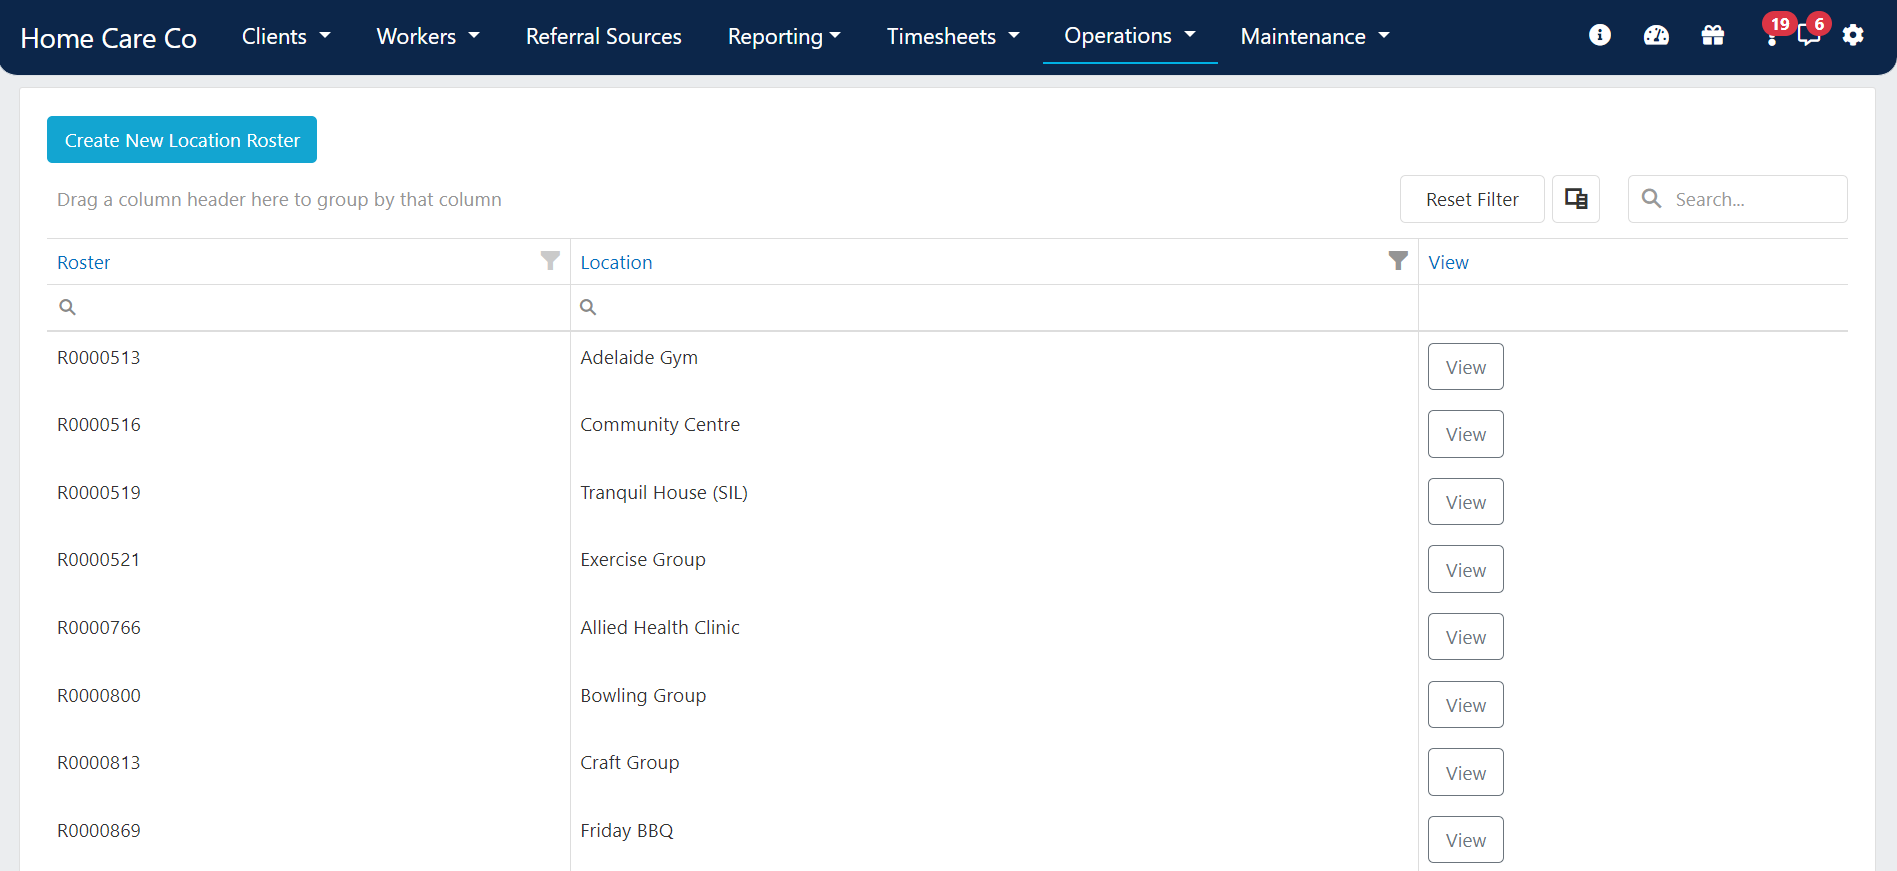
2
Create a new roster
Click Create New Location Roster, select the location profile from the list, and click Add. The roster appears in the list.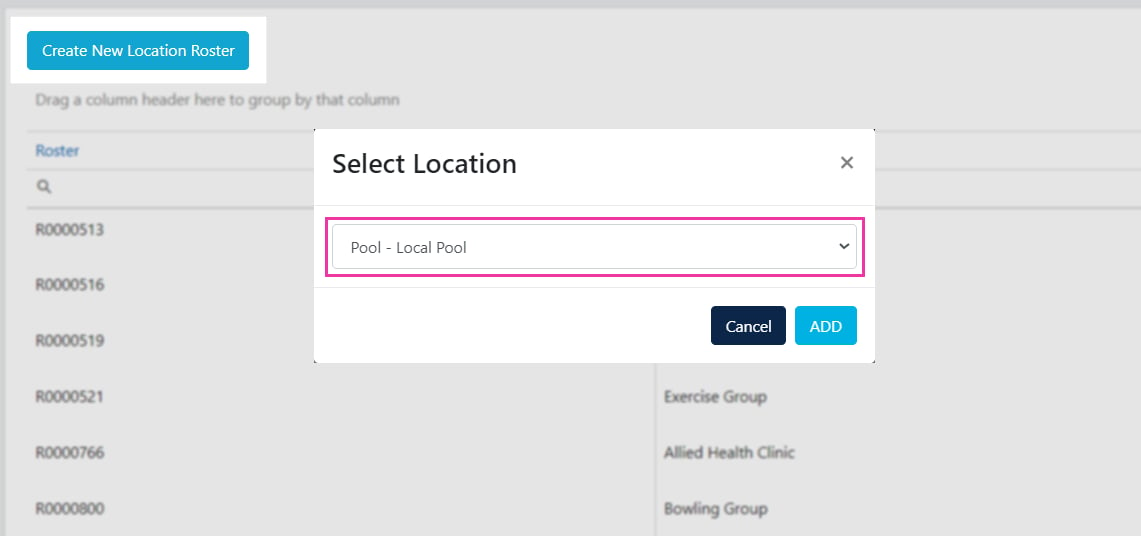
3
Open the roster
Click View to open the roster and access the calendar view.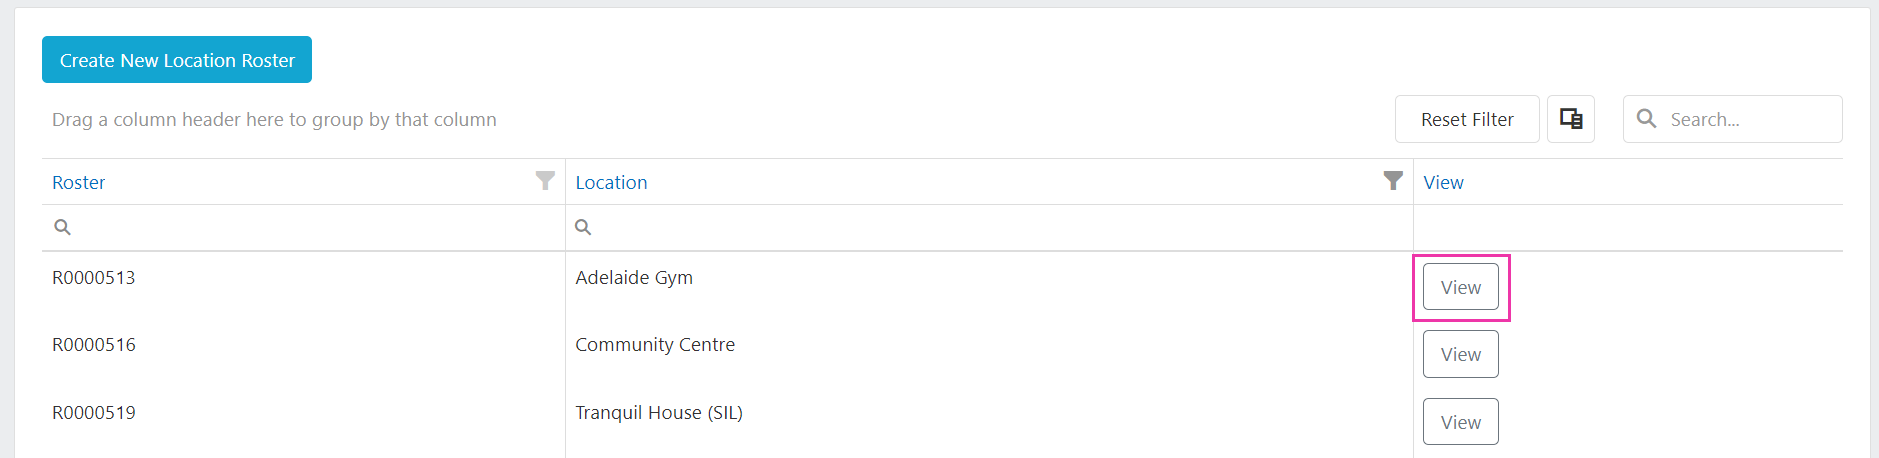
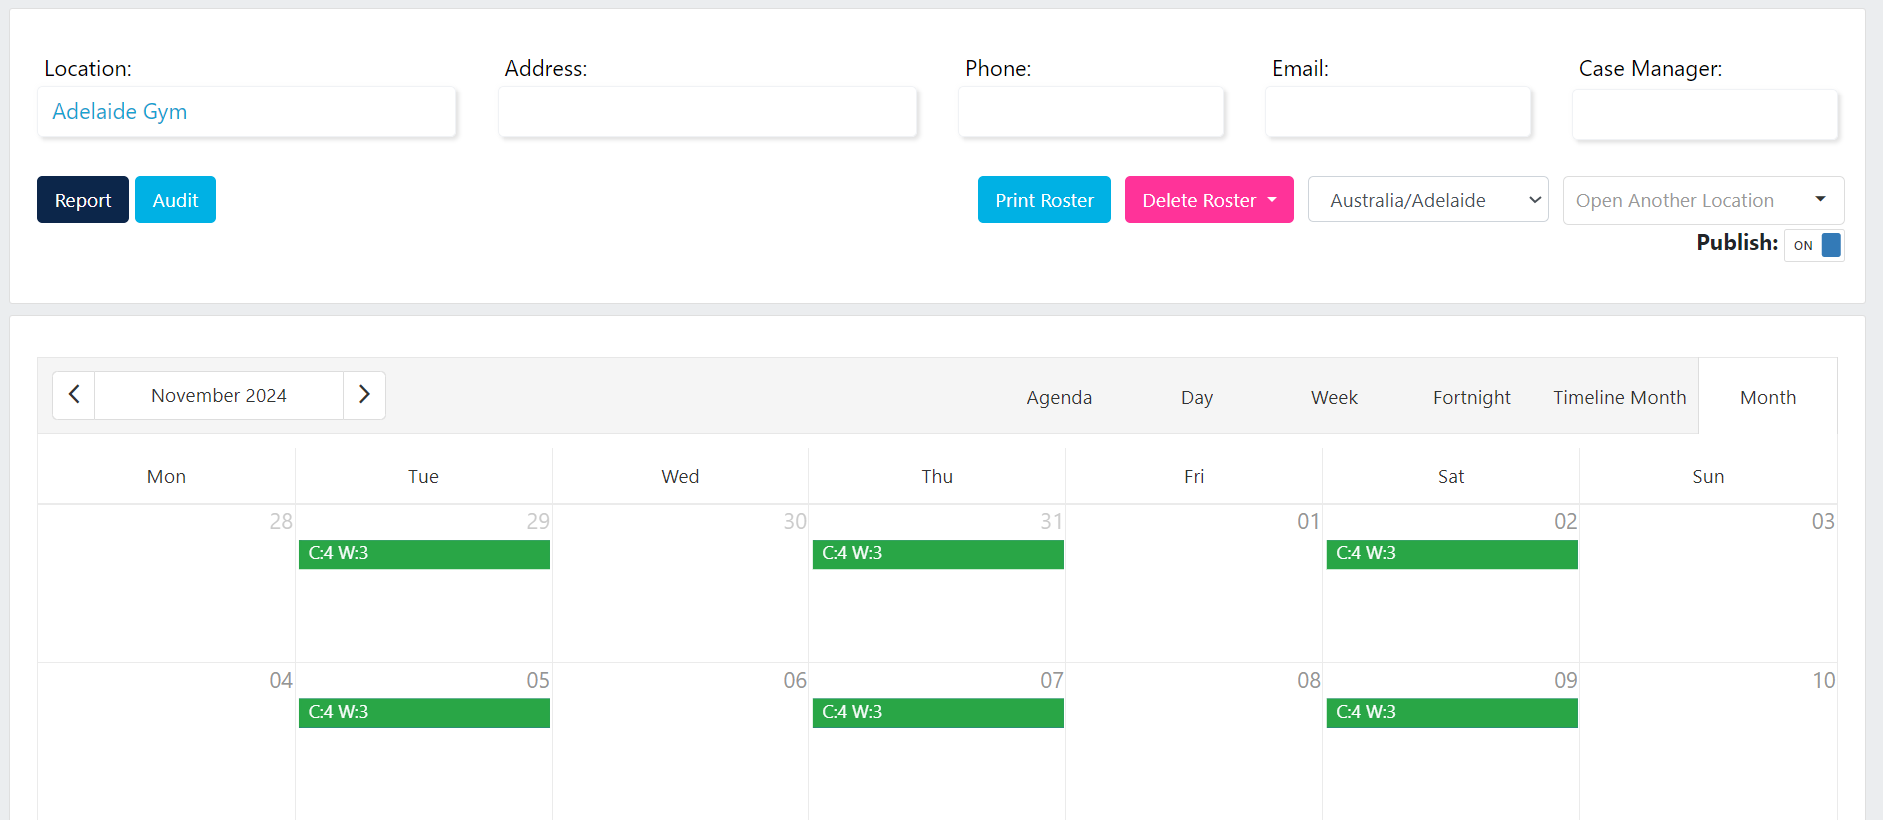
Display options
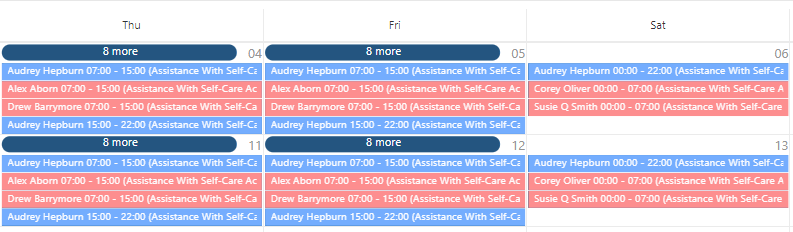
Location roster shifts have two display options, configurable under Settings → Rostering → Display → Location Roster:- Grouped view
- List view
Shows a green bar for each day rostered, with the number of clients (C) and workers (W) for that day.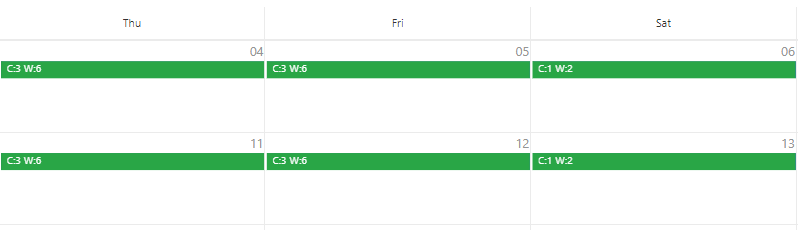
Creating shifts
From the location roster calendar view, double-click on the day you want the shift to start on to open the Add multi person appointment window. Alternatively, right-click for additional options.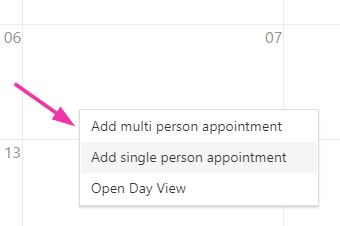
Multi person appointment
Use the multi person option to create a shift for multiple clients and workers at once, with the same time and service.1
Set shift details
Select the Service from the drop-down, enter the Shift Start and Shift End time, and toggle Shift Repeats for recurring shifts. You can also enter shift notes, which pop up as an alert in the Vworker app.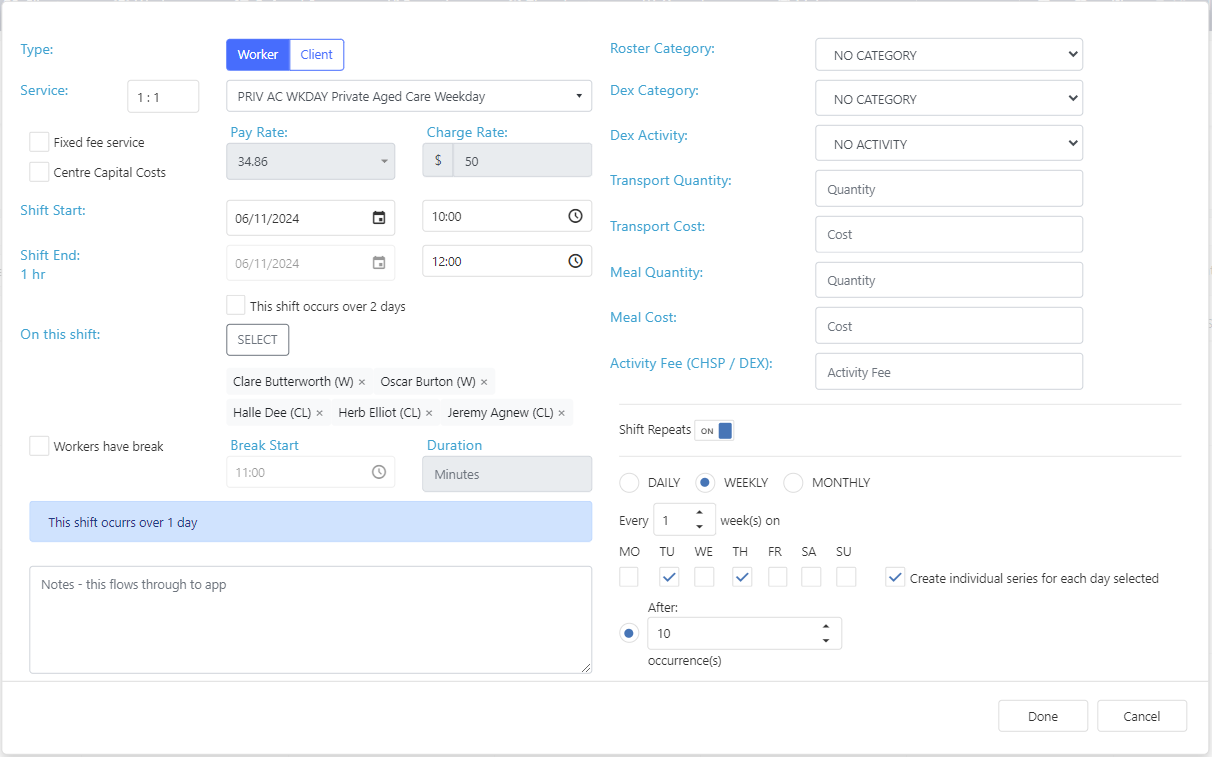
2
Add clients and workers
Toggle the Type switch to Worker or Client and click Select. Use filters and tick boxes to choose people, then click Use Selected.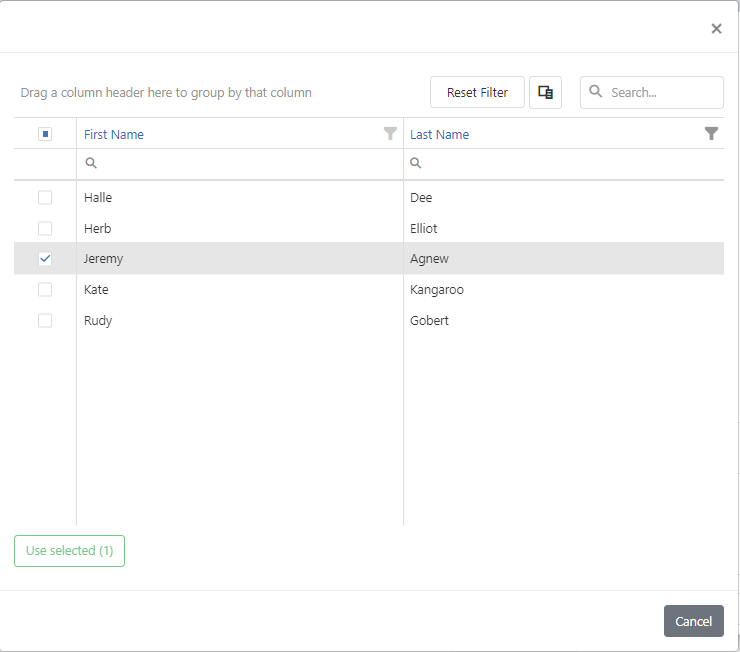
3
Save the shift
Click Done to create the shift. This creates an individual shift line item for each person added.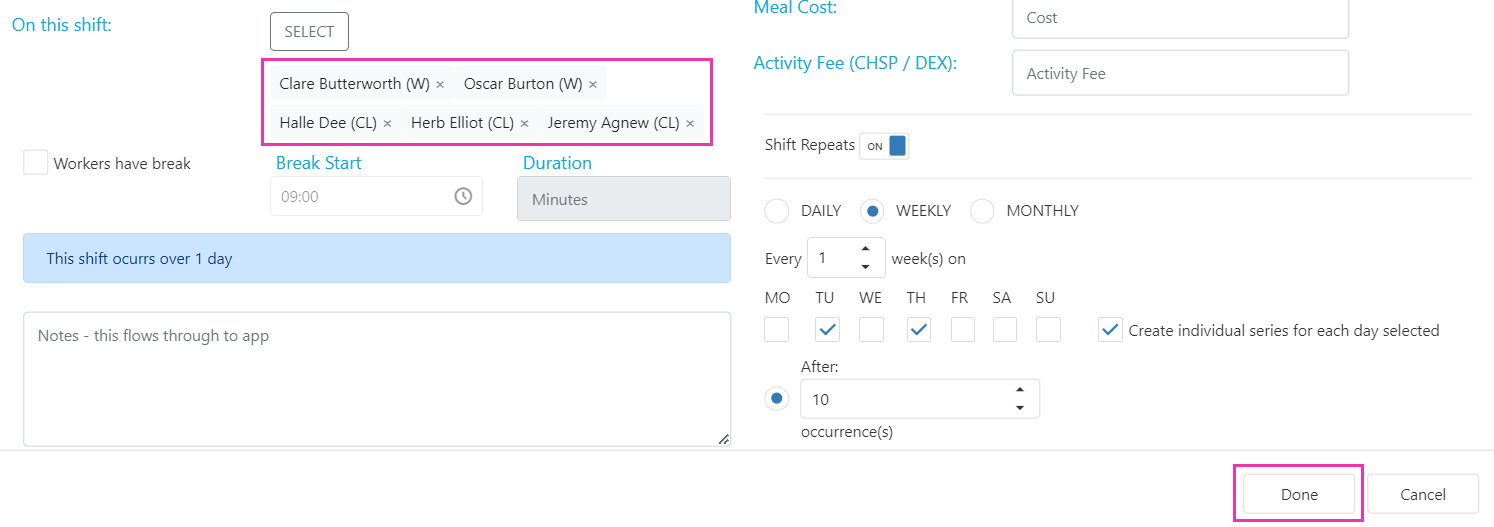
Single person appointment
Adding a single person shift limits the service list to items on the selected client’s agreement.1
Select the client
Click Select and choose the client, then select the service from the drop-down.
2
Enter shift details
Enter the start and end time, toggle Shift Repeats for recurring shifts, and add any other relevant information.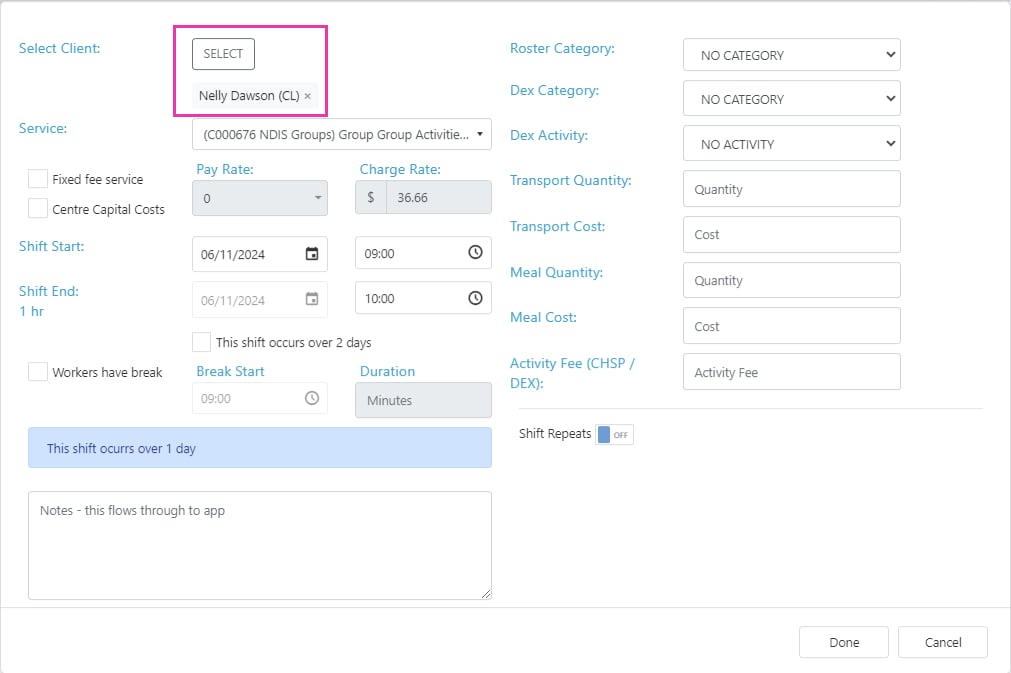
3
Save
Click Done to roster the shift.
Editing shifts
Calendar view
Left-click on a shift in the calendar view to see clients and workers attending that day.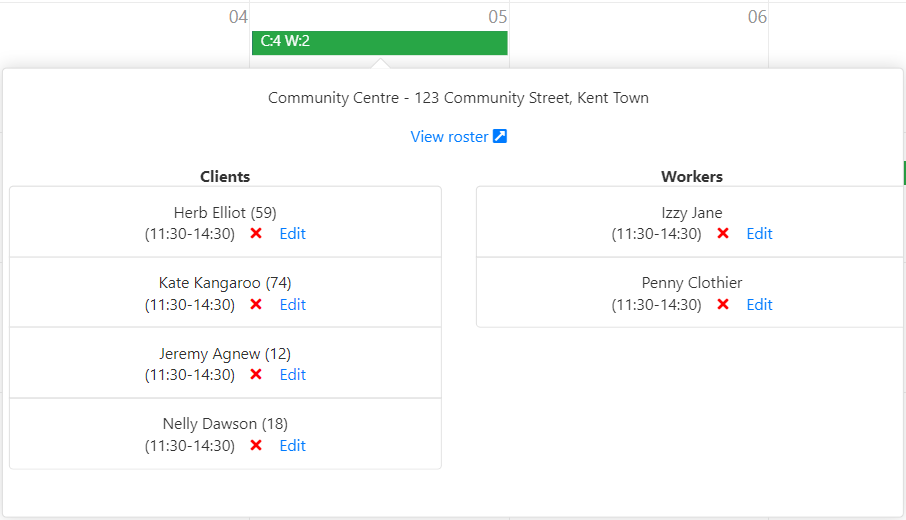
- Click View Roster or Edit next to a name to open the roster view
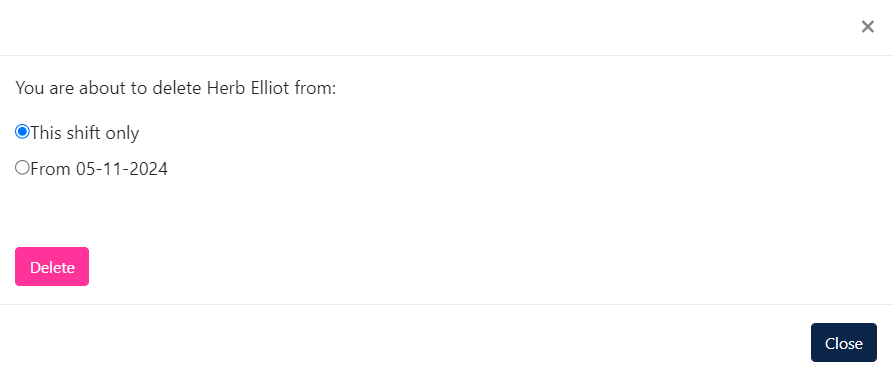
- Click the red X to delete a client or worker from the shift
- If the shift is part of a series, confirm whether to delete the single shift or the series from that date forward
Roster view
Double-click on a shift in the calendar view, or click View Roster from the shift detail window. This opens a day view with client shifts in the top section and worker shifts in the bottom section.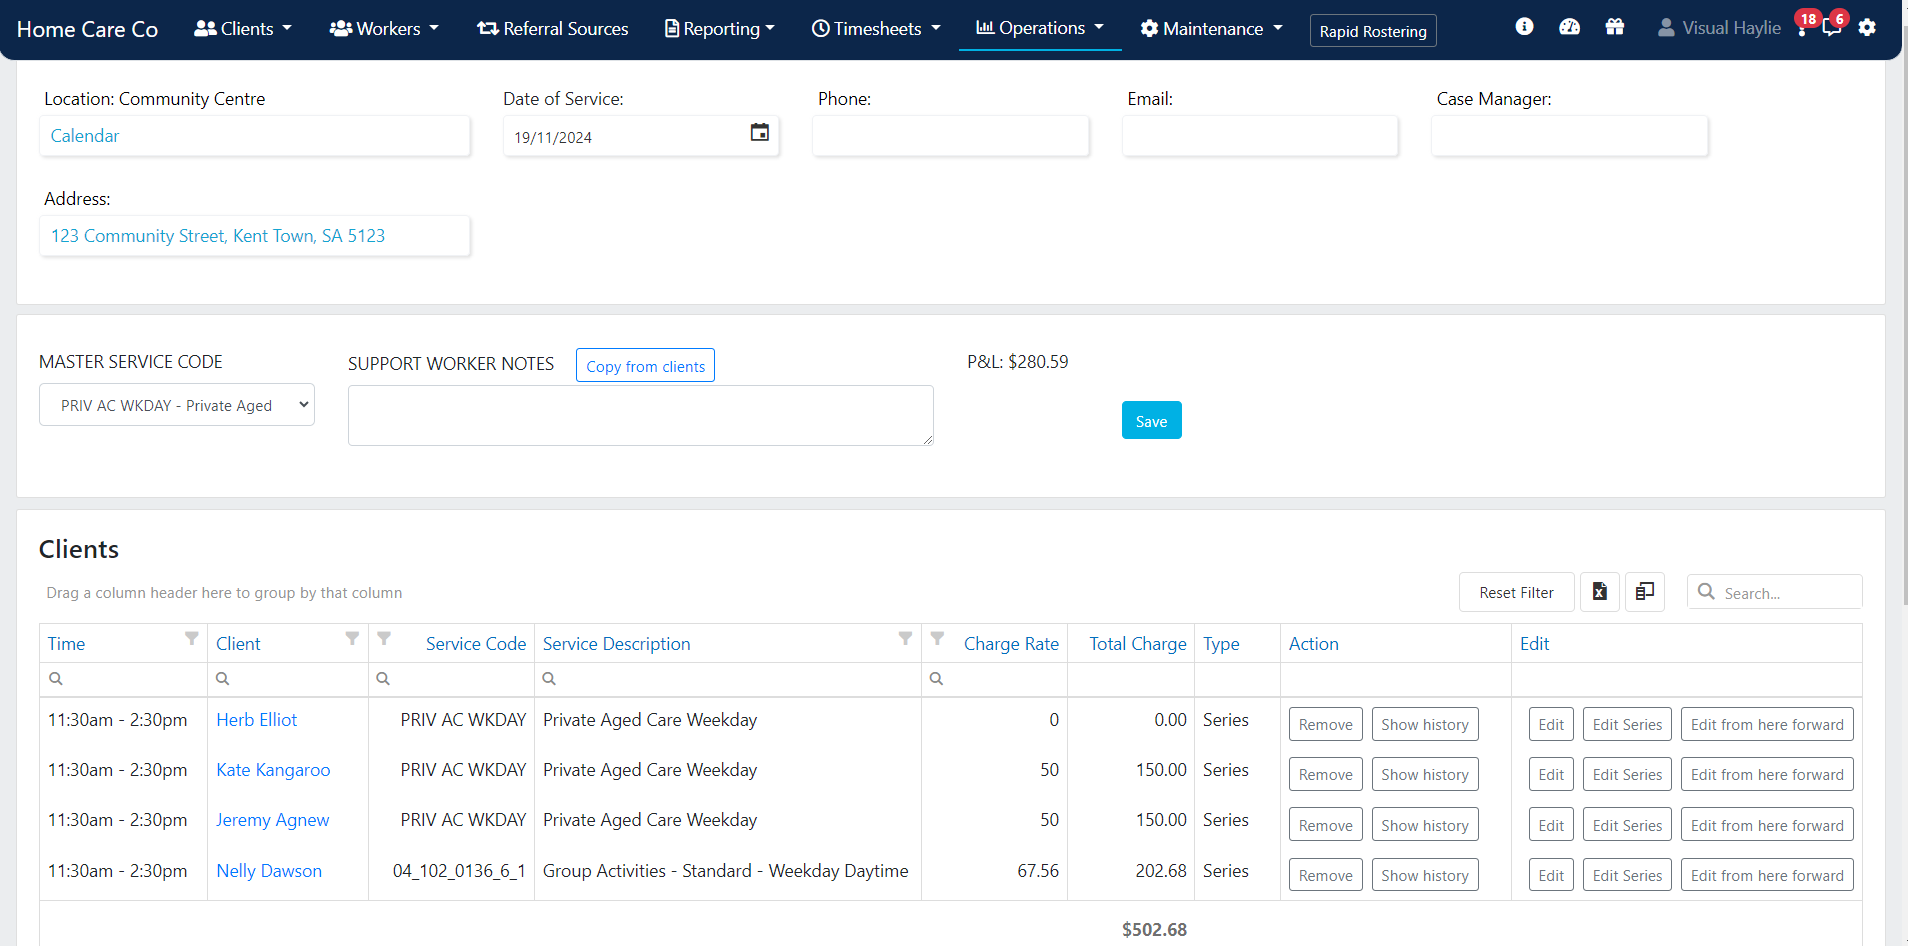
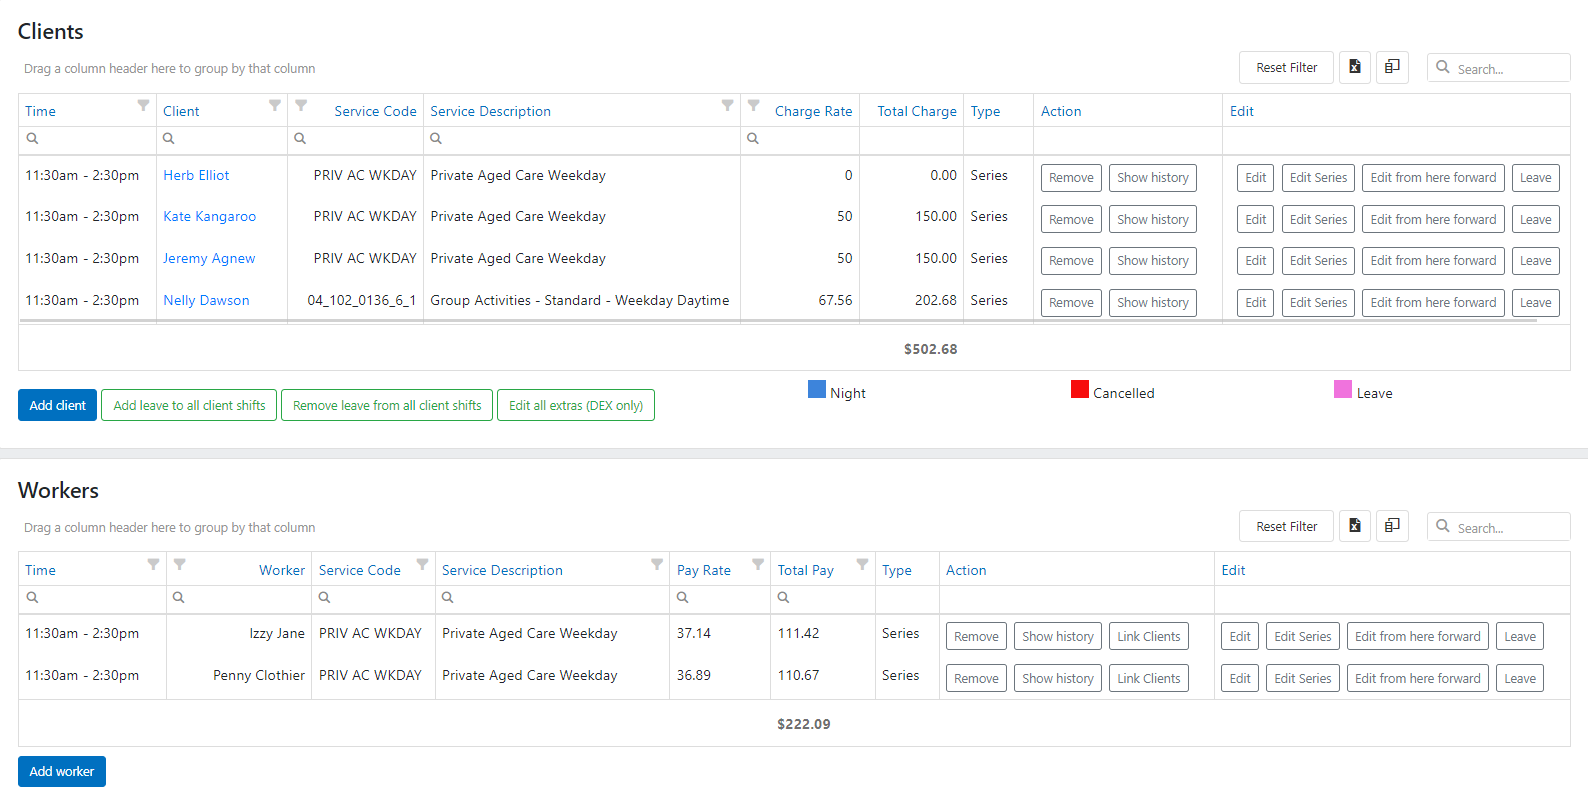
When adding a client shift from the roster view, confirm that the Master Service Code is included in the client’s agreement.
Linking workers and clients
Linking a worker to clients in a location roster communicates this information to the worker via the Vworker app and to the client via the vAboutMe app.1
Open link clients
In the worker section at the bottom of the roster view, click Link Clients next to the applicable worker.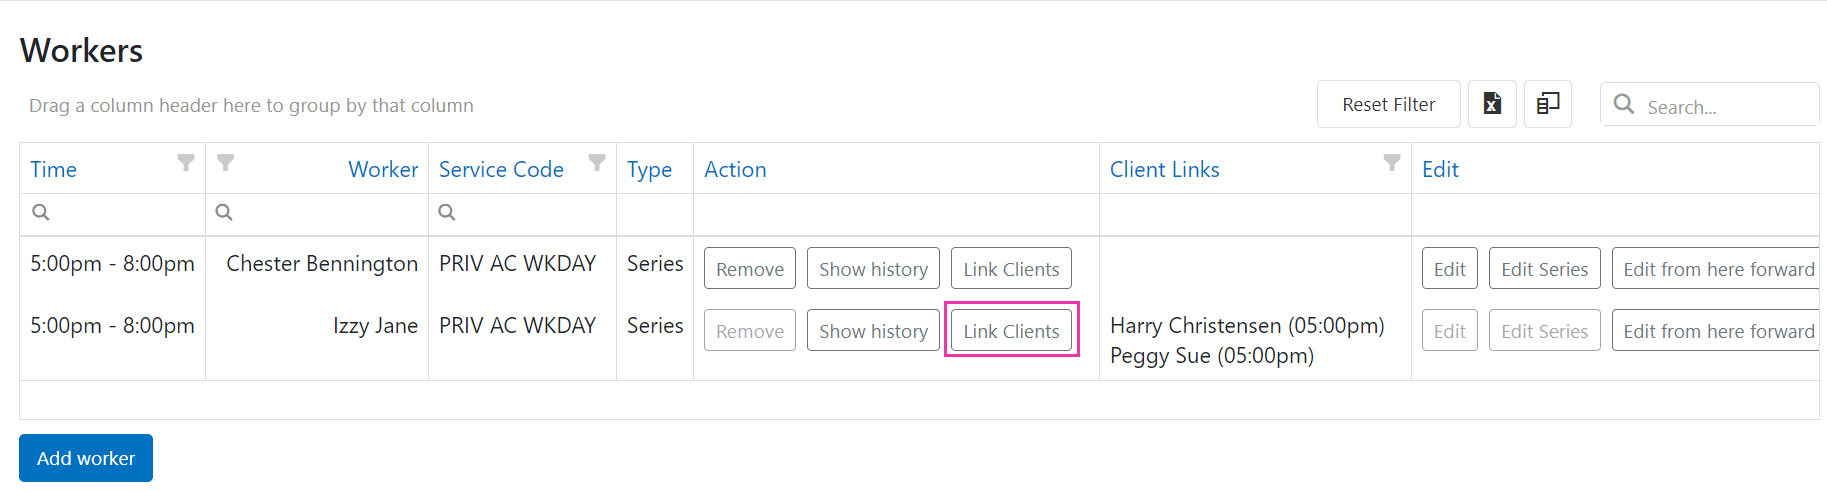
2
Select clients to link
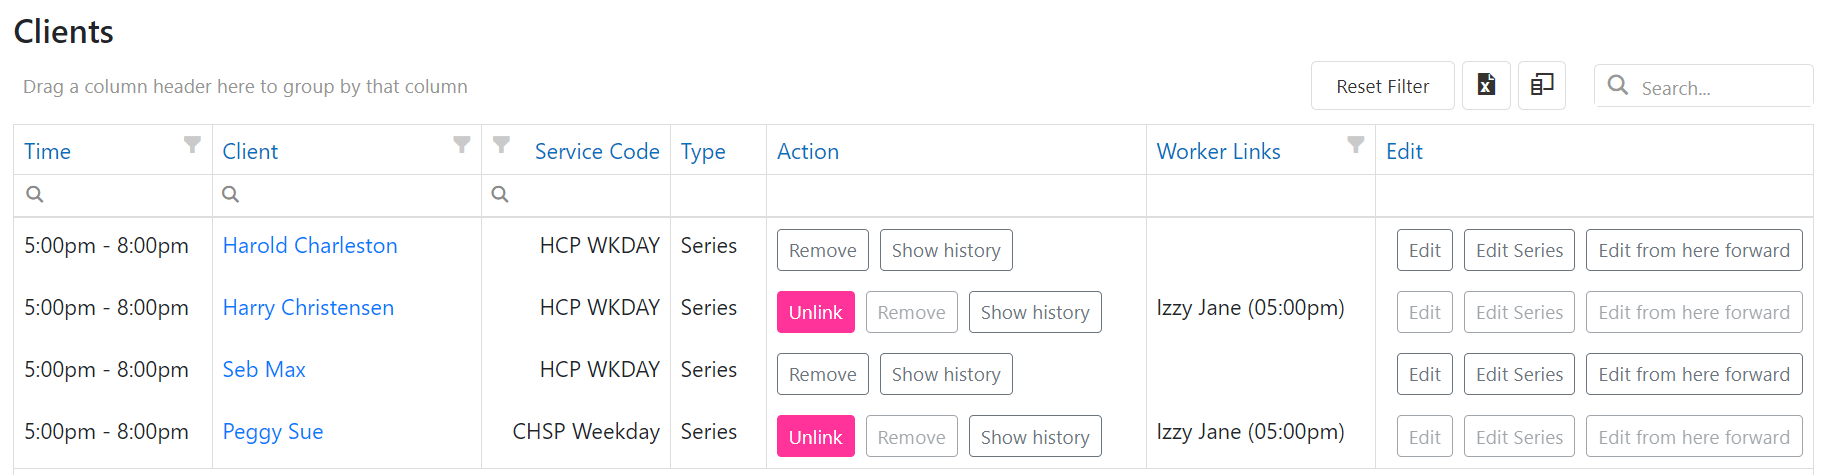
In the pop-up window, click the blue Link button next to each client. The button turns pink once linked.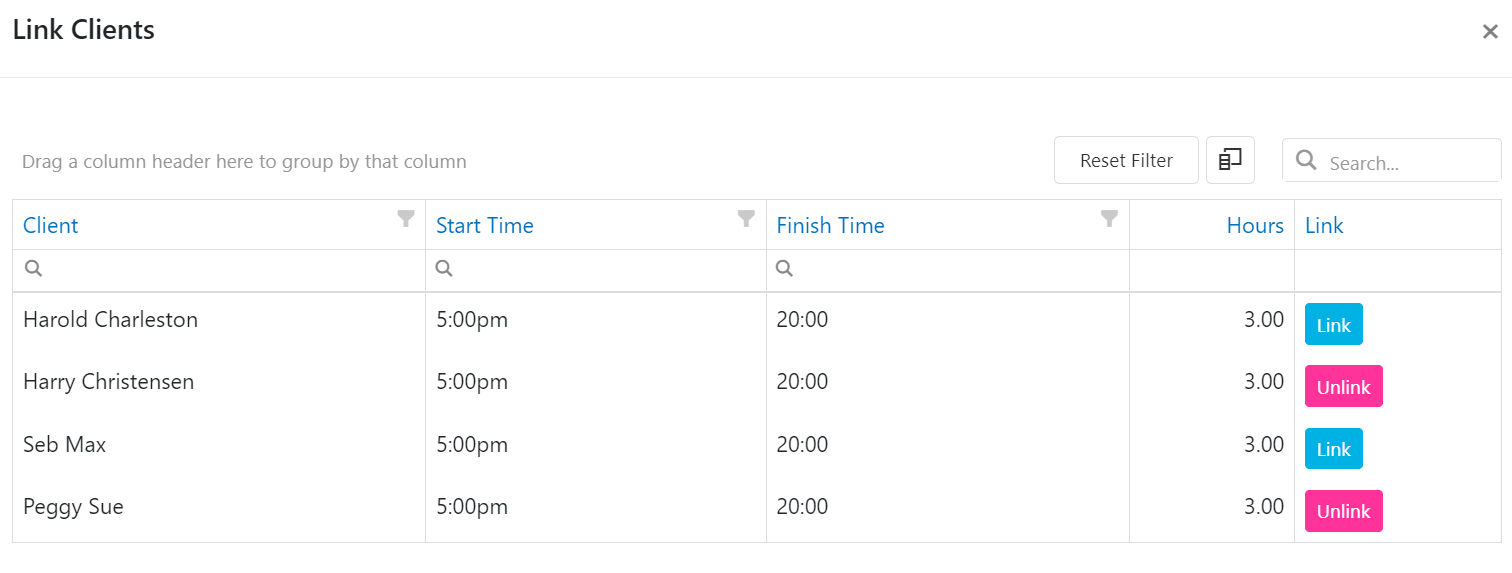
3
Review links
Linked clients appear in the Client Links column of the worker section. The client section shows linked workers in the Worker Links column, with an Unlink button if changes are needed.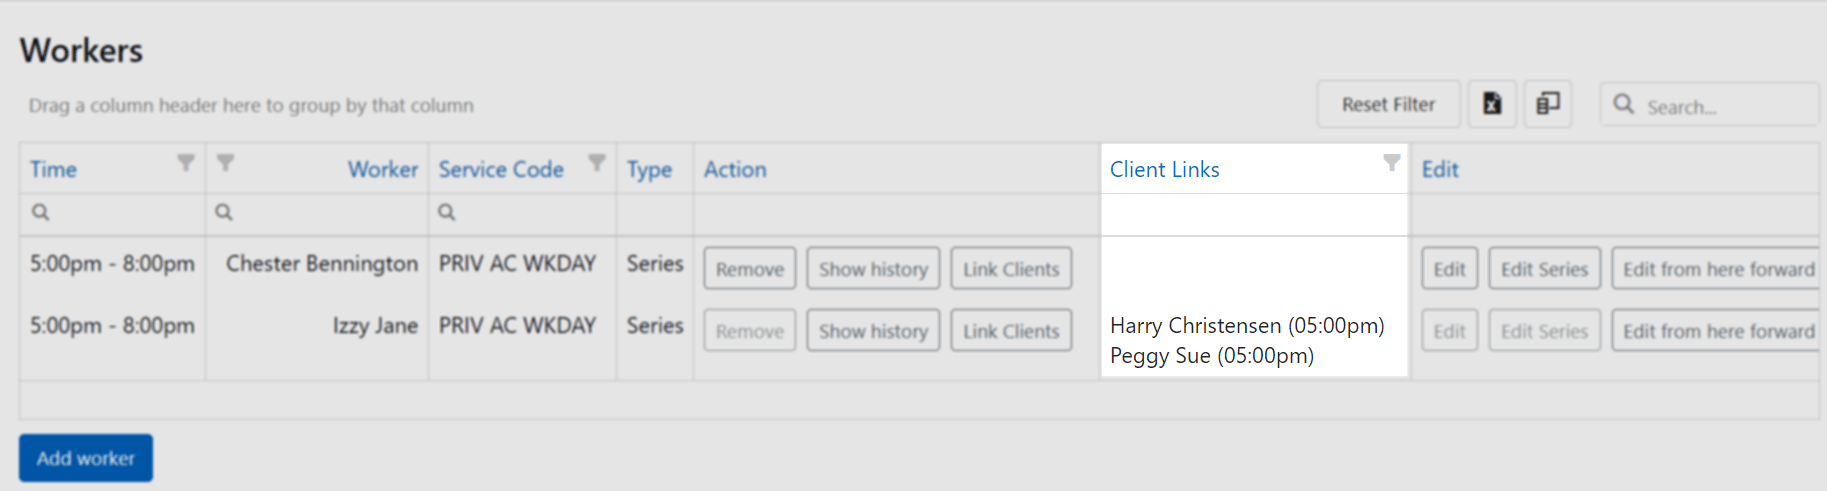
Commonwealth Home Support Programme (CHSP) and Data Exchange (DEX) rostering
CHSP funding claims can be added to location roster shifts using DEX case and activity fields.DEX case and activity
When creating client shifts using the bulk create function in the calendar view, DEX Case and DEX Activity drop-down fields don’t display any selection upon creating the shift. When editing an individual client shift or series from the roster view, these fields pre-populate based on the agreement setup. To edit DEX items for a single shift, use the Edit DEX button to select the DEX Case and DEX Activity.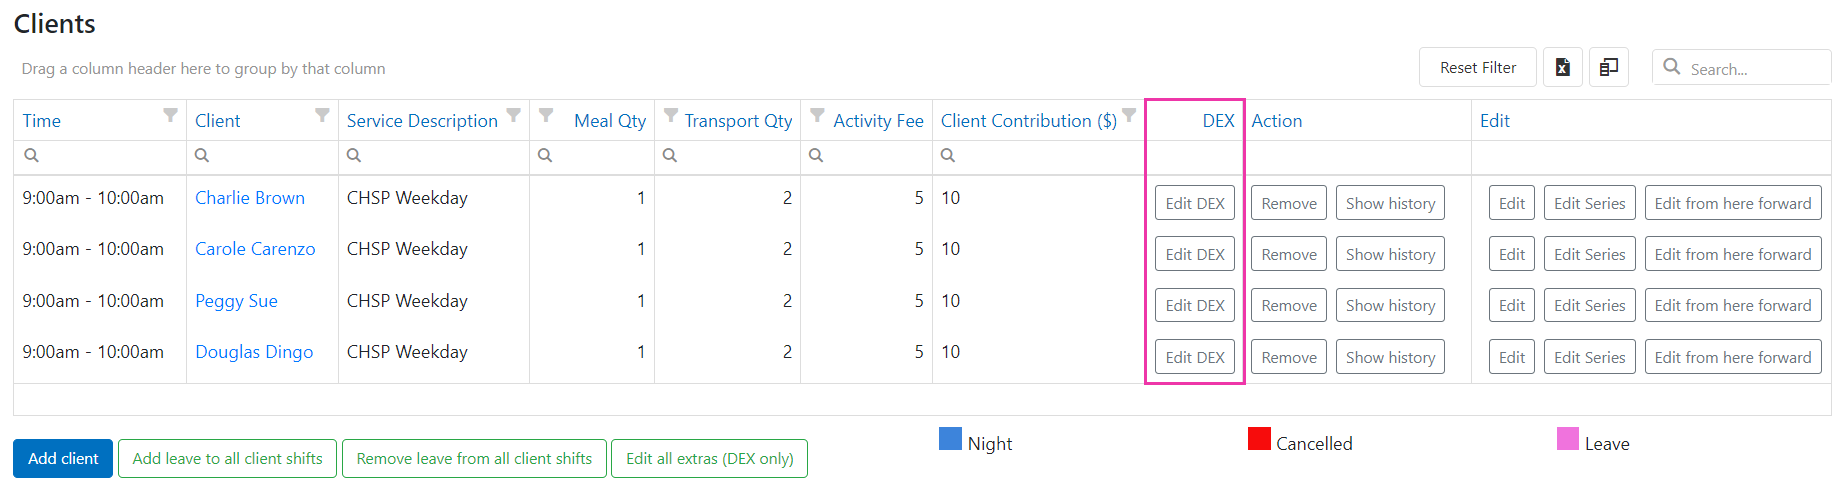
Meals, transport, and activity fee
Additional charges for Meal Qty (number of meals), Transport Qty (number of trips), and Activity Fee (dollar amount) can be added to a client CHSP service in the location roster. These items are claimable based on the DEX setup in your database. Add meals and transport when editing an individual client shift or series. To add items in bulk, select Edit all extras (DEX only), add the details, and save.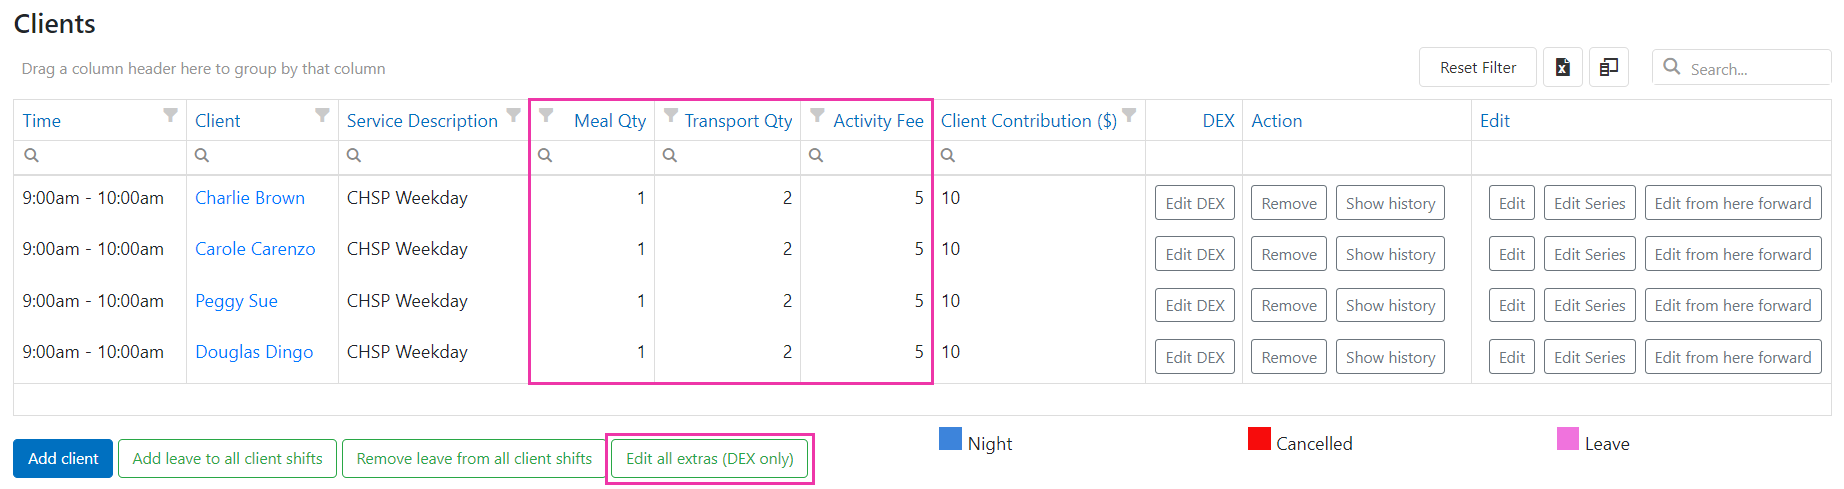
Unallocated location shifts
To mark worker shifts as unallocated within a location roster, you need to set up an unallocated worker profile.1
Create an unallocated worker profile
Create a worker profile with the name “Unallocated Worker” and set the Worker Type to Unallocated under Finance → Worker Details.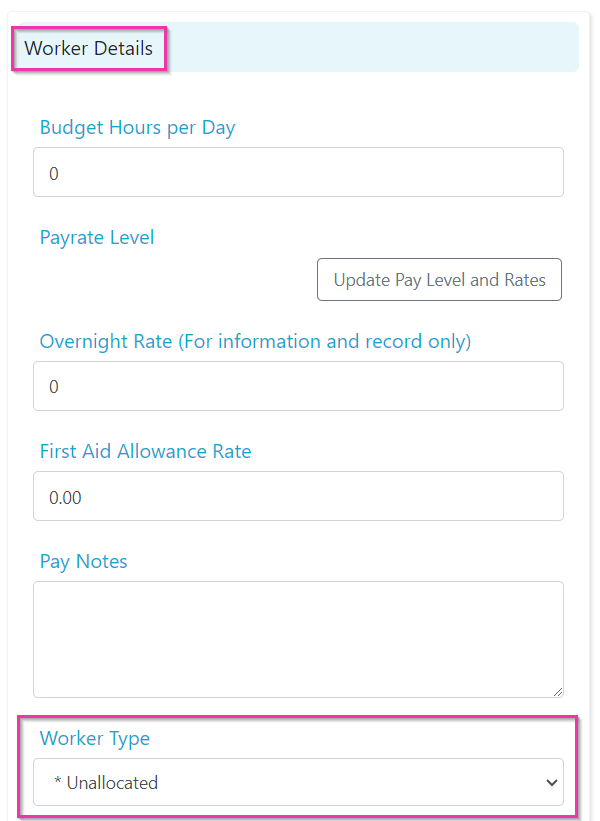
2
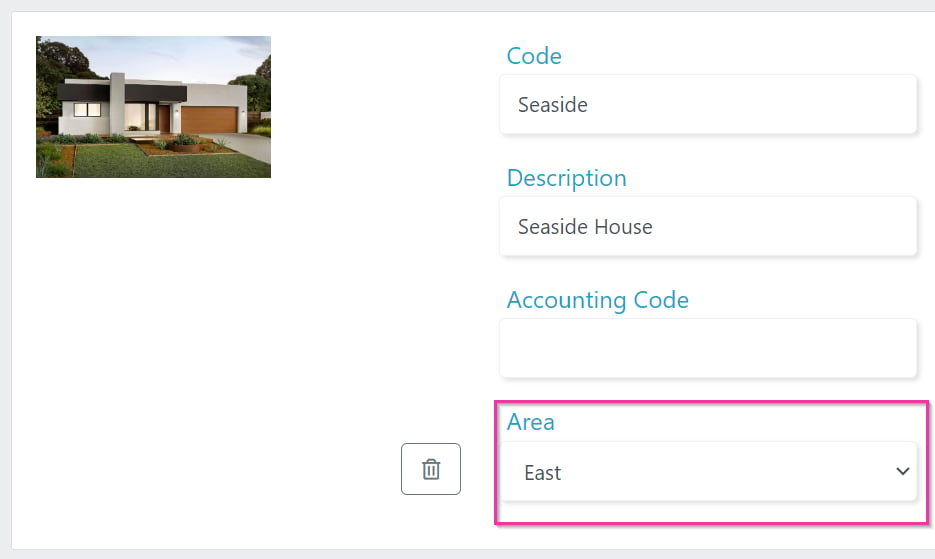
Match the area
Set the same Area for both the unallocated worker profile and the location profile.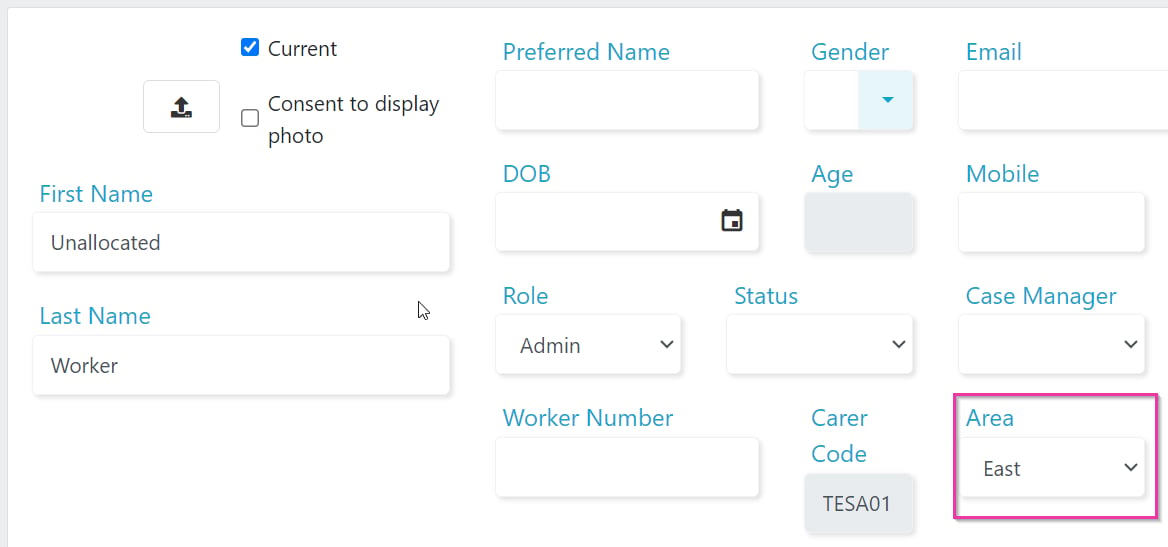
3
Set the default unallocated worker
In Maintenance → Areas, select the area and choose the unallocated worker as the Default Unallocated Worker.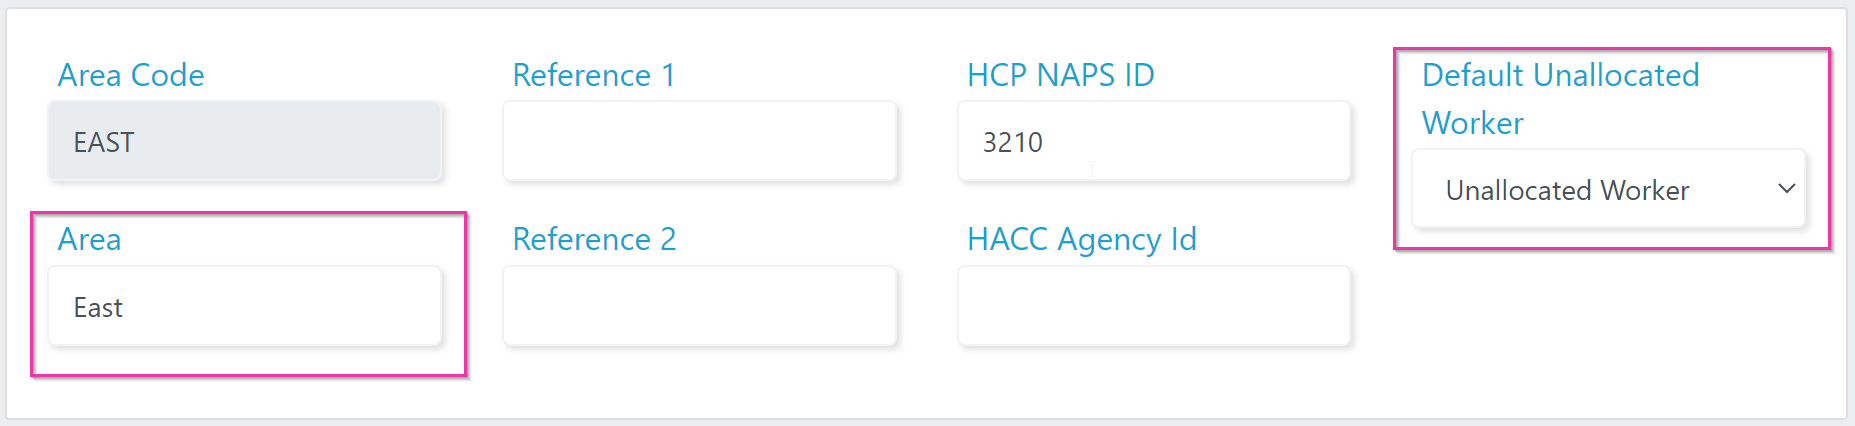
4
Use in rosters
Shifts assigned to the unallocated worker populate in the Unallocated KPI tile and are available for roster invitations. Use the Select worker for Invitation button to create an invitation for unallocated shifts.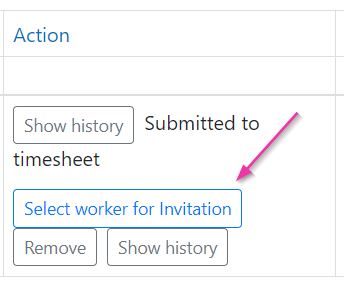
Running into issues?
See Scheduling troubleshooting for common errors and fixes.Related articles
SIL rostering
Roster for Supported Independent Living locations
Roster invitations
Send shift invitations to available workers
Unallocated shifts
Find and manage shifts without assigned workers
Creating new shifts
Create shifts in a client roster