
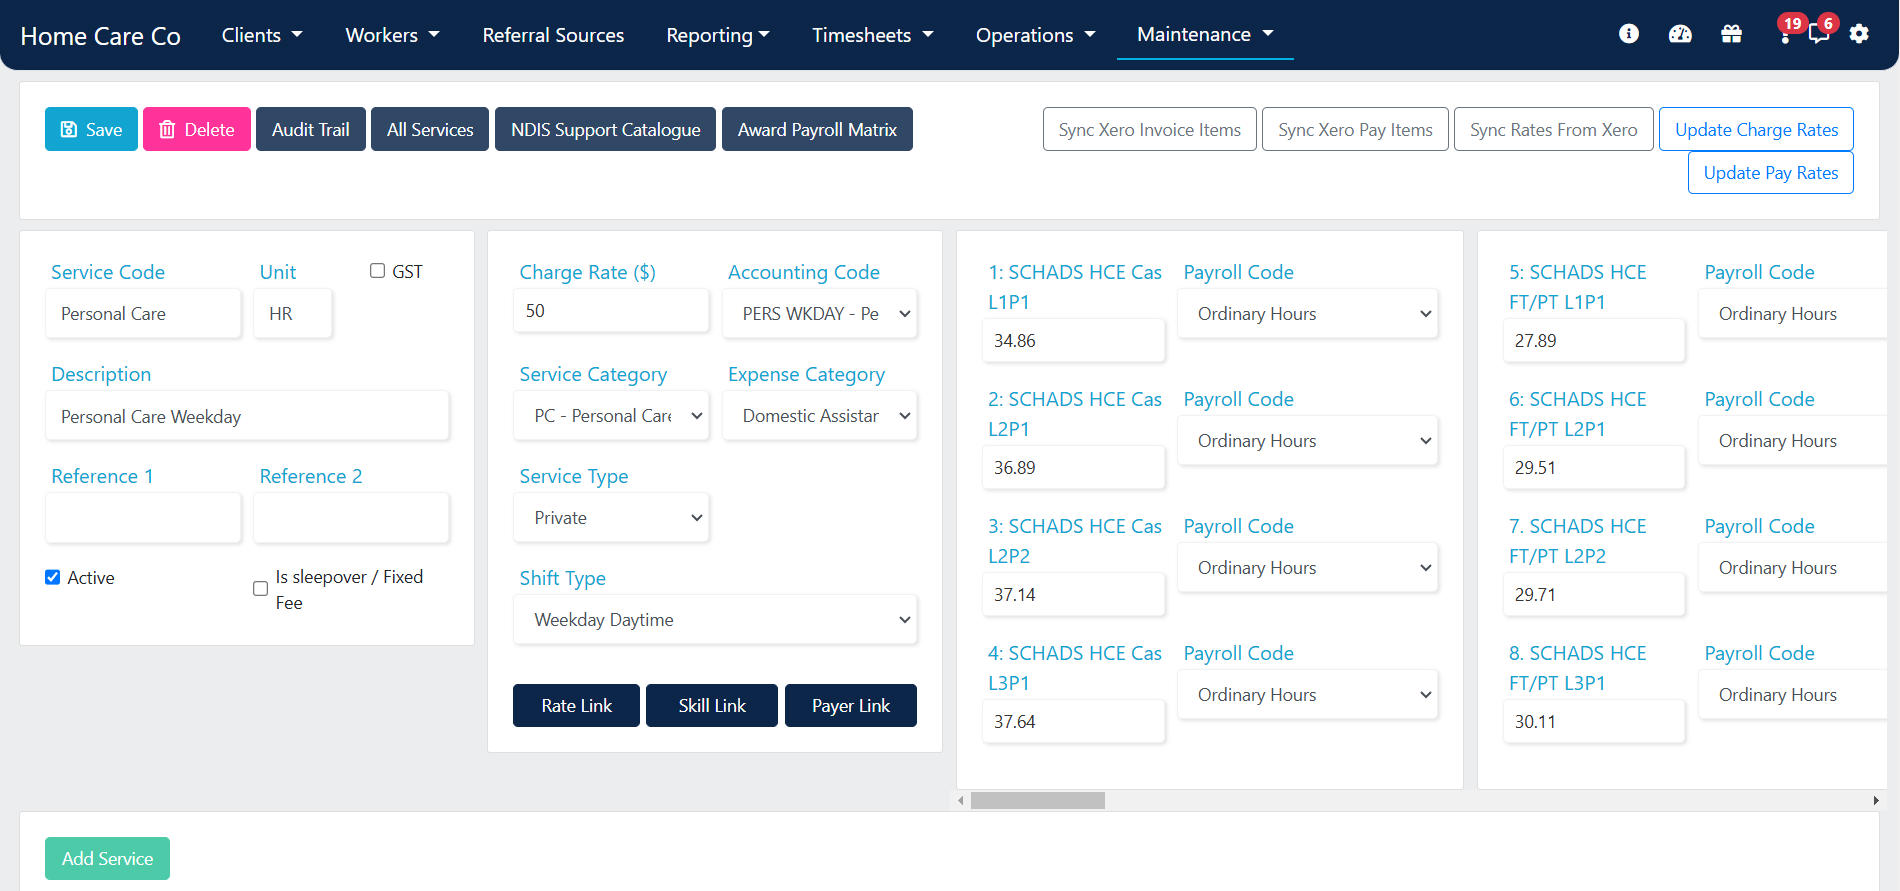
Services need to be marked Active to appear in the drop-down when rostering.
Adding a new service
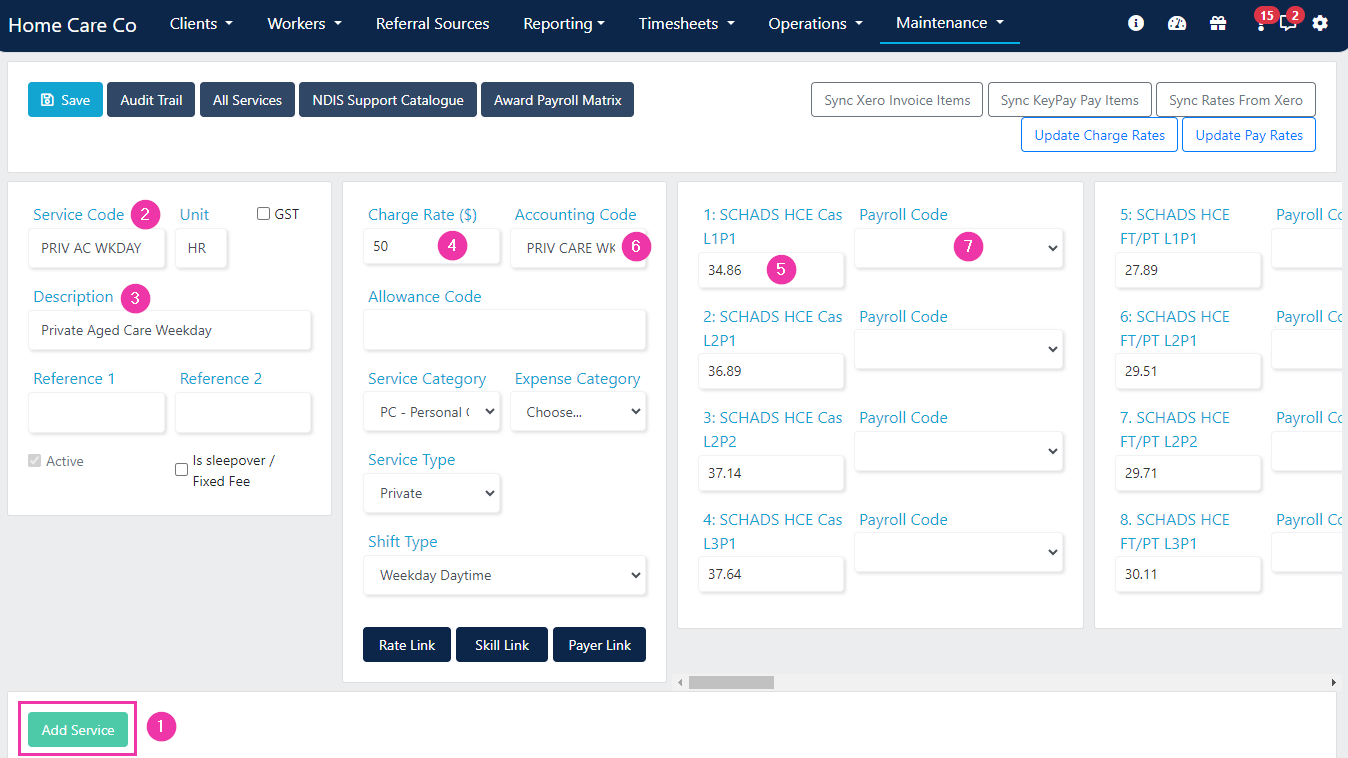
To add a new service:- Click Add Service
- Enter the Service Code
- Enter the Service Description
- Input Charge Rate
- Input Pay Rates
- The Accounting Code links the service to accounting software for invoicing the client
- The Payroll Codes link the service to accounting software for worker payroll
Shift type
Shift types can be assigned to each service to flag in the roster if the line item doesn’t match your time settings. Select the service line item in the services list and choose the corresponding Shift Type from the drop-down. The shift flags in a different colour on the roster if the incorrect service is scheduled.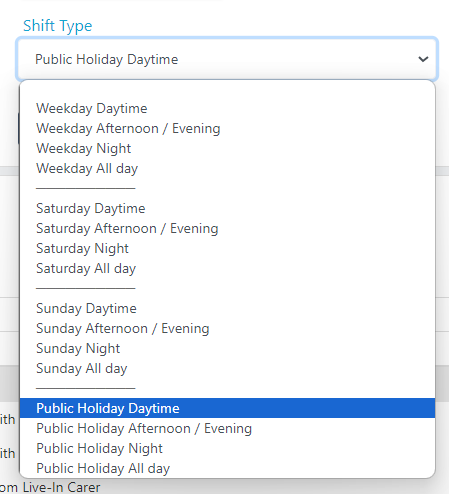
Rate link
Rate links automatically change a service to one with a higher rate of pay if the incorrect service is rostered. This prevents workers being underpaid and ensures clients are charged at the correct rate. For example, if a weekday daytime service is rostered on a Saturday, the system automatically corrects it to the Saturday service selected in the rate links. This is also dependent on your time settings in Settings → Rostering.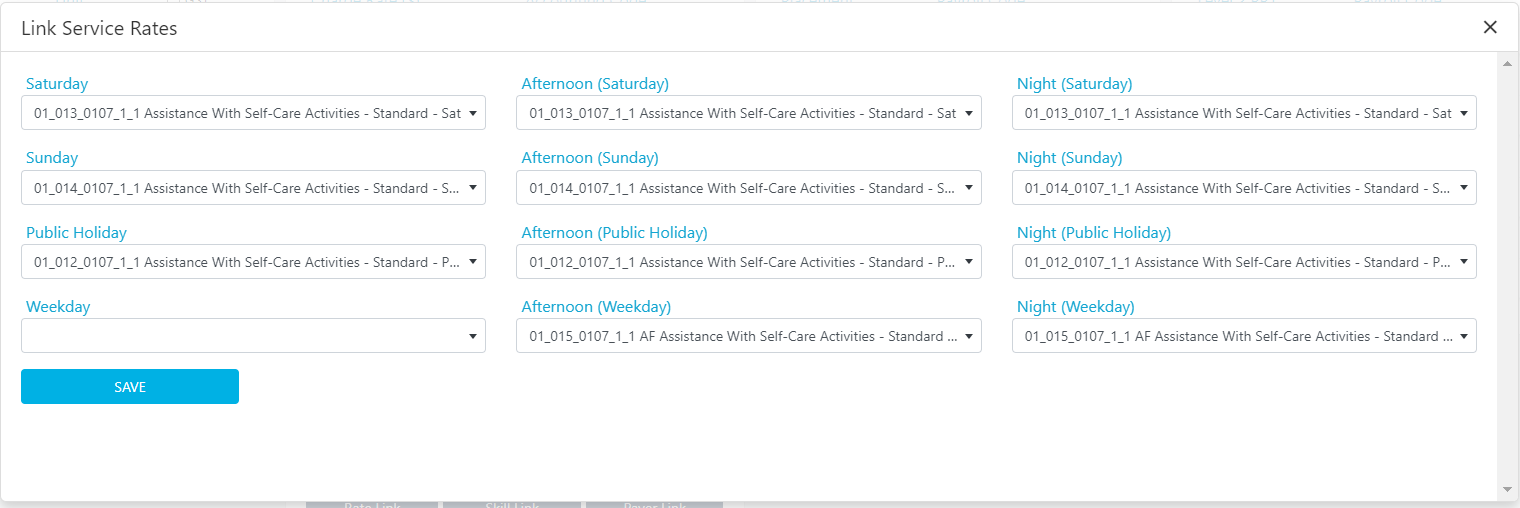
All services view
The All Services page shows a table view of every service that has been set up, with easy viewing of payroll codes, service categories, and more in one table. Data in this page can be edited, saved, and exported to Excel.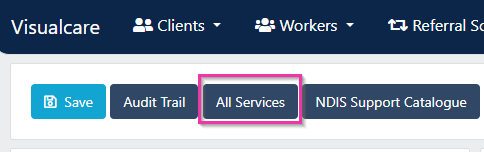
NDIS services
If a service has NDIS selected as the Service Type, several additional features are available: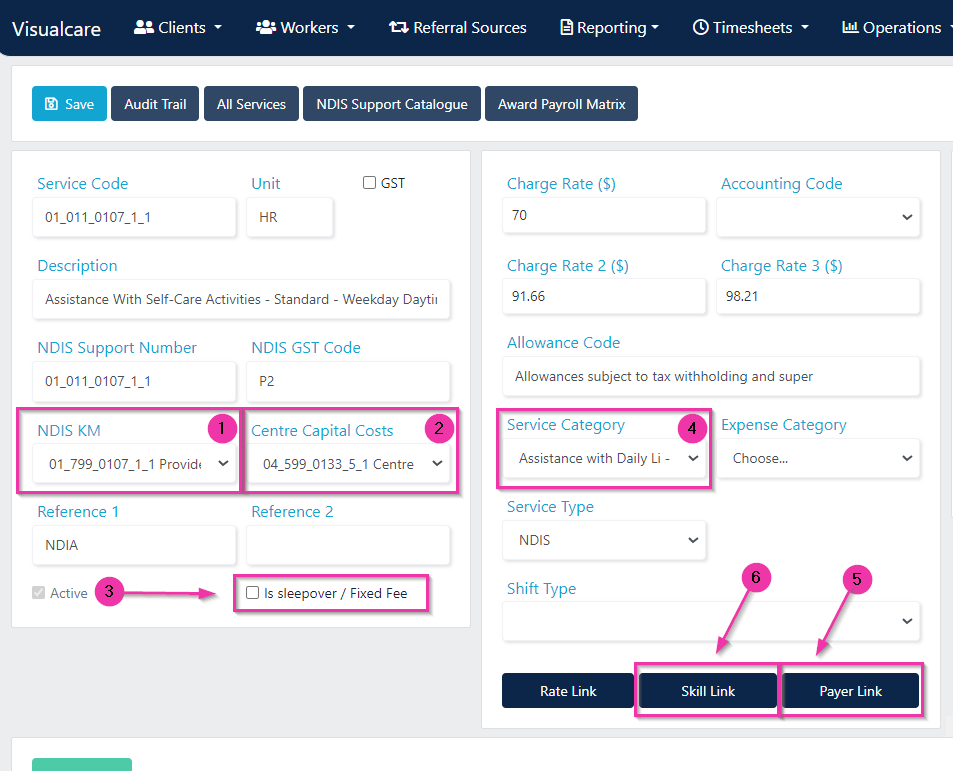
Adding NDIS services
NDIS services can be added and charge rates updated directly from the NDIS Support Catalogue.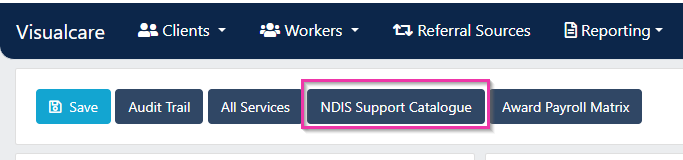
1
Open the NDIS Support Catalogue
Click NDIS Support Catalogue and ensure the current catalogue is selected in the date drop-down.
2
Select services to add
Select the Add Services tab. Tick the services you want to add.
3
Confirm
Click Add (number of) Services.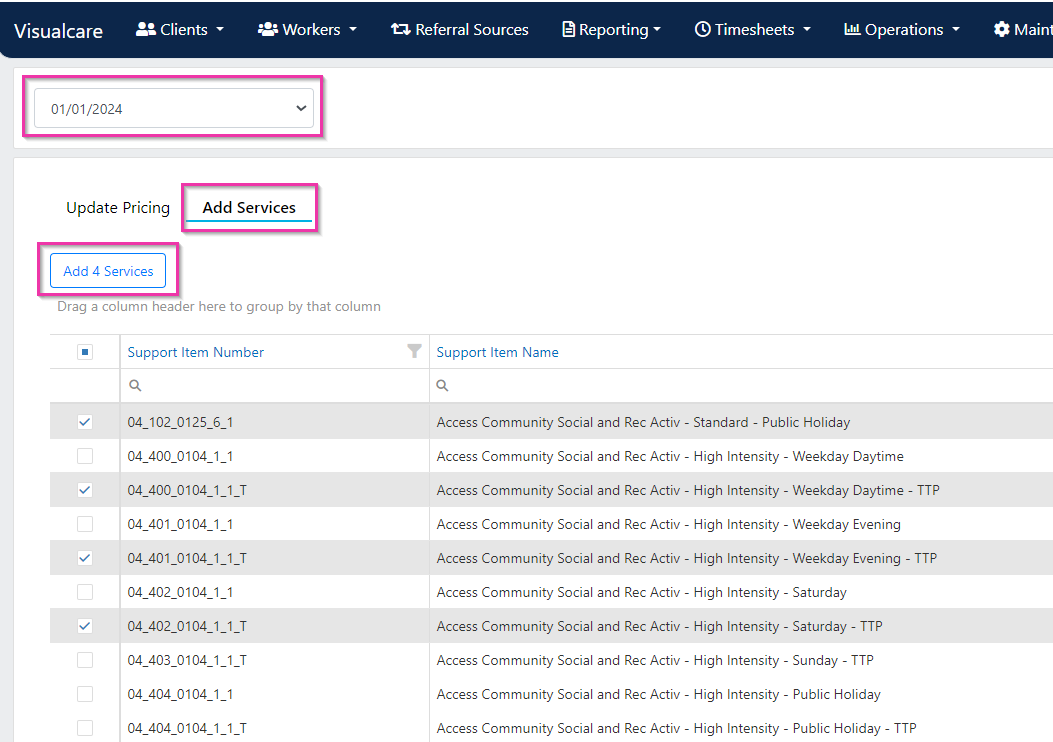
Updating NDIS pricing
When a new support catalogue is released, update charge rates using these steps:1
Open the support catalogue
Go to Maintenance → Services and click NDIS Support Catalogue. Ensure the current catalogue is selected in the date drop-down.
2
Select services to update
Under the Update Pricing tab, tick the services to update (or select all). Click Update Rates.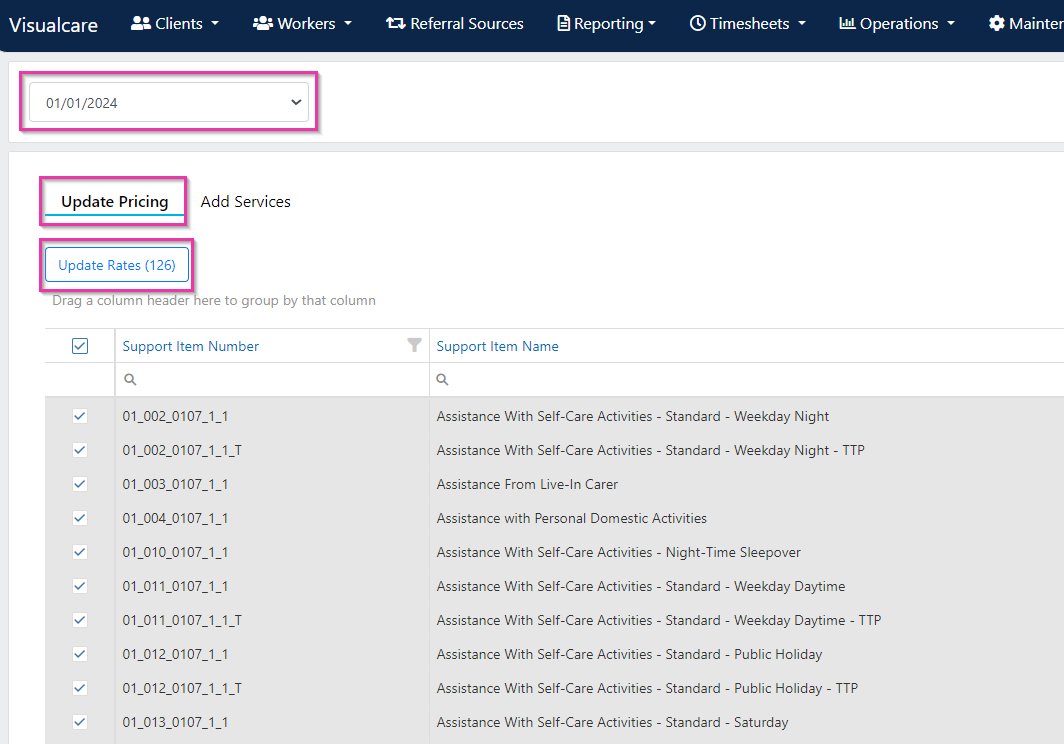
3
Apply the updated charge rates
Navigate back to Maintenance → Services and select Update Charge Rates. Select the date for the new rates to take effect (this cannot be a future date) and click Update.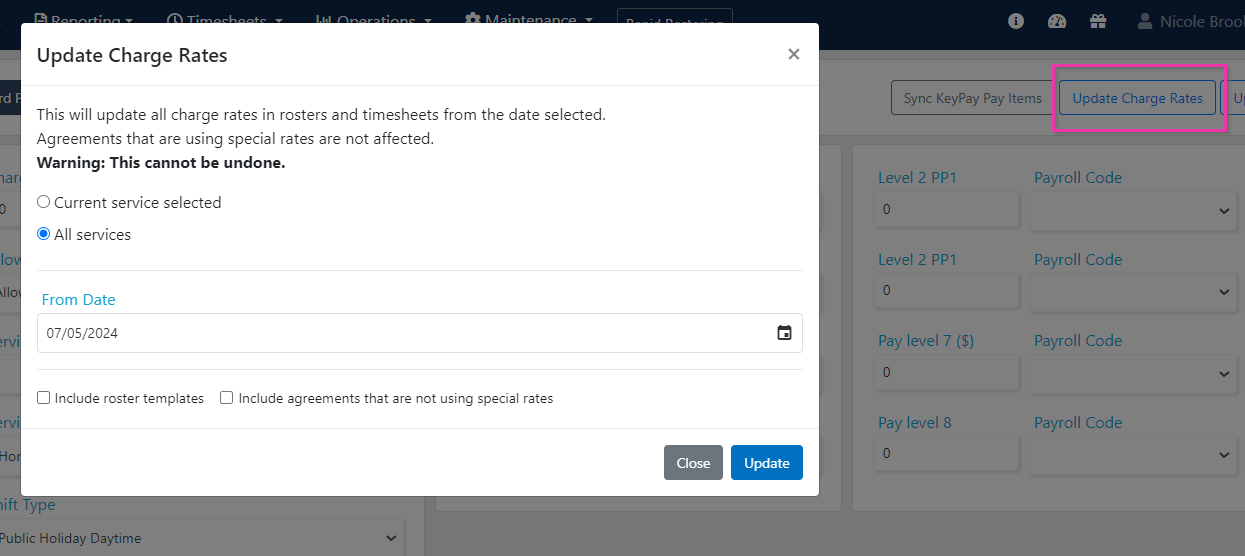
Finding agreements with special rates
Finding agreements with special rates
To find which agreements have “special rates” ticked, navigate to Clients → Agreements, click Show all items, and drag the Override Charge Rates column into the table. Filter it to YES to display the agreements that have special rates enabled.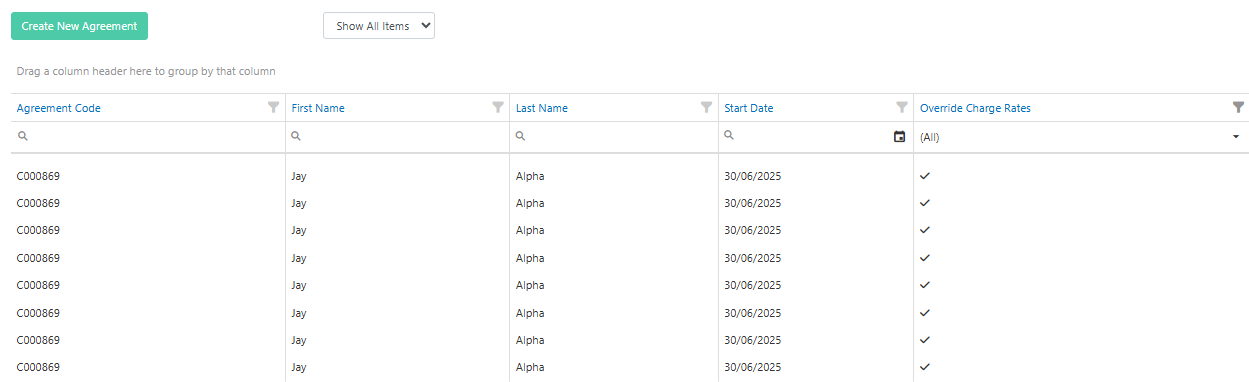
Bulk updating services
You can update multiple services at once - including charge and pay rates - by exporting the services list to CSV, editing the data, and reimporting.1
Export the services list
Navigate to Maintenance → Services → All Services and click Export all data. This downloads a CSV of your full services list.
2
Edit the CSV
Open the file in a spreadsheet application and make your changes. Do not modify the Service Id column - these values identify existing records and must remain unchanged.
3
Save as CSV
Save the file as a CSV (Comma delimited) format before reimporting.
4
Import the updated CSV
Navigate to Operations → Import CSV → Select File, choose your saved CSV, then click Upload.
5
Apply rate updates
After the import completes, return to Maintenance → Services. To apply updated rates:
- Click Update Pay Rates or Update Charge Rates
- Select the From Date for the new rates to take effect
- Choose Current Service Selected to update only the selected service, or All Services to update all
- Optionally include Roster Templates and Agreements in the update
- Click Update
Fixed fee (sleepover) setting
The fixed fee setting on a service code controls whether shifts using that service export as a fixed fee (for example, for sleepover shifts) rather than by hours. Once the sleepover checkbox is ticked on a service, all new shifts and any shifts modified from that point onward using that service have the fixed fee applied automatically.The fixed fee setting only applies going forward. Existing timesheet entries created before the setting was enabled need to be edited manually. Running Update Charge/Pay Rates does not retroactively apply the fixed fee to existing timesheets, nor does re-rostering.
Running into issues?
See General troubleshooting for common errors and fixes.Related articles
Editing drop-down lists
Customise categories, areas, divisions, and other list values
Bulk edit tools
Edit multiple client or worker records at once
Import CSV
Import records in bulk using CSV files