
Categories
Categories group and classify records across different parts of Visualcare. Navigate to Maintenance → Categories and select the category type you want to manage. For all category types, the general workflow is the same: click the Add button to create a new entry, or select an existing entry from the list at the bottom of the screen to edit or delete it.Document categories
Document categories
Document categories group documents on client and worker profile document tabs.Click Add Document Category, enter a Description, select permissions for User Group and Worker Types, then click Save.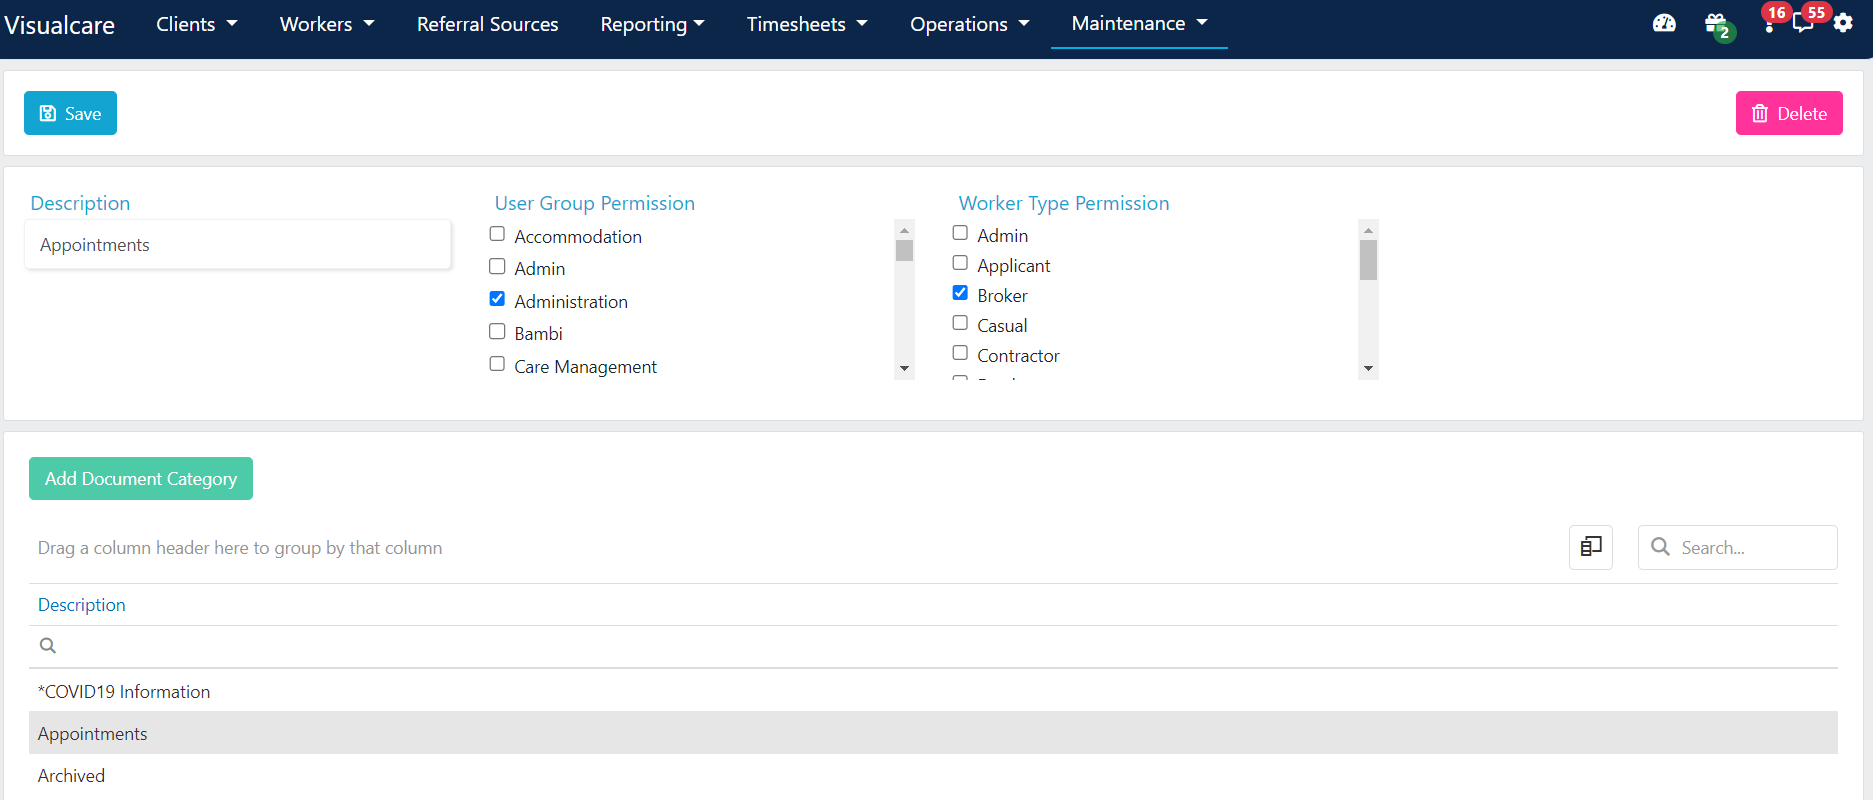
Equipment categories
Equipment categories
Equipment categories define a list of equipment you can issue and monitor with workers. Manage issued equipment in the worker profile under the Equipment tab.Click Add Equipment Category, enter a Description, and click Save.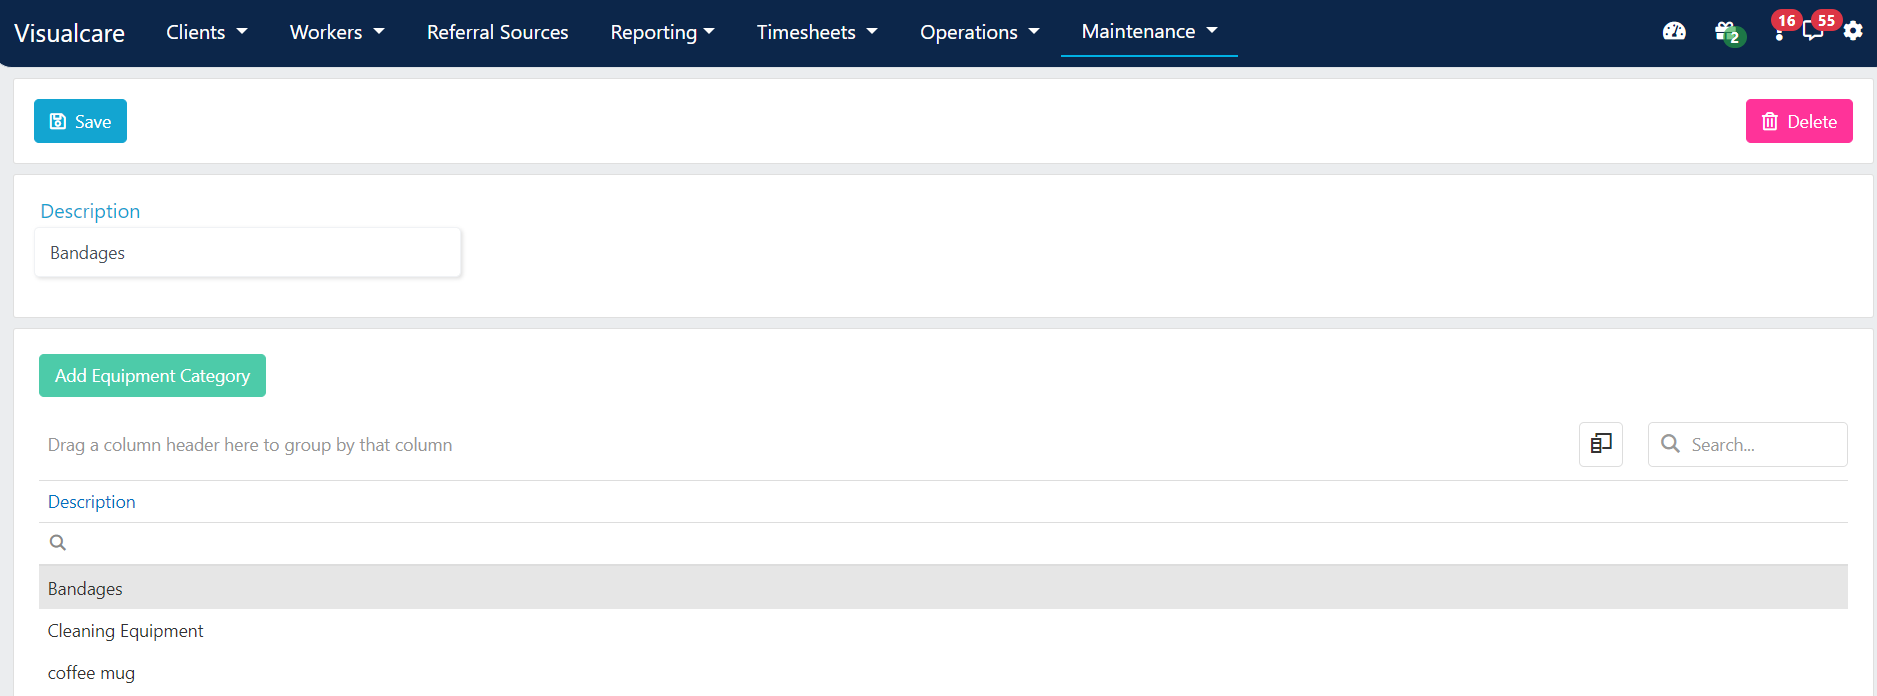
Expense categories
Expense categories
Expense categories classify expenses on the client profile under the Expenses tab.Click Add Expense Category, enter a Category, and click Save.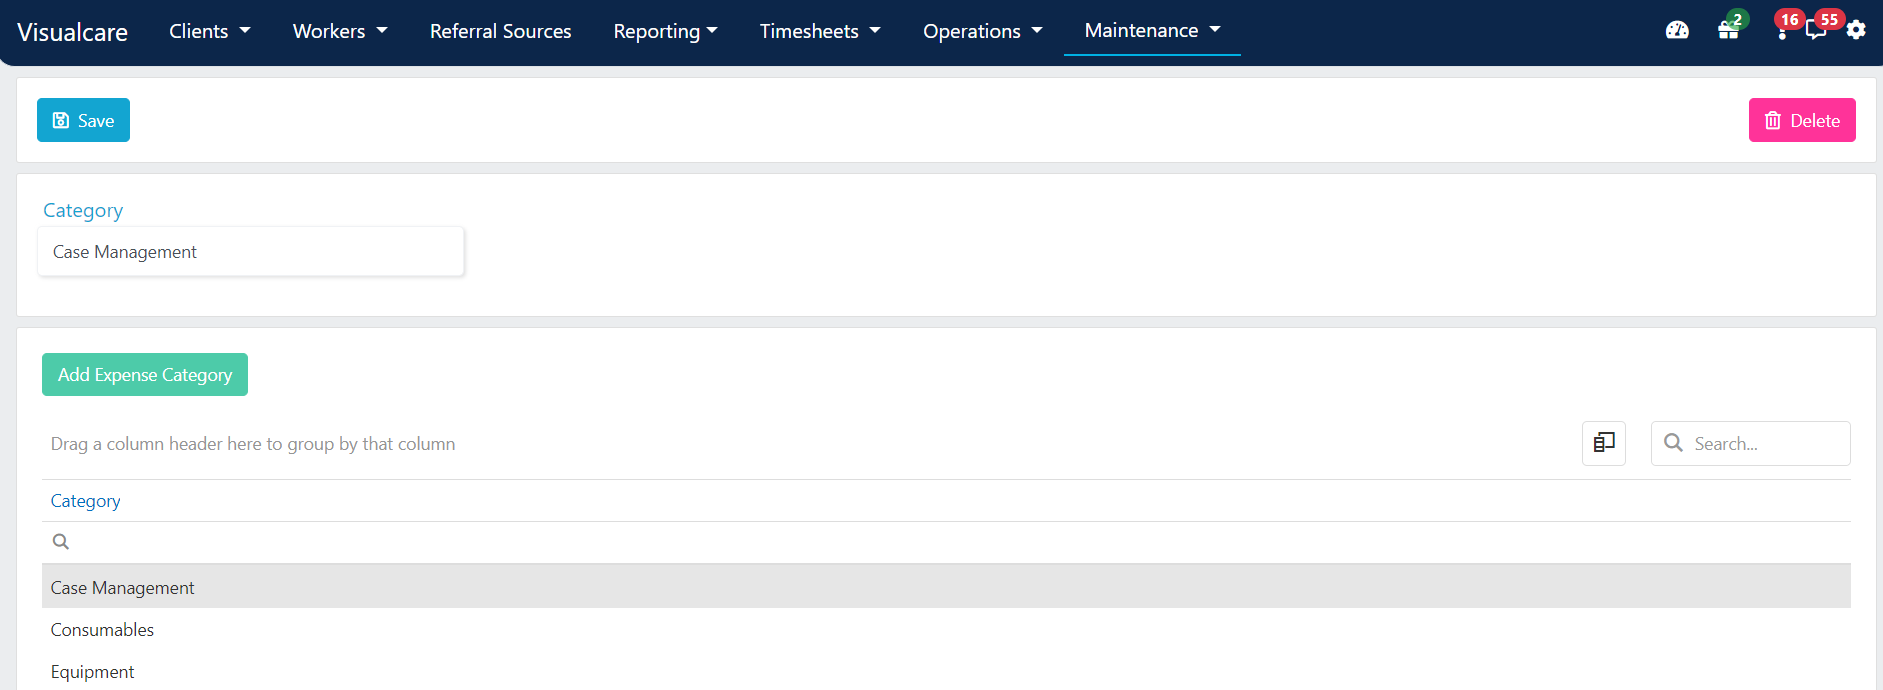
Incident categories
Incident categories
Incident categories classify incident reports.Click Add Incident Category, enter a Category Code and Description, and click Add. You can also add Help Text for additional guidance.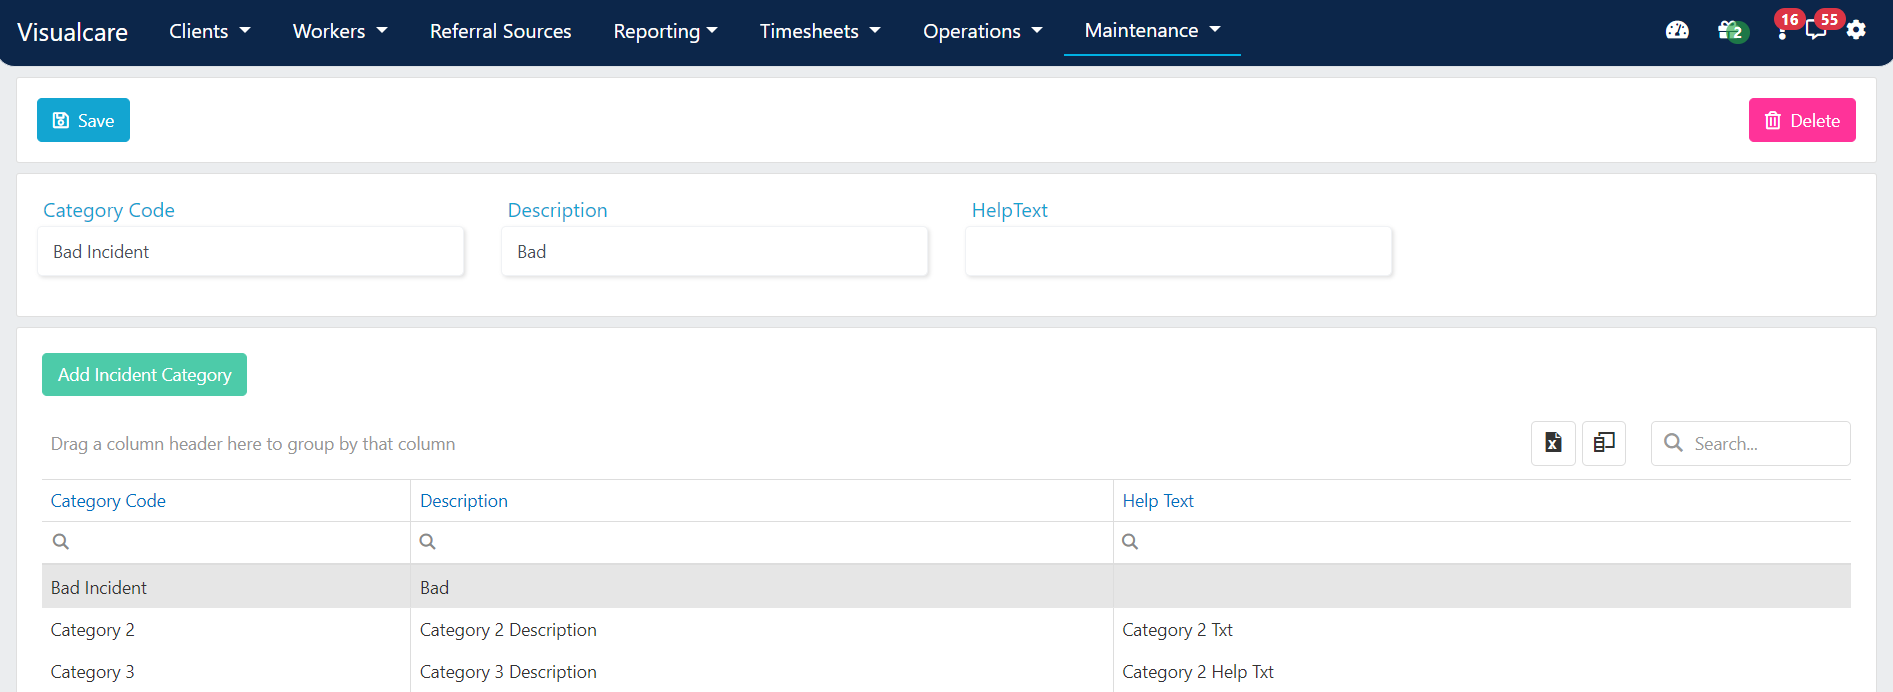
Note categories
Note categories
Note categories help filter notes in client profiles or note reports. You can also set permissions for user groups by using the checklist with a note category selected.Click Add Note Category, enter a Description, and click Save.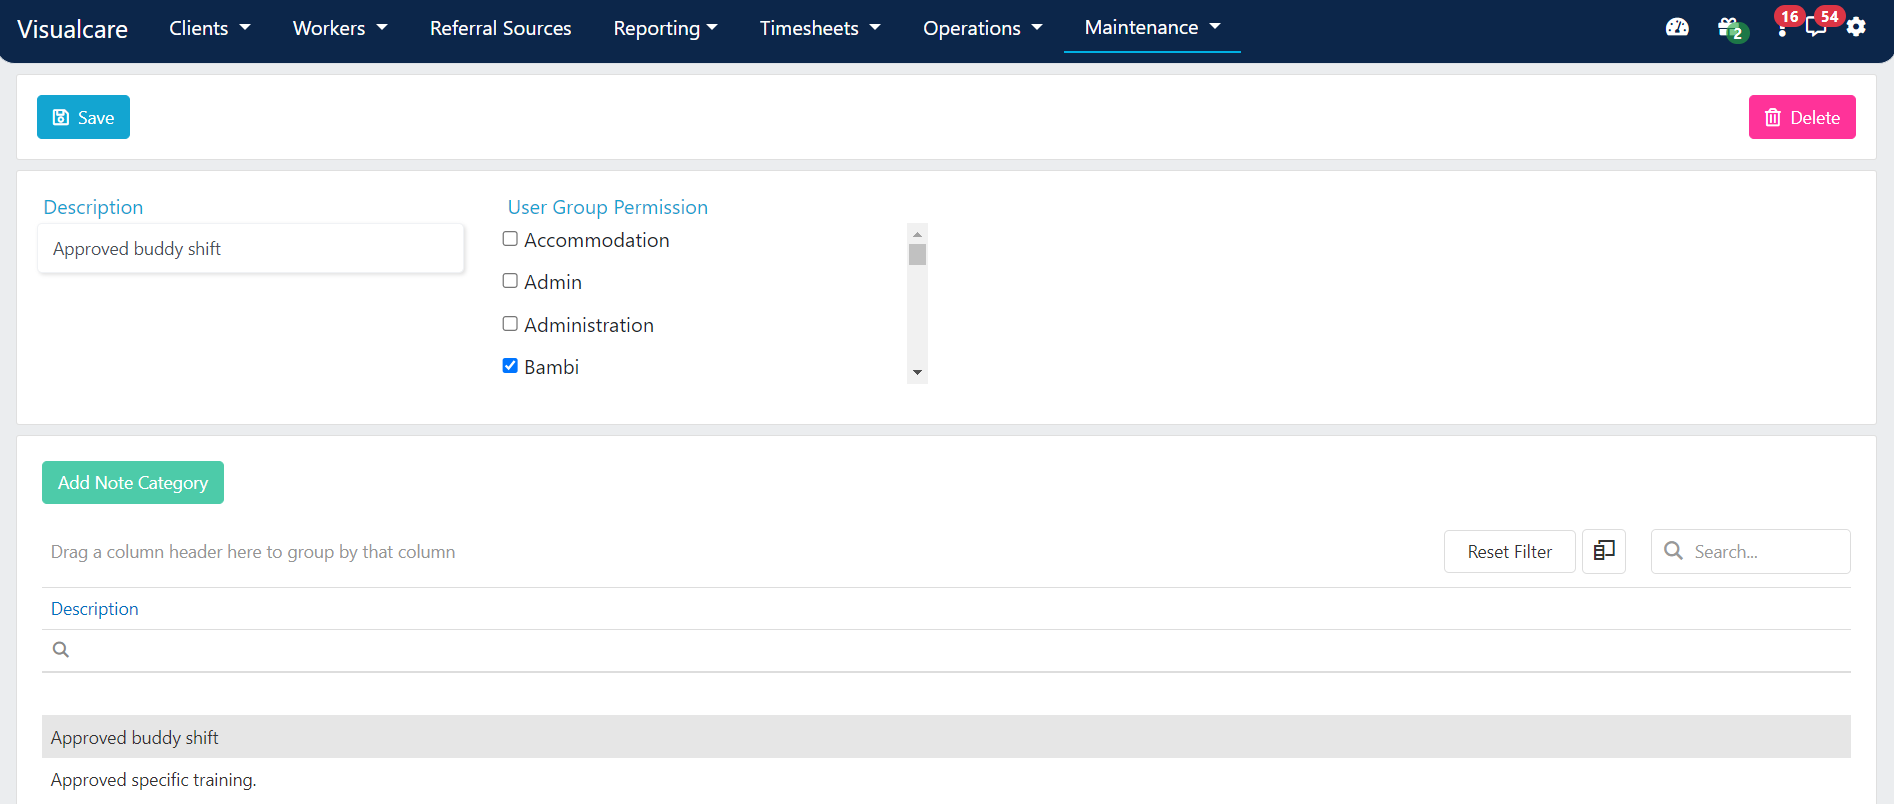
Payer categories
Payer categories
Payer categories group payers for reporting purposes.Click Add Payer Category, enter a Code and Description, and click Save.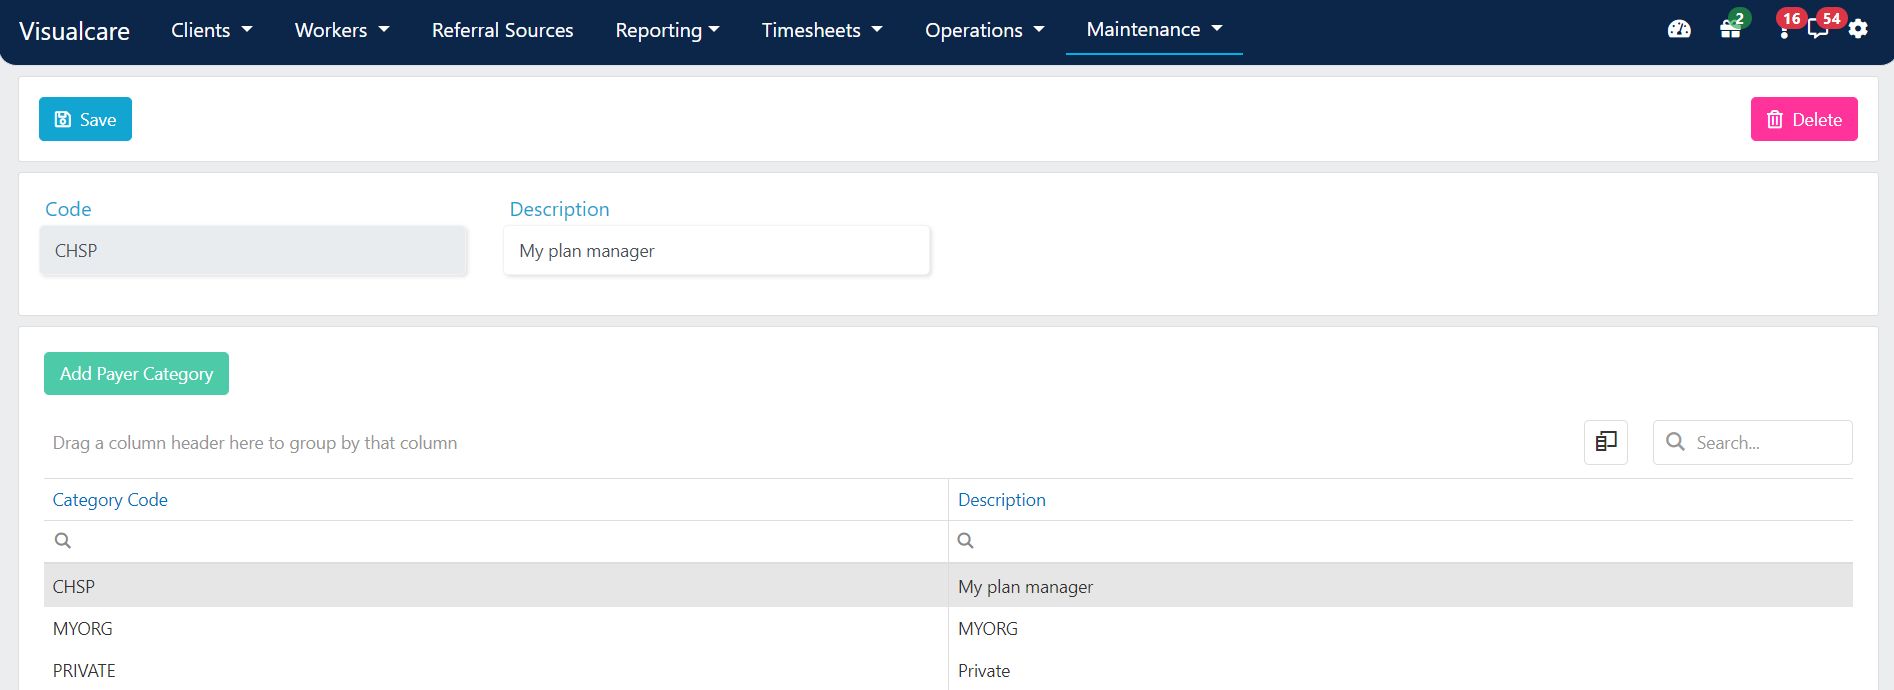
Roster categories
Roster categories
Roster categories support additional reporting requirements. You can choose a category during the rostering process and then run a “Rostered hours by category” report to see how many hours have been rostered and completed in that category.Click Add Roster Category, enter a Category Code and Description, and click Save.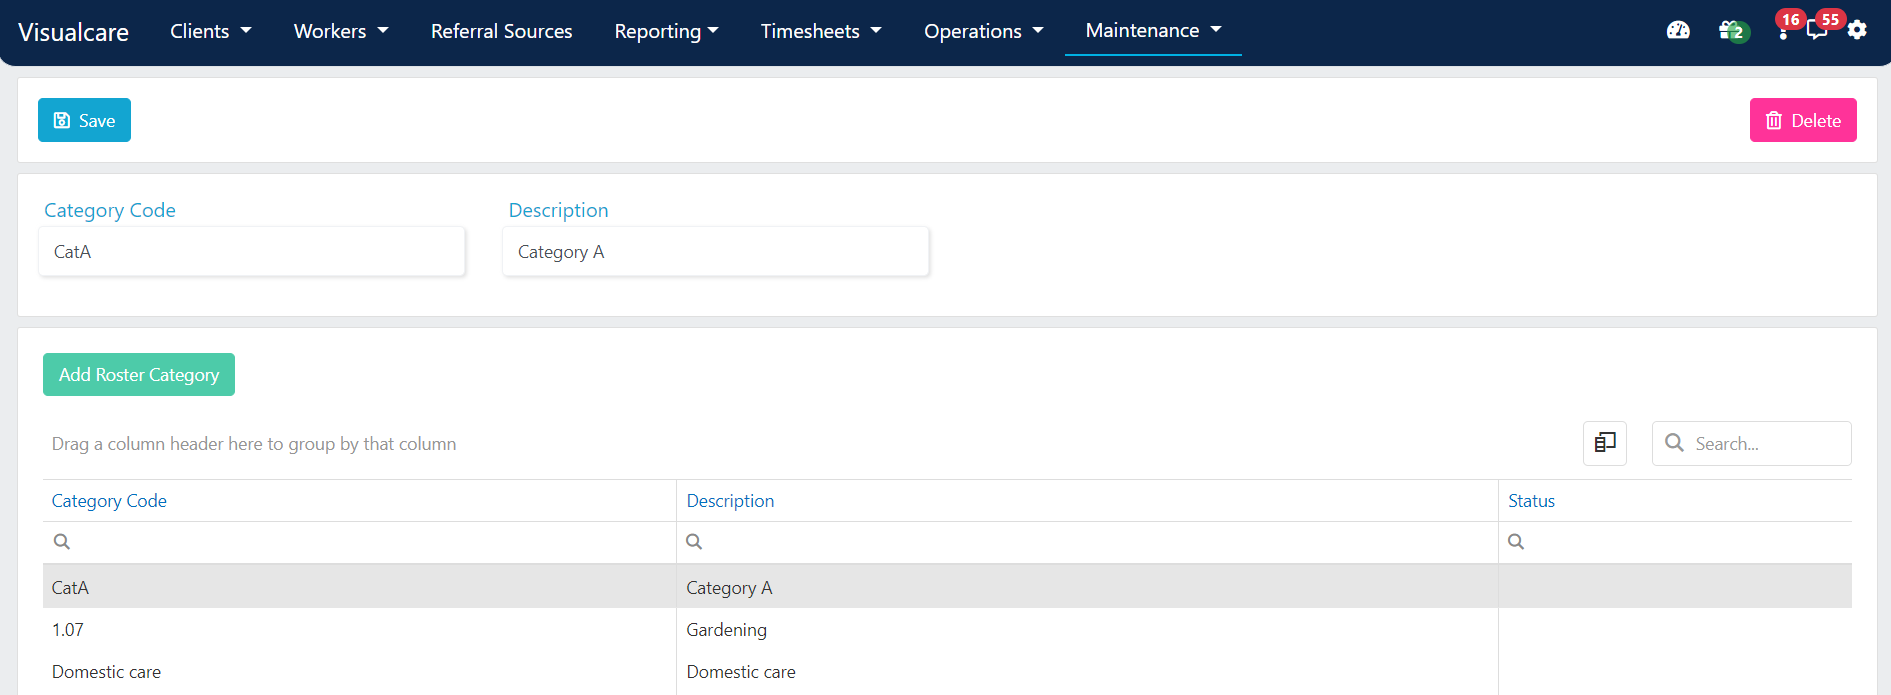
Service categories
Service categories
Service categories are generally used for NDIS services. They can be assigned to service line items for streamlined reporting.Click Add Service Category, enter a Code and Description, and click Save.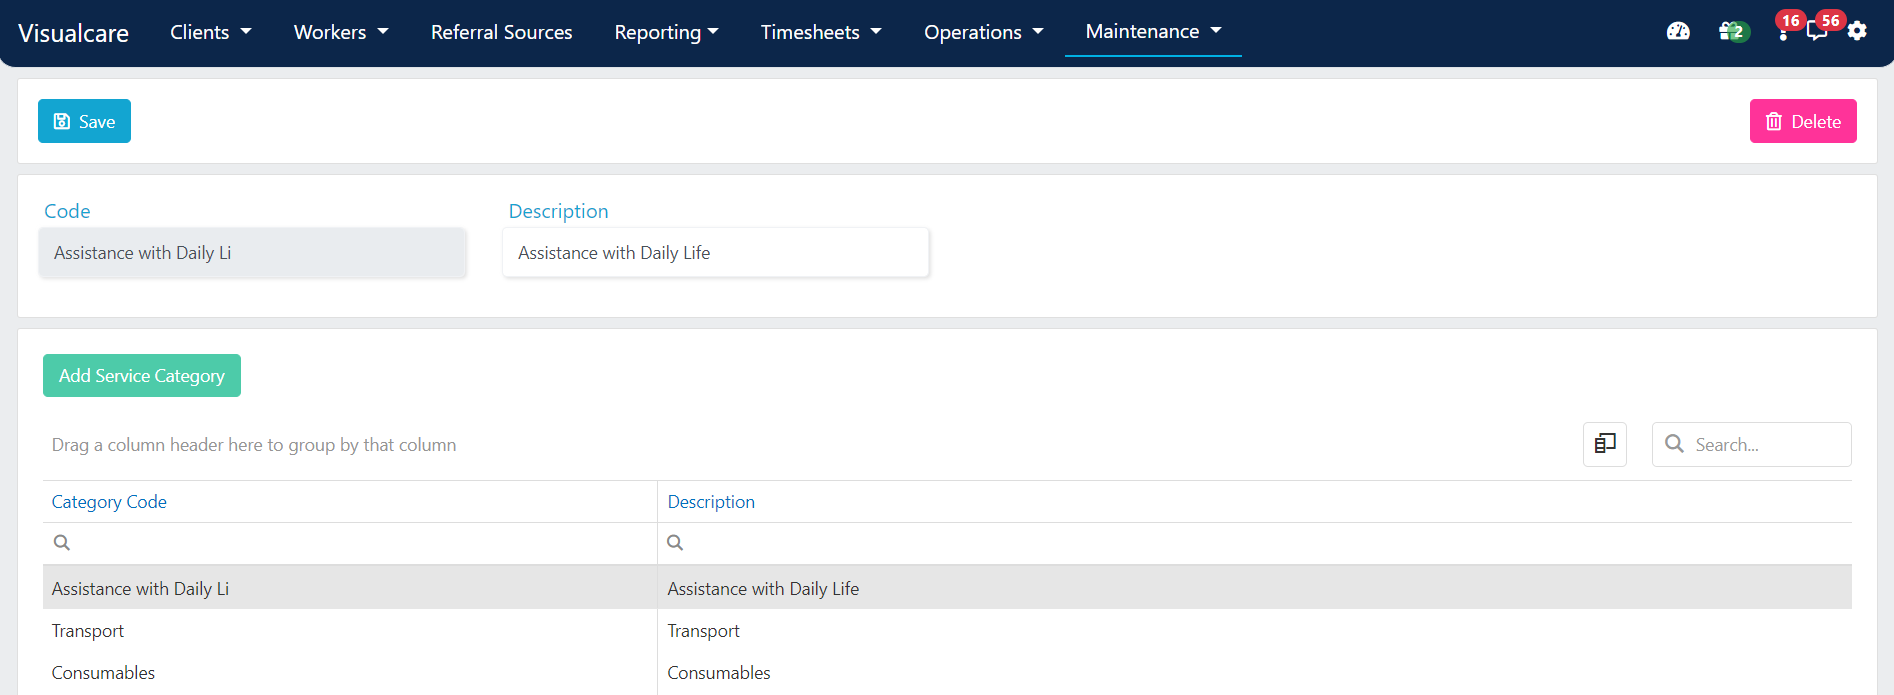
Template categories
Template categories
Template categories help with reporting and audit functions for form templates.Click Add Template Category, enter a Category Code, and click Add.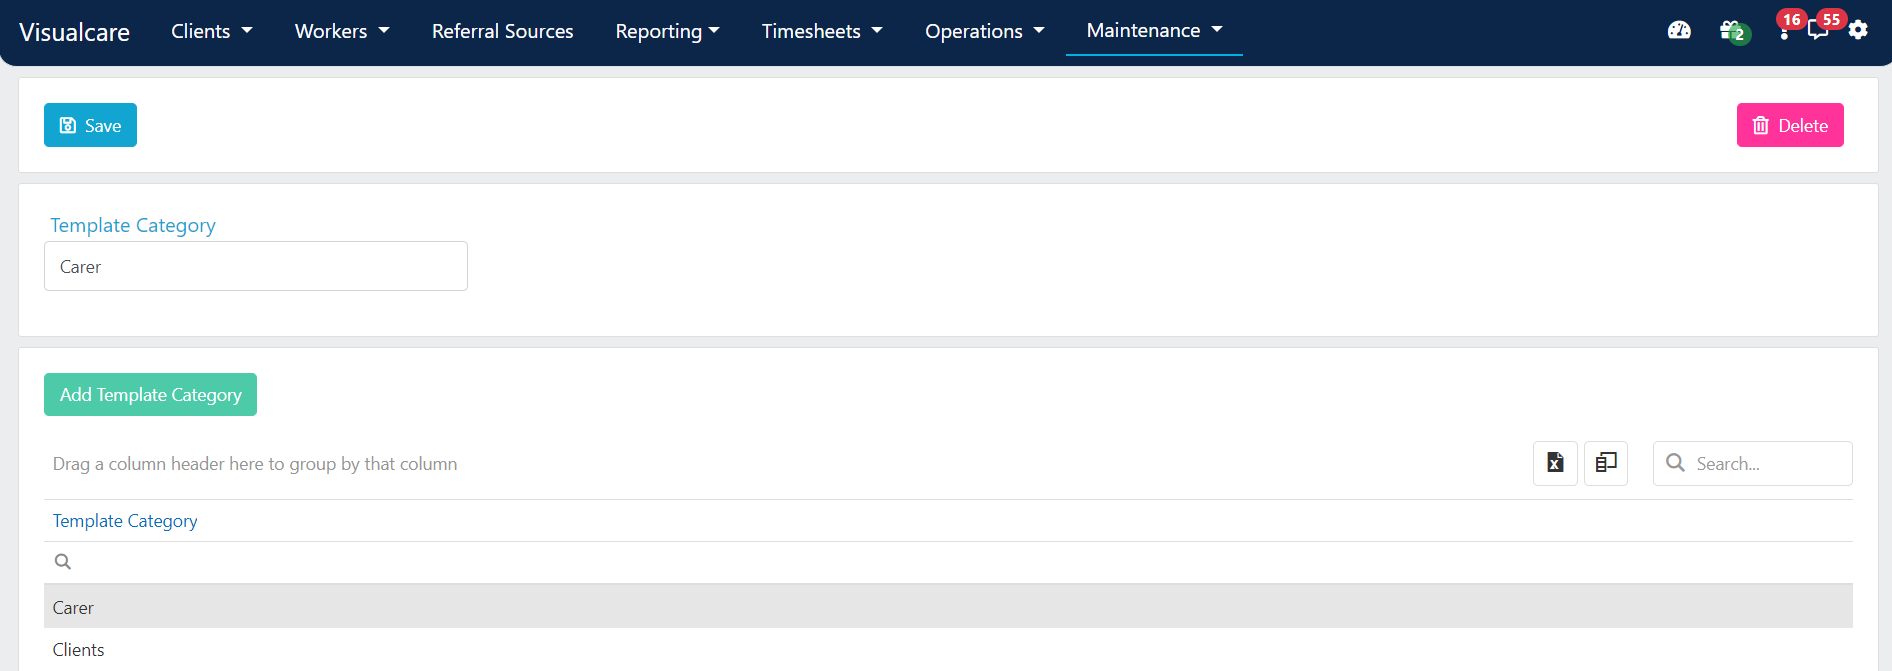
Transport categories
Transport categories
Transport categories classify transport activities.Click Add Transport Category, enter a Description, and click Add.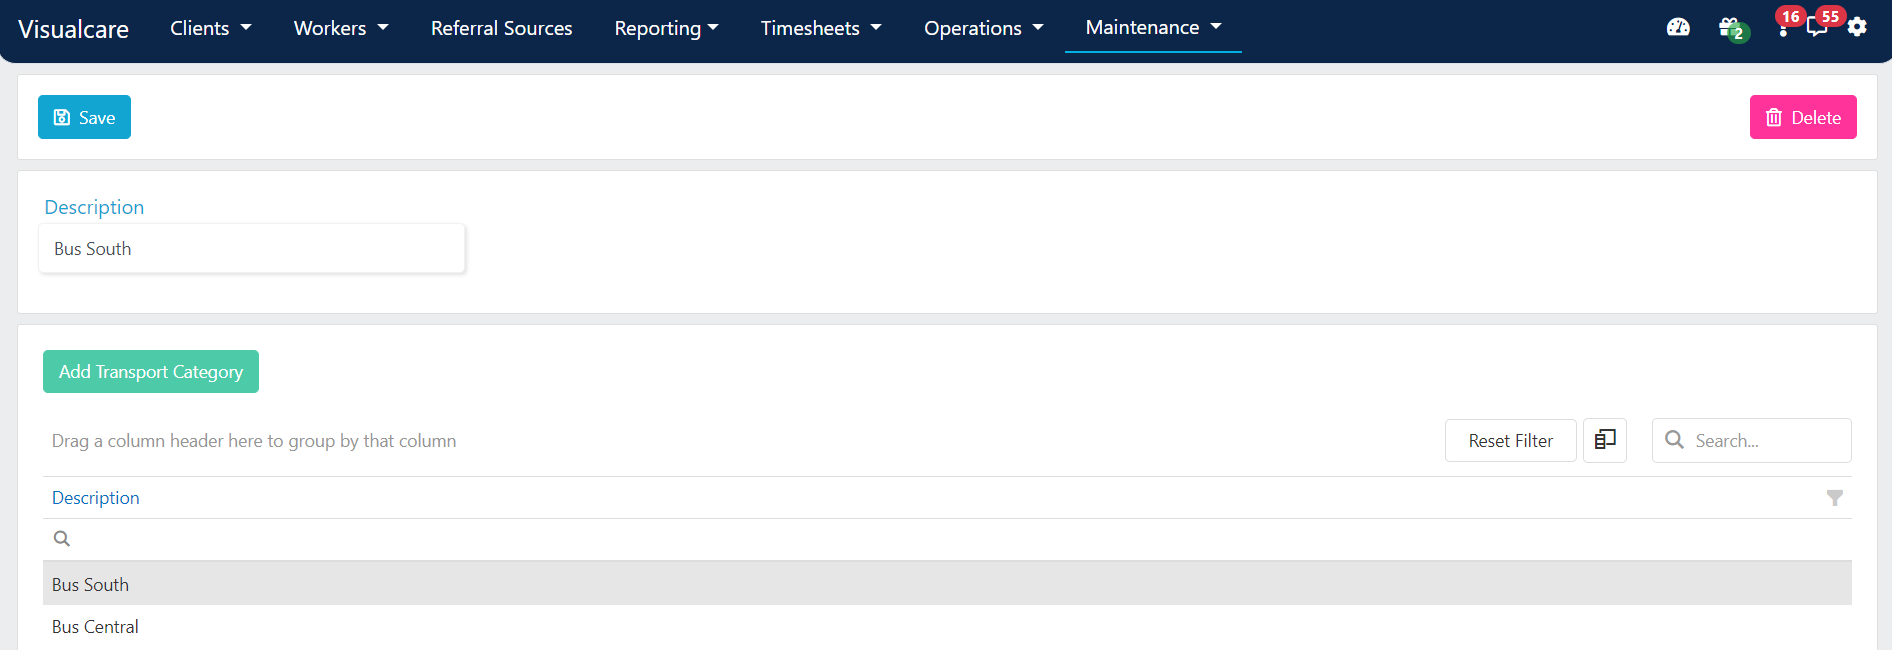
Areas
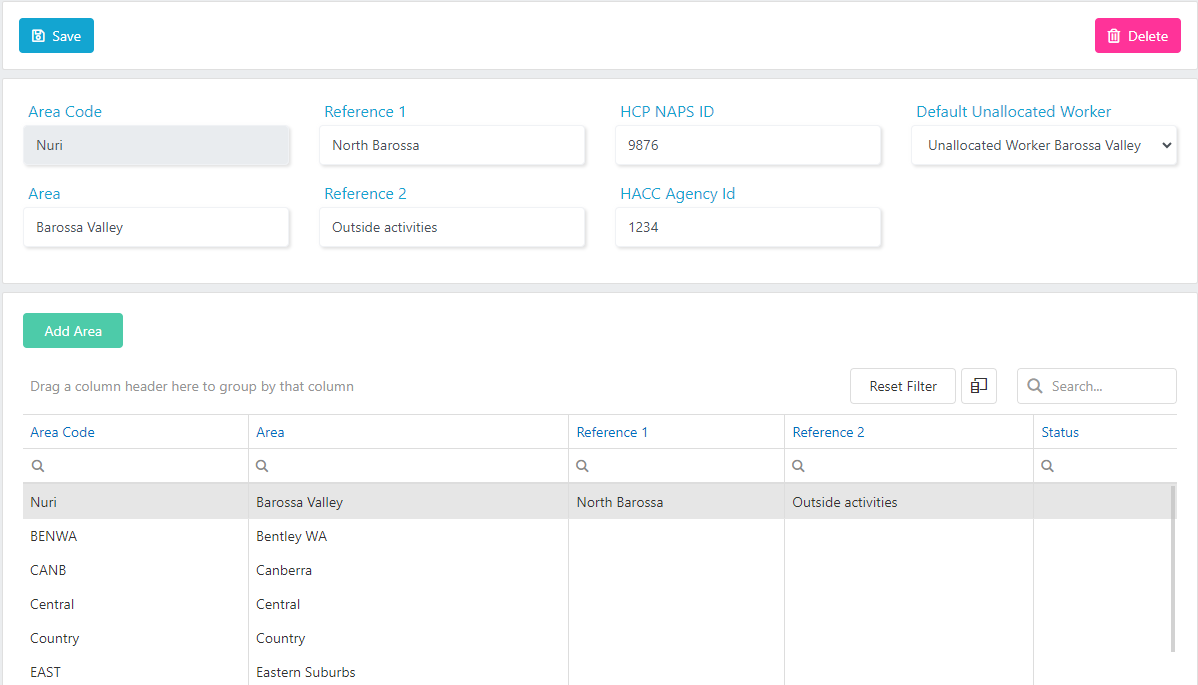
Areas represent geographic regions (for example, Northern Suburbs or Southern Suburbs) that can be assigned to client or worker profiles. They’re useful for filtering lists by location. Navigate to Maintenance → Areas.Adding an area
- Click Add Area
- Enter a code and area description
- Click Save
Additional area fields
Divisions
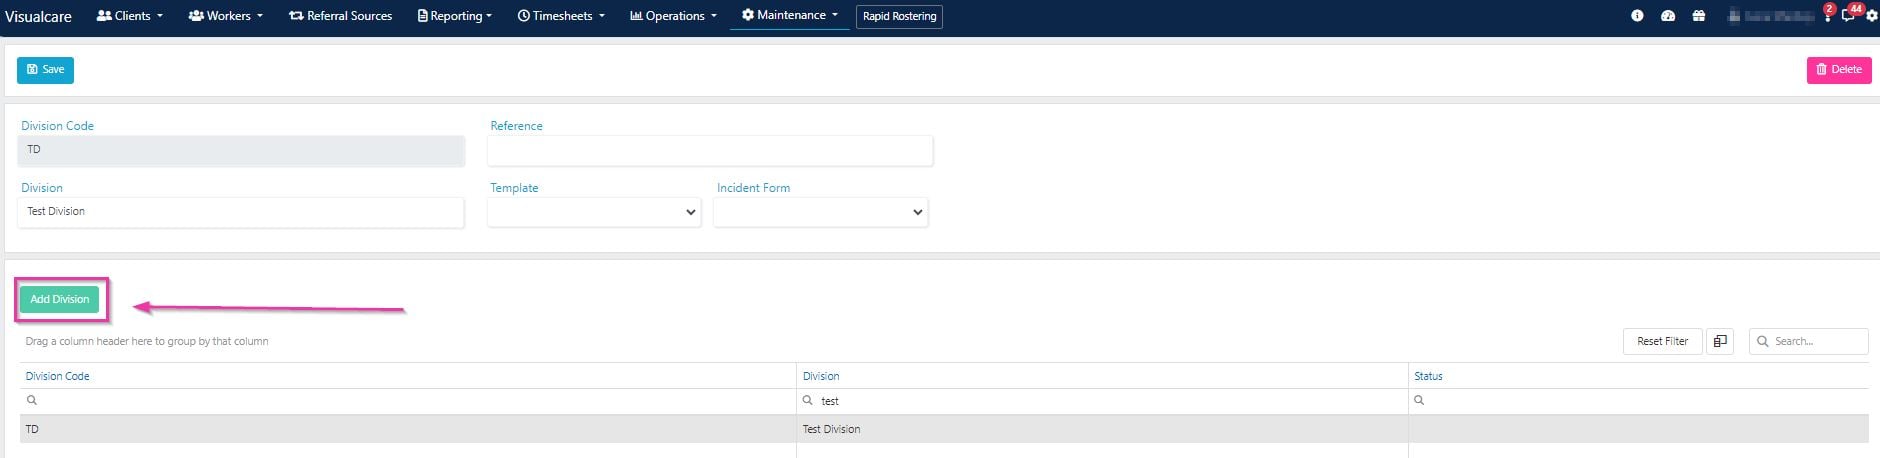
Divisions further categorise clients and workers and allow you to assign different form templates if needed. They’re useful for reporting metrics and organising rostering. Navigate to Maintenance → Divisions.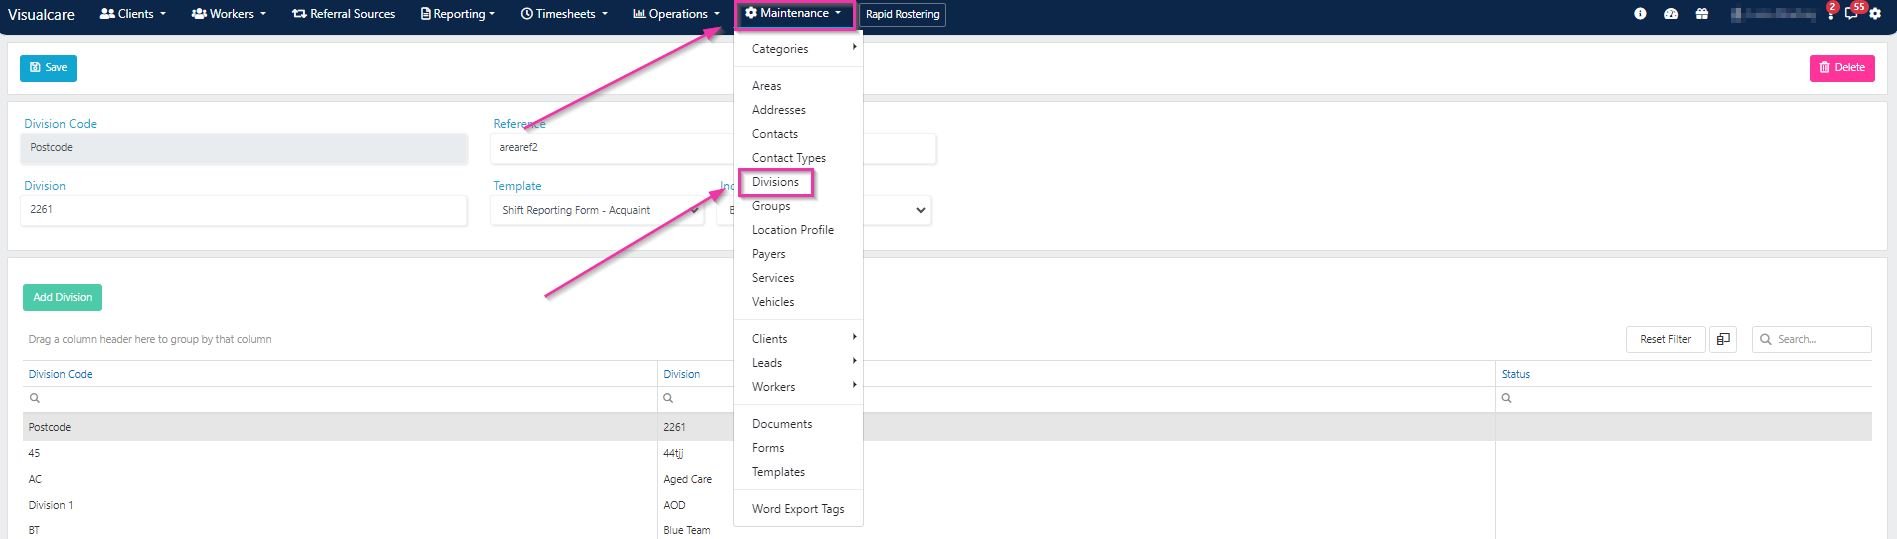
Adding a division
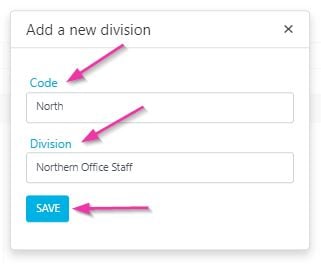
- Click Add Division
- Fill in the Code and Division fields
- Click Save
Editing a division
Double-click on a division in the list at the bottom of the screen to edit it. You can add a Reference, a Template, and an Incident Form, then click Save. To remove a division, select it and click Delete.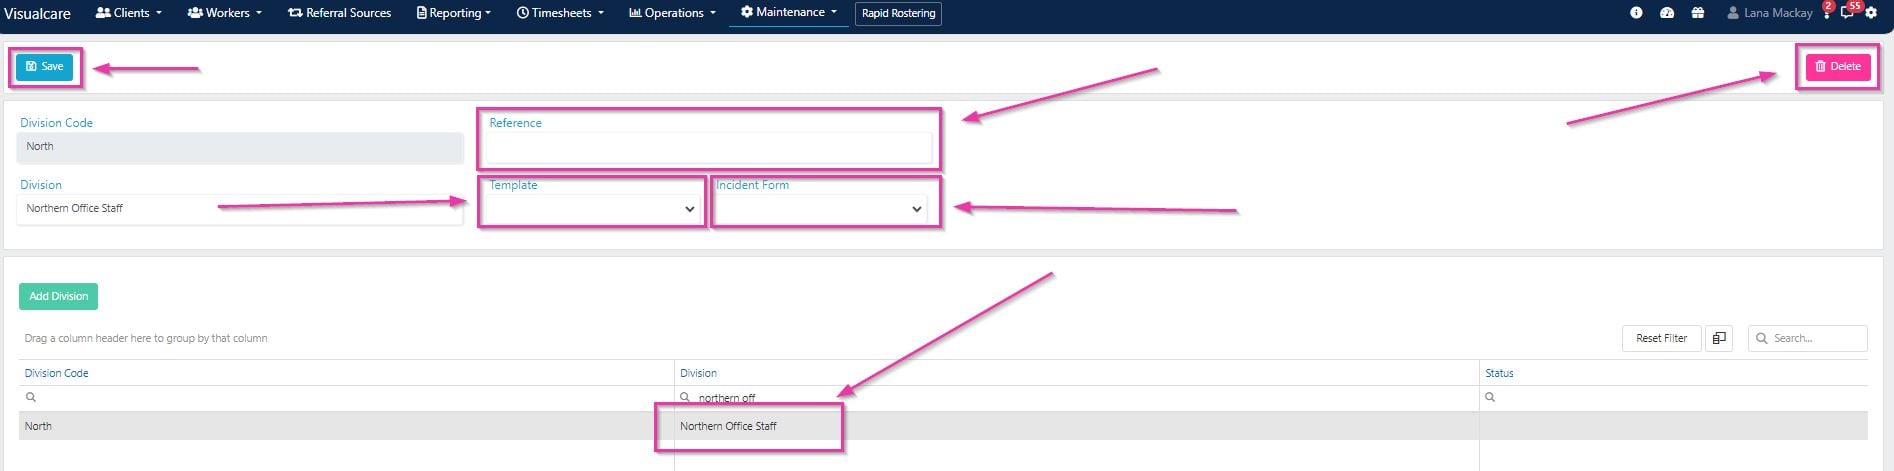
Contact types
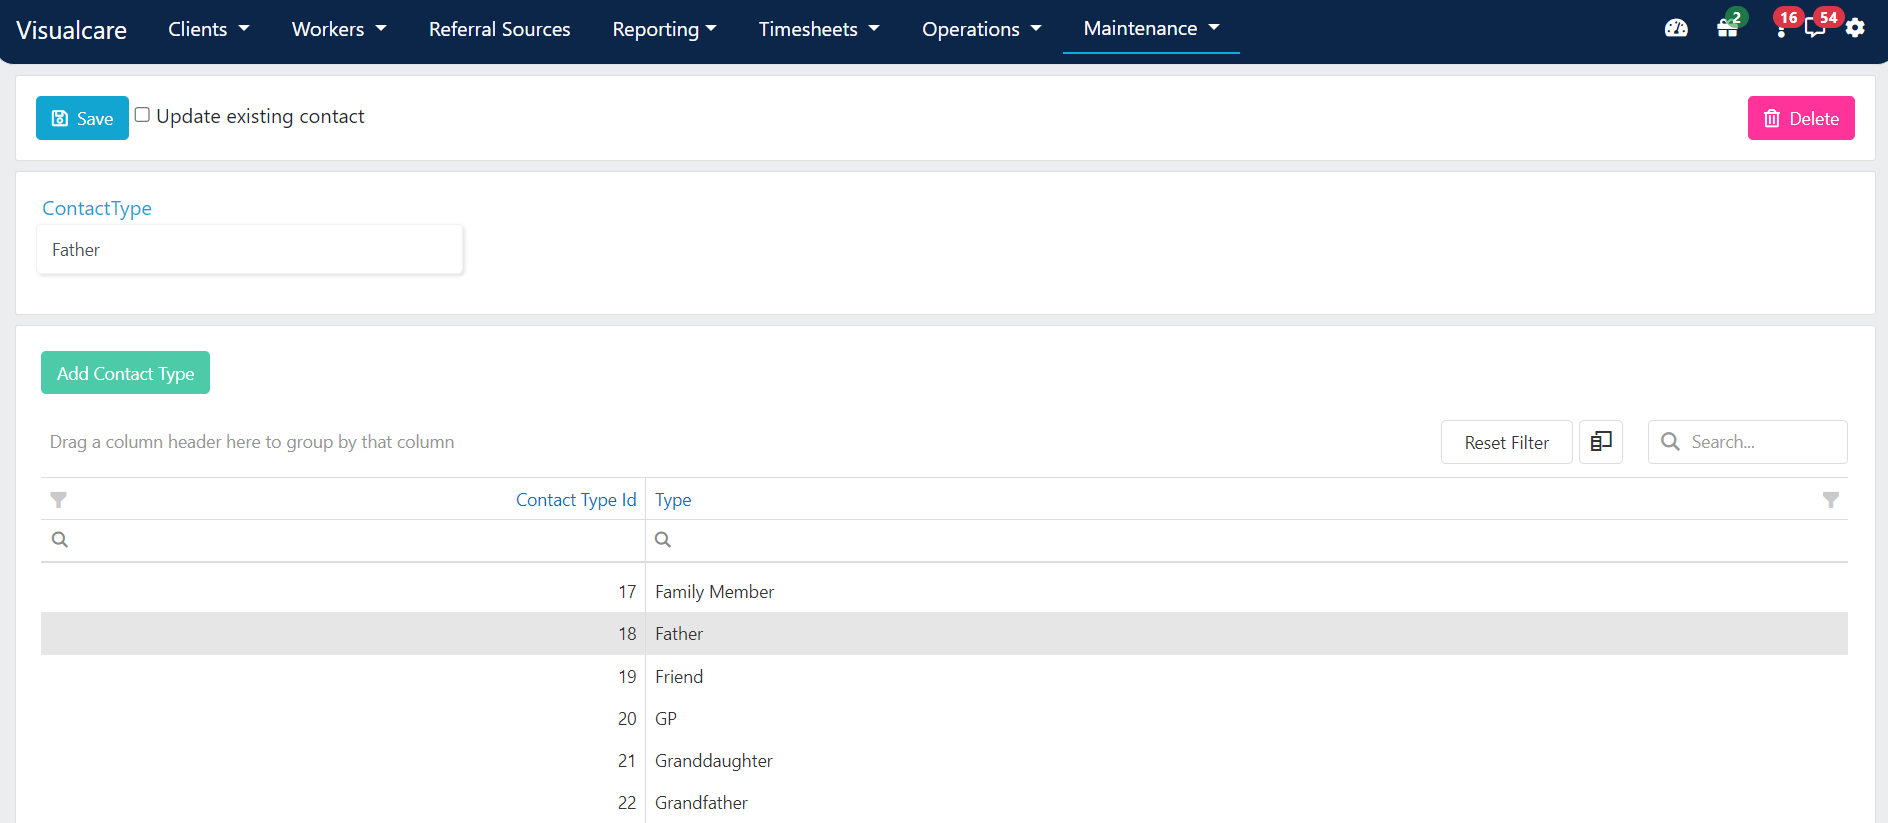
Contact types categorise contacts to help group them when creating new contact records. Navigate to Maintenance → Contact Types.Adding a contact type
- Click Add Contact Type
- Enter the details for the new contact type
- Click Save
Contacts
The contacts page holds all contacts within VCore. Contacts can be created within or linked to a client profile, or added and edited from the contact list. Navigate to Maintenance → Contacts.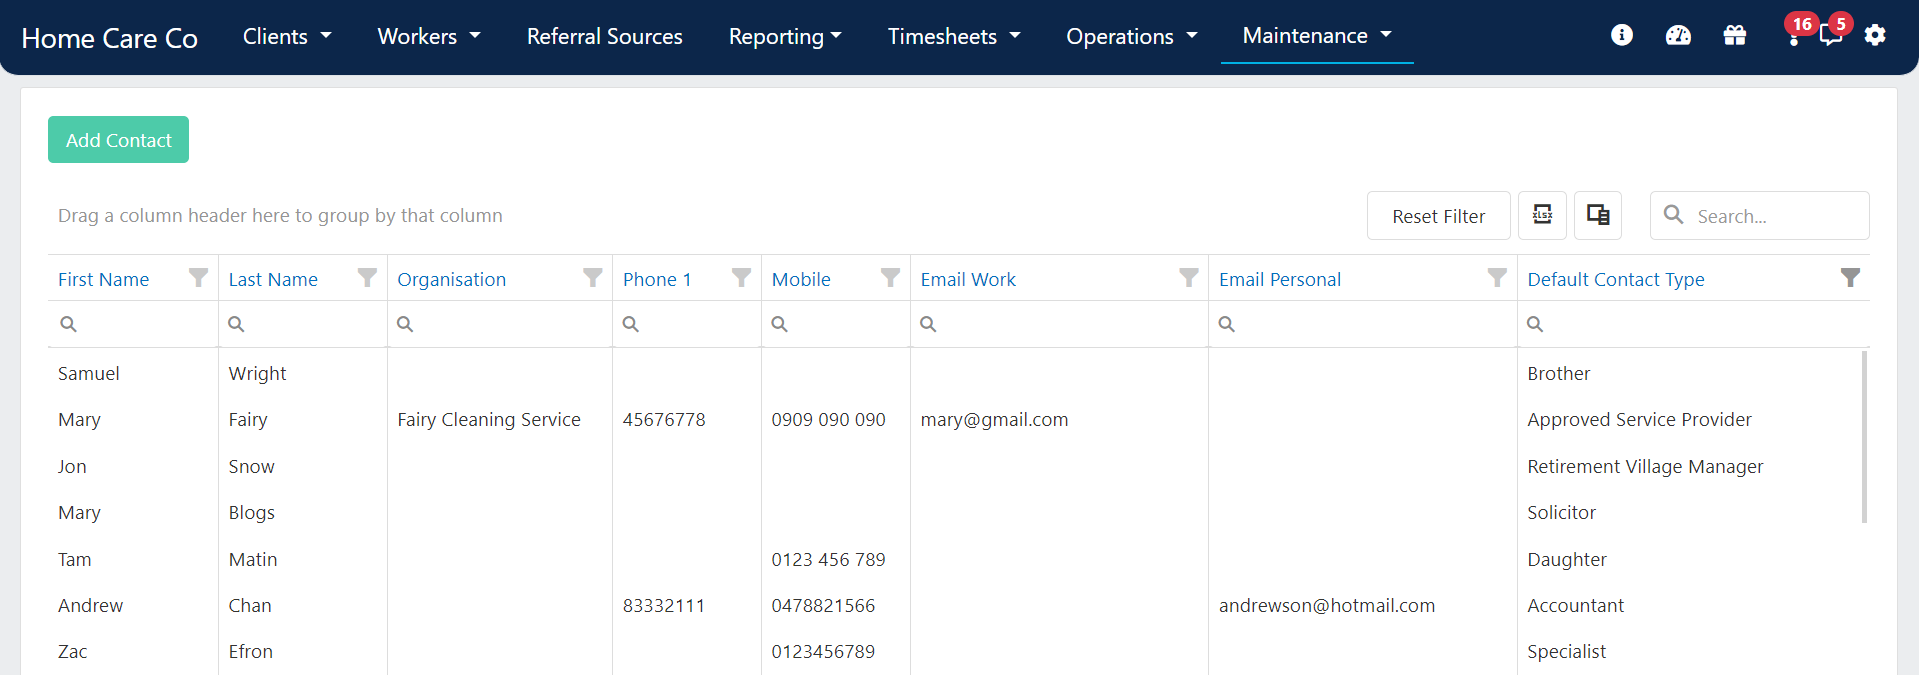
Creating a new contact
Click Add Contact, enter the contact details, and click Create.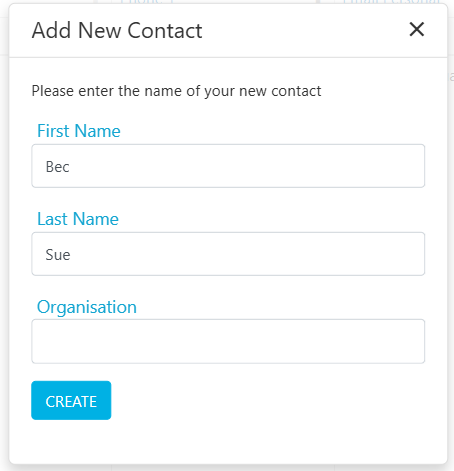
Editing an existing contact
Search for a contact by typing in one of the columns or using the search bar at the top right.
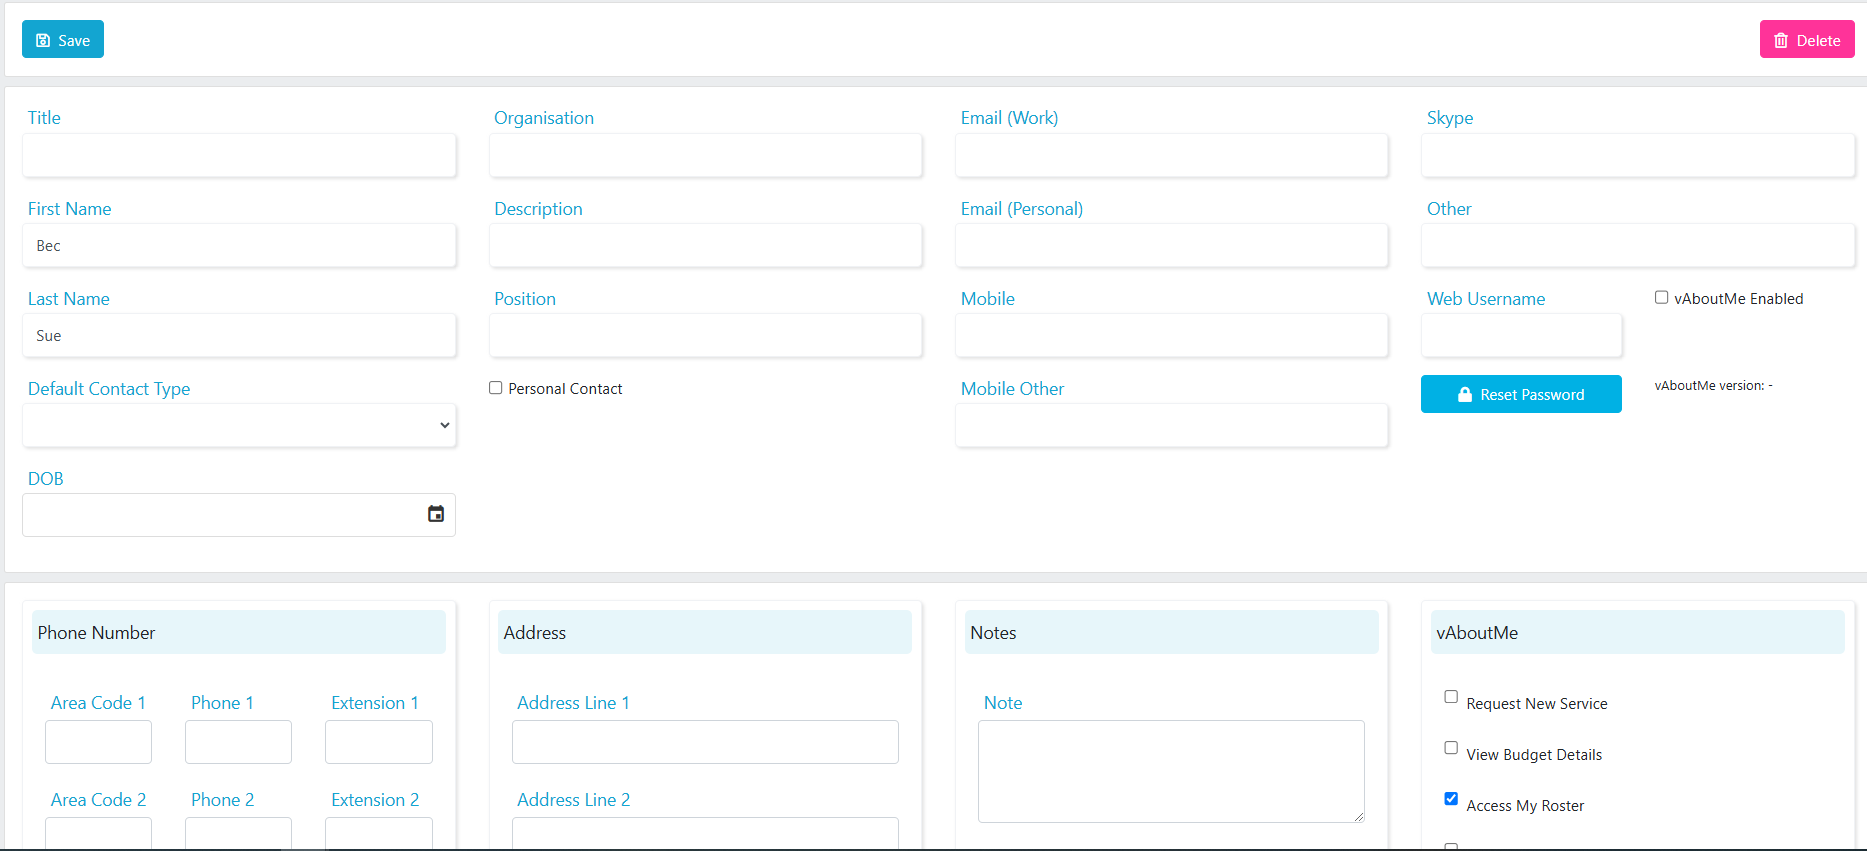
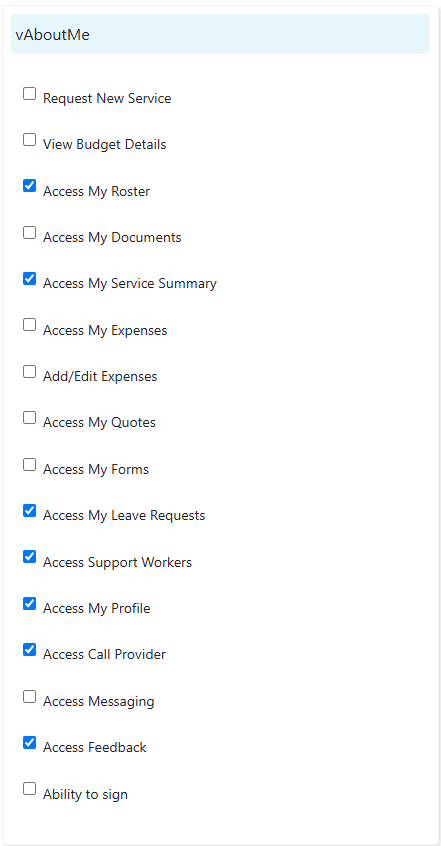
Contact vAboutMe access
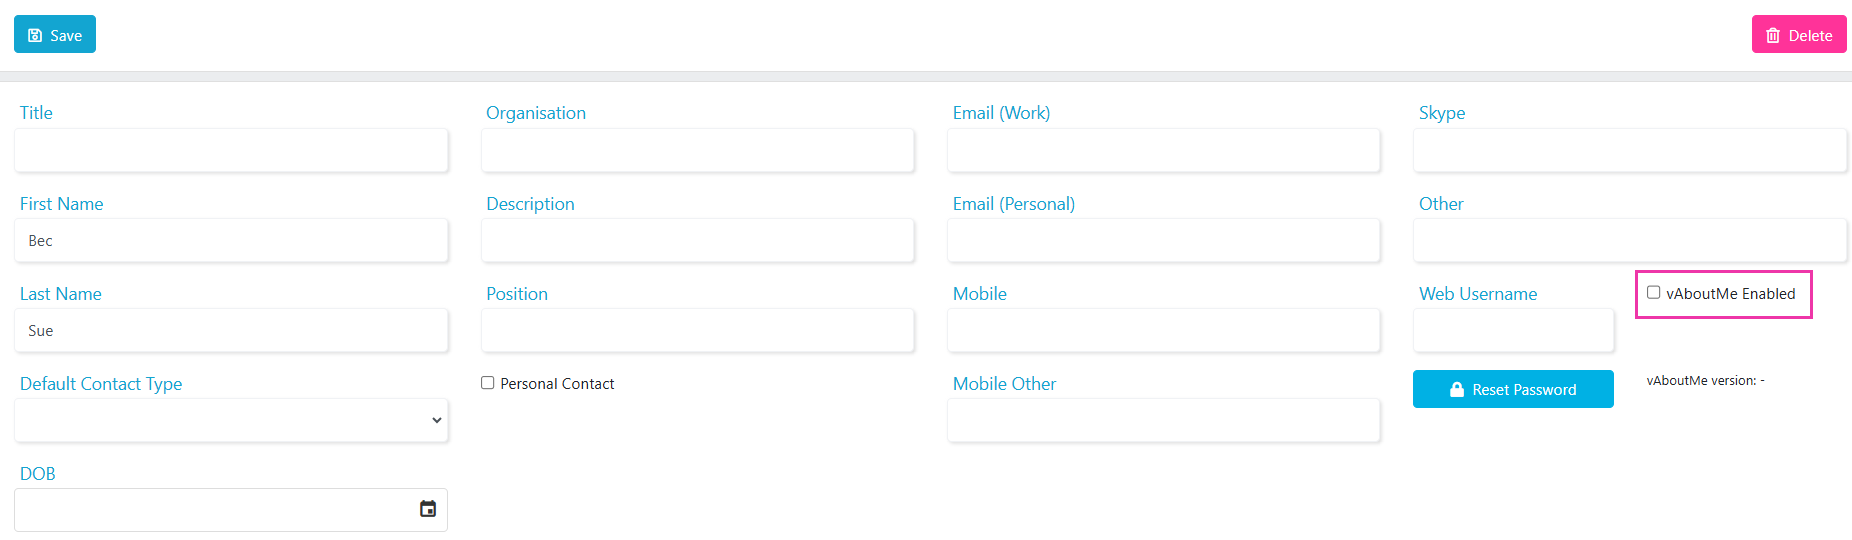
If the contact is a personal contact of a client, they can have access to vAboutMe. To give a contact vAboutMe access:- Ensure the contact is added in the Client Profile → Contacts tab
- Tick vAboutMe Enabled
Payers
Payers represent the funding bodies or individuals responsible for payment. Use this section to add, edit, or delete payer information for clients and invoicing. Navigate to Maintenance → Payers.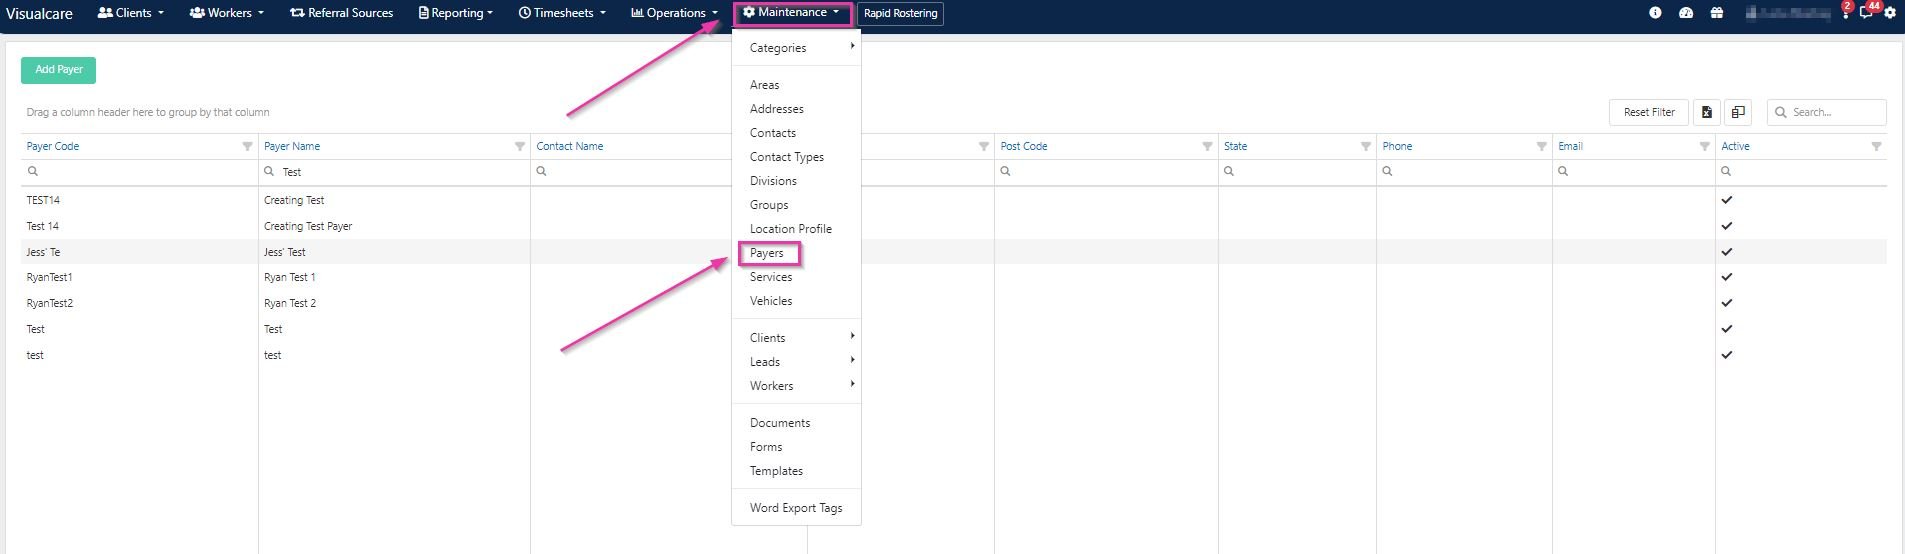
Adding a new payer
1
Create the payer
Click Add Payer. Fill in the Payer Code and Payer Name, then click Create.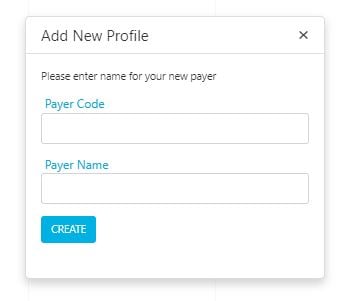
2
Assign a category
Click the Choose button next to the Category field. Double-click on a category to assign it to the payer.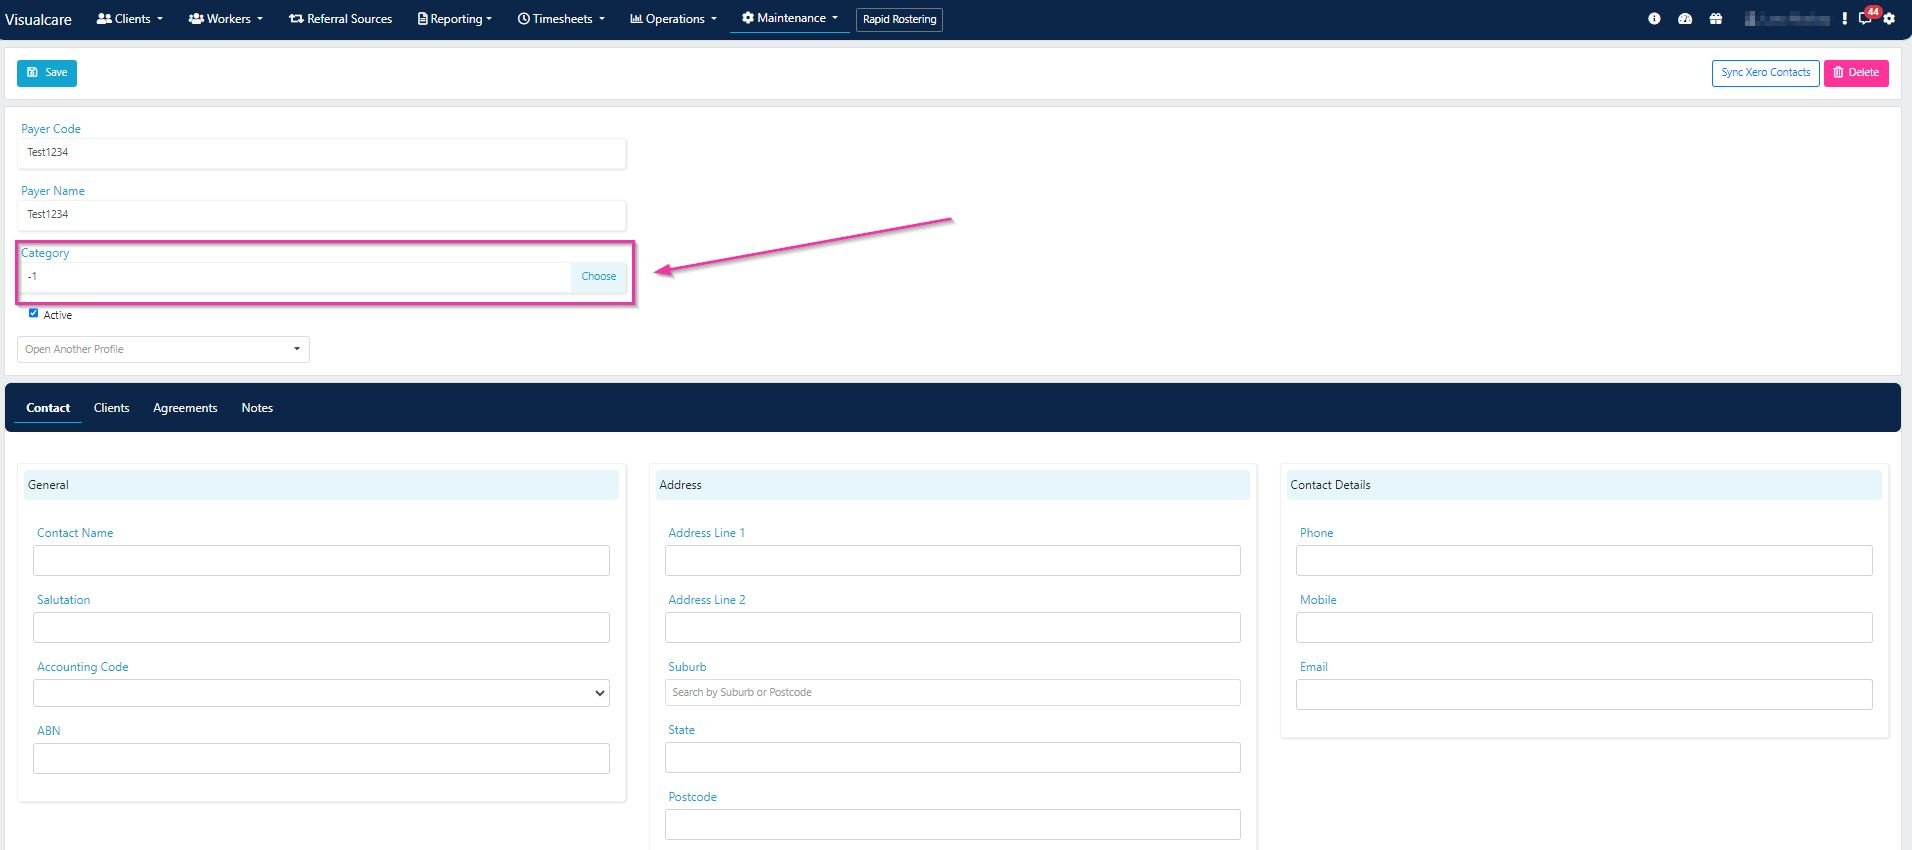
3
Save
Ensure the Active tick box is selected. Click Save at the top left of the page.
Payer tabs
Editing or deleting a payer
Select and double-click on a payer from the list at the bottom of the screen. Make your changes and click Save, or click Delete to remove the payer.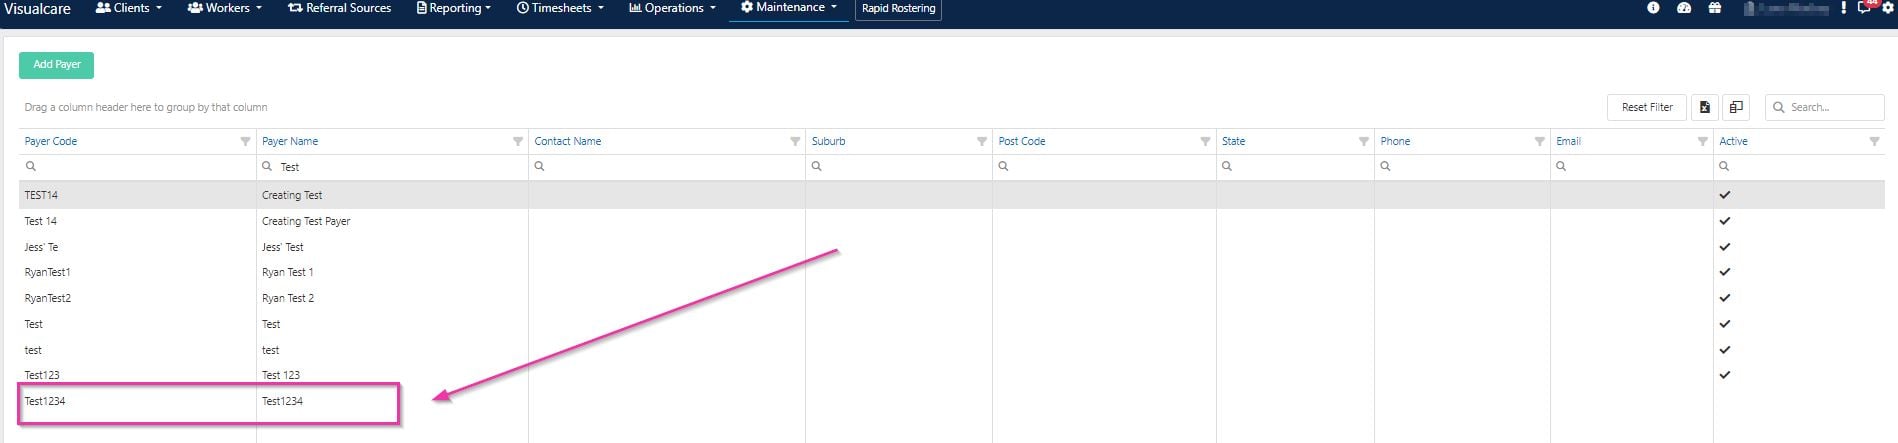
Groups
Groups help organise clients or workers. They’re commonly used for Supported Independent Living (SIL) housing or activities involving multiple clients and workers (for example, Saturday Book Club, Hiking Group, or Cooking Class). Navigate to Maintenance → Groups.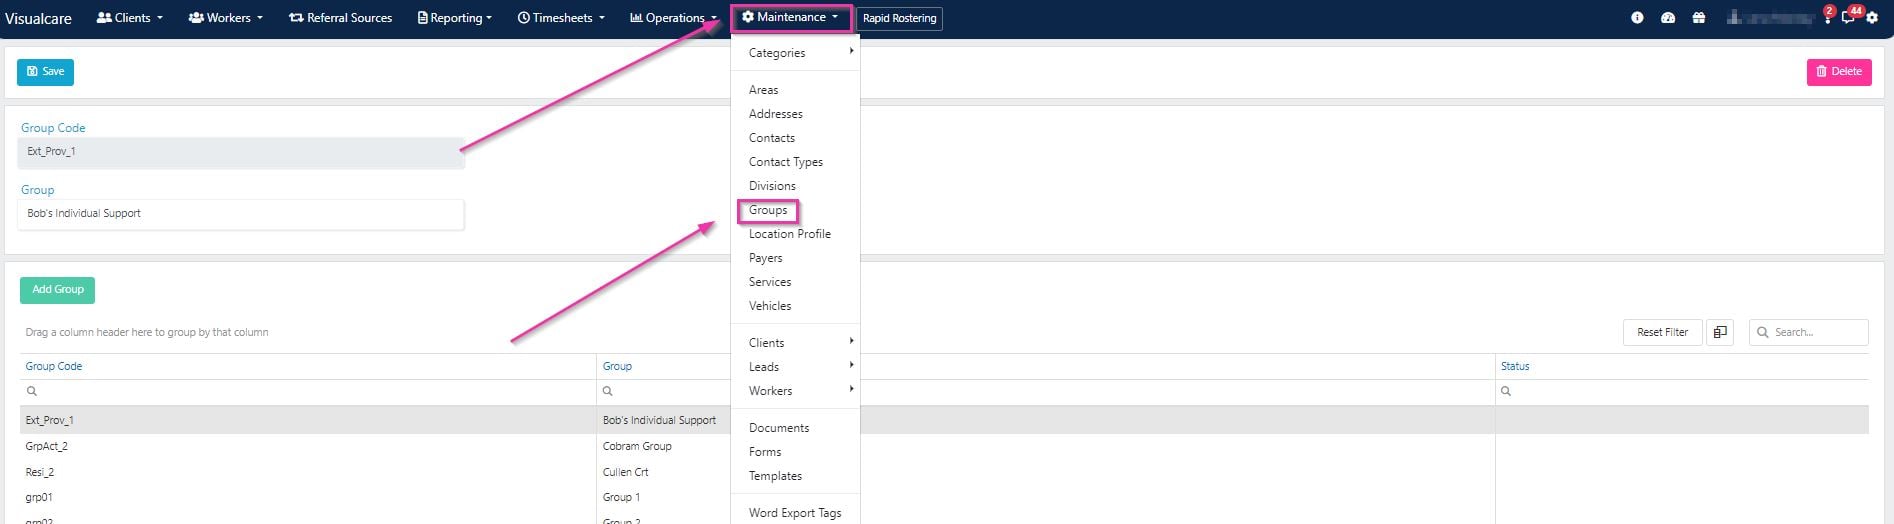
Adding a group
Click Add Group, enter the group name and code, then click Save.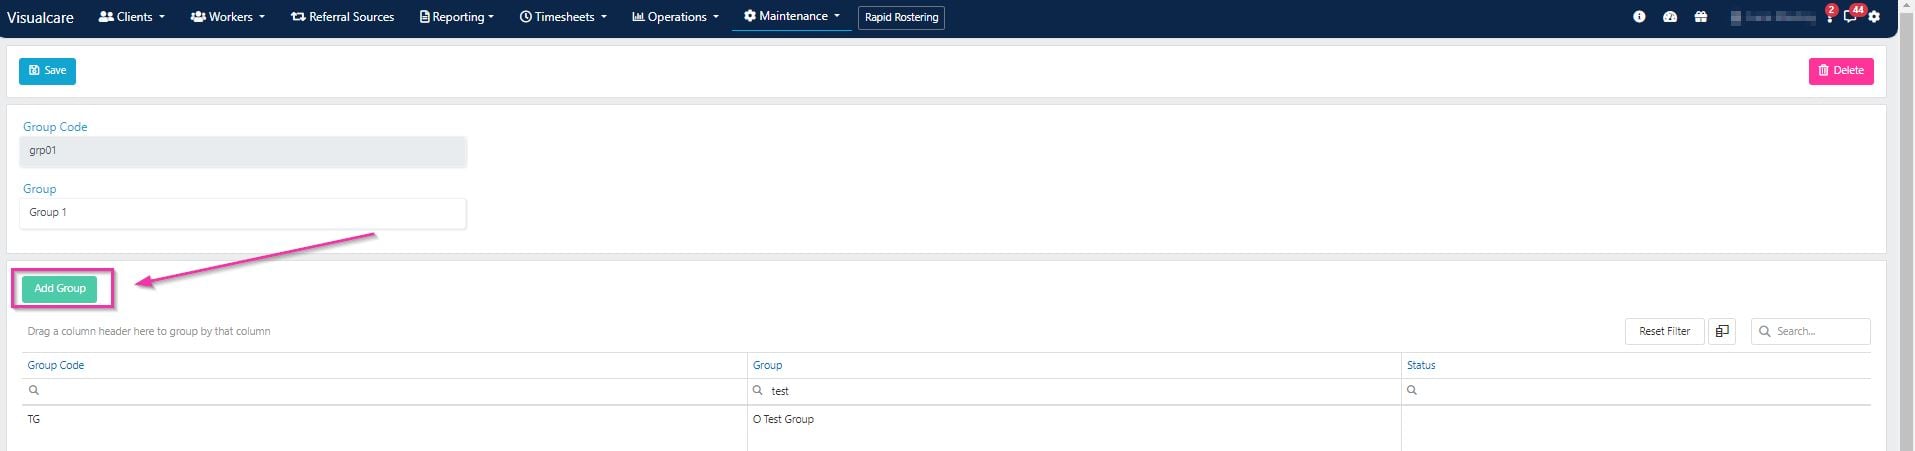
Editing or deleting a group
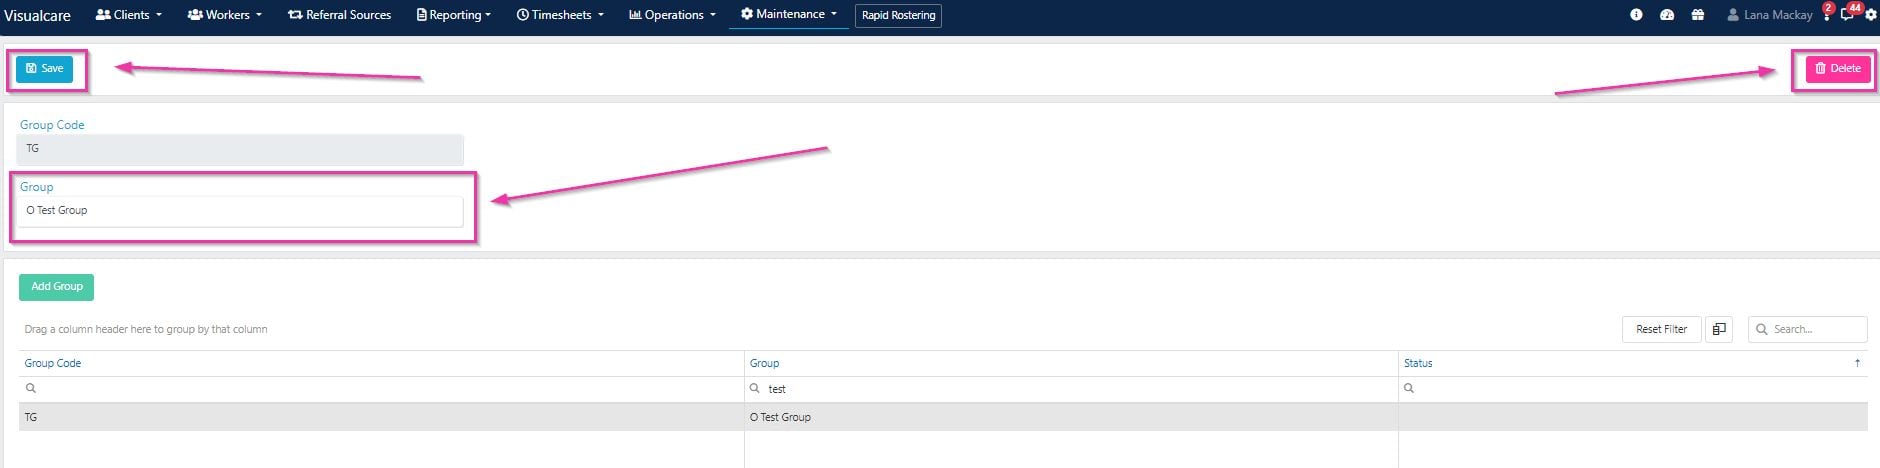
Select a group from the list, make your changes, and click Save or Delete.Only the group name can be changed, not the group code.
Genders
The gender options available on worker and client profiles come from the Genders list. To add an option (for example, non-binary):- Navigate to Maintenance → Genders
- Add the gender and save
Leads
Lead source and status categories can be assigned to lead profiles under Operations → CRM. These help track where leads come from and their current progress. Navigate to Maintenance → Leads.Lead source
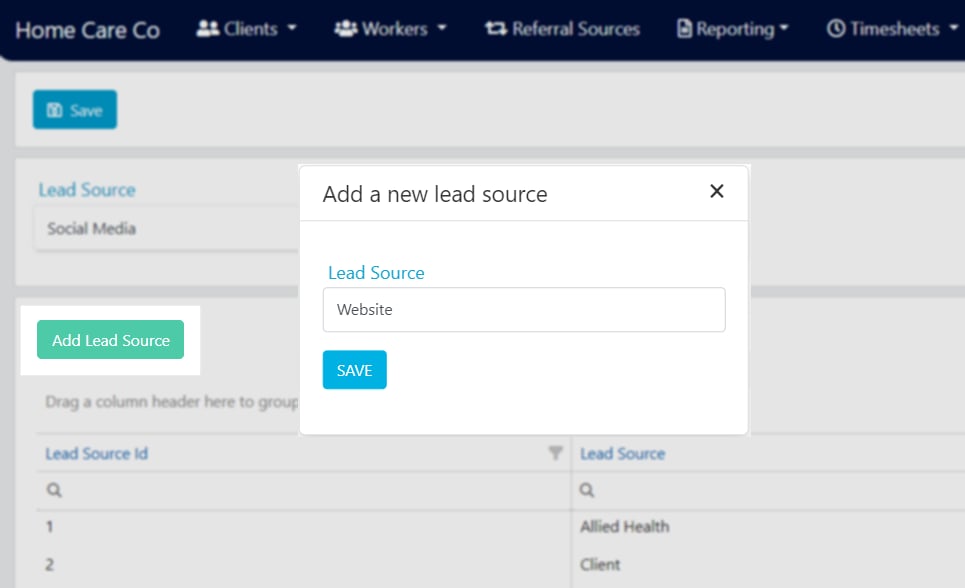
Lead source categories identify where a lead originated and can be used for filtering or grouping the lead list. Navigate to Maintenance → Leads → Lead Source.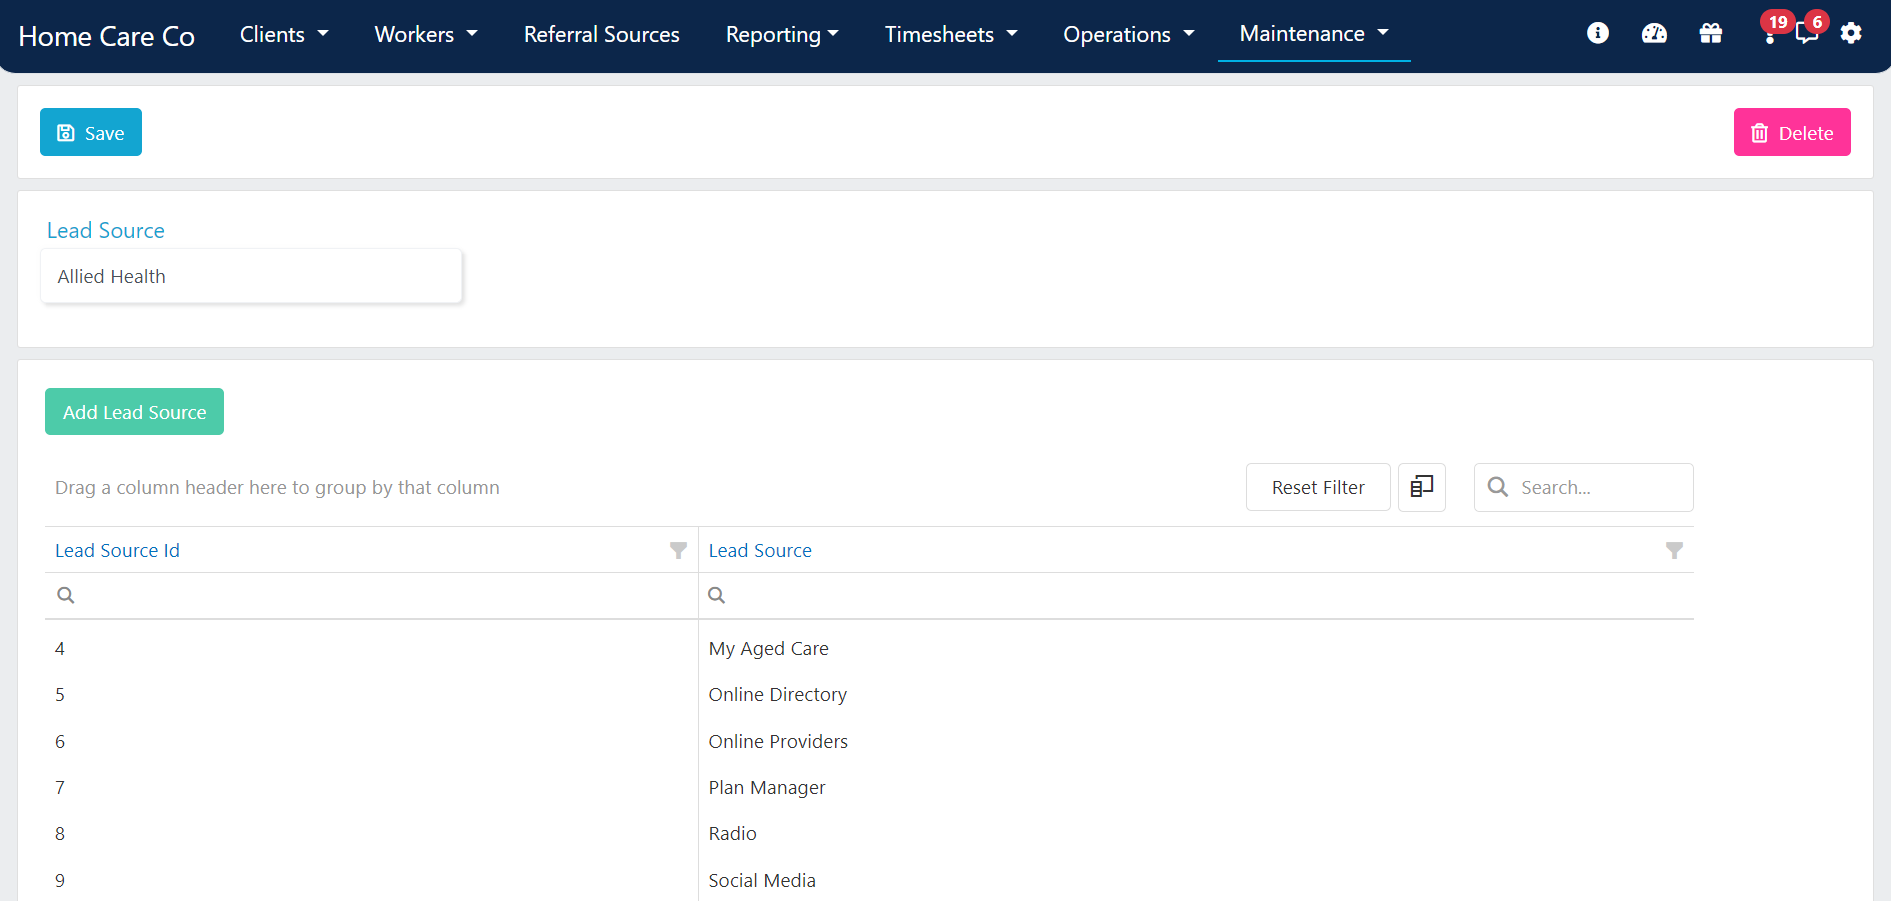
Lead status
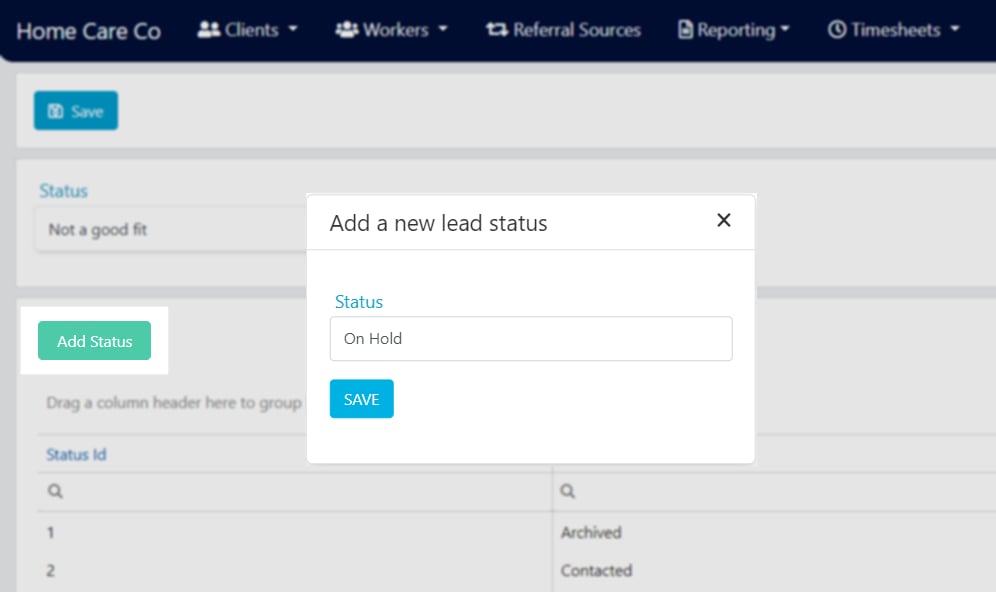
Lead status categories reflect the current progress of a lead and can be used for filtering or grouping. Navigate to Maintenance → Leads → Lead Status.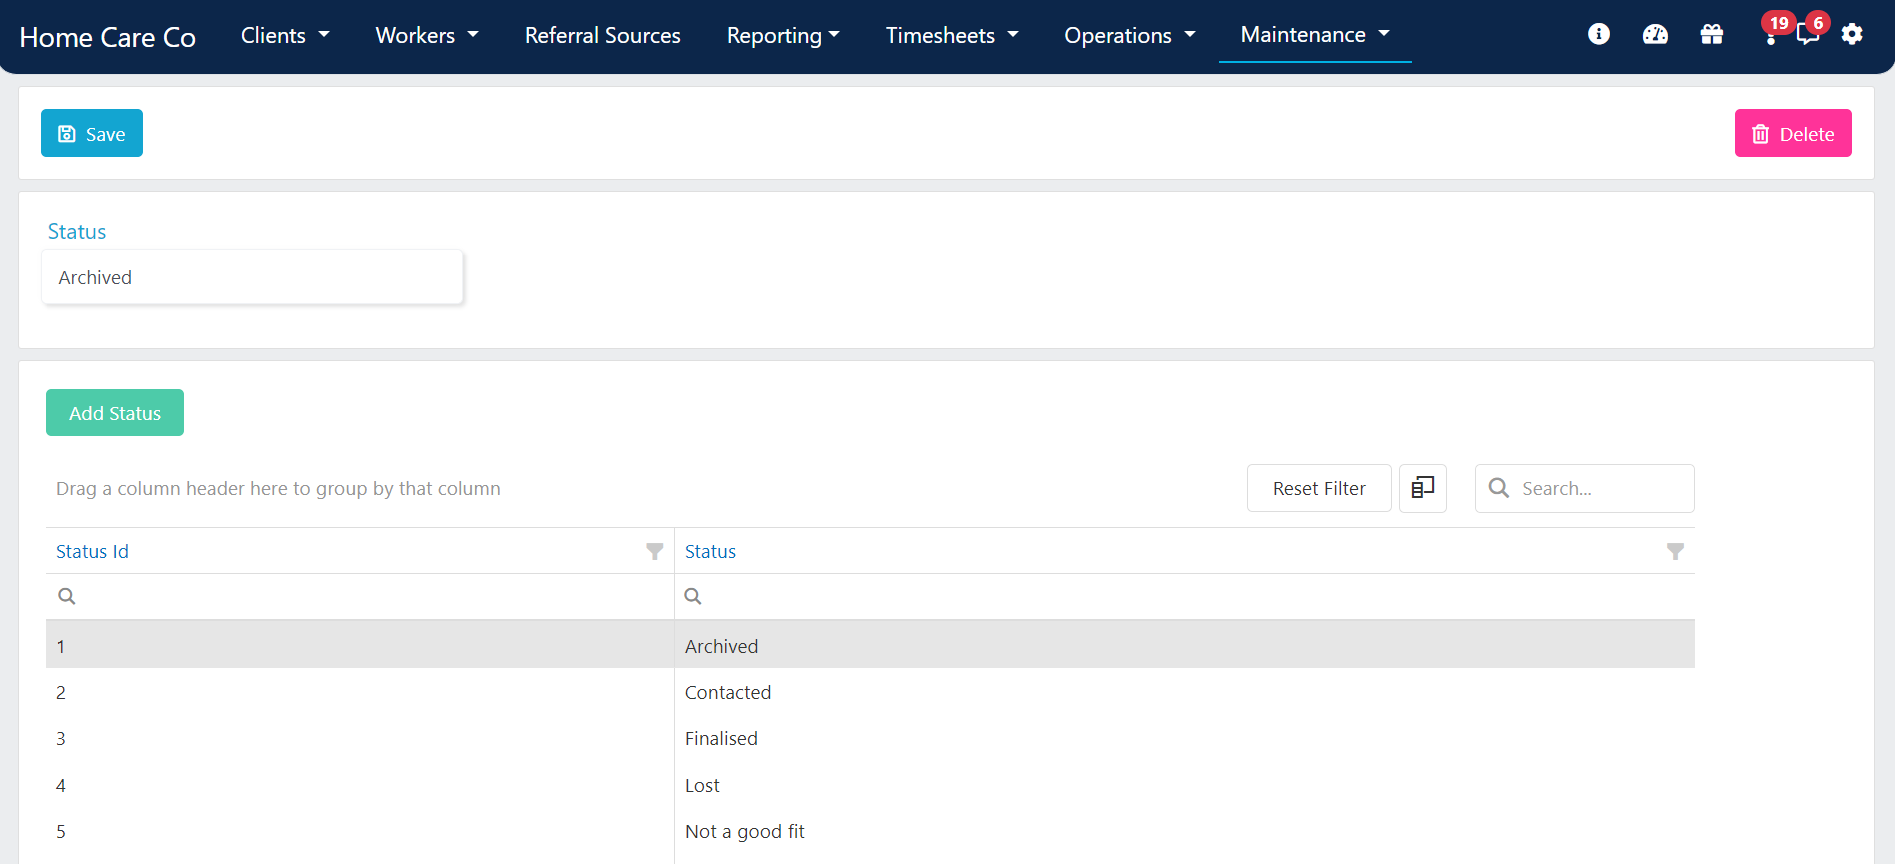
Addresses
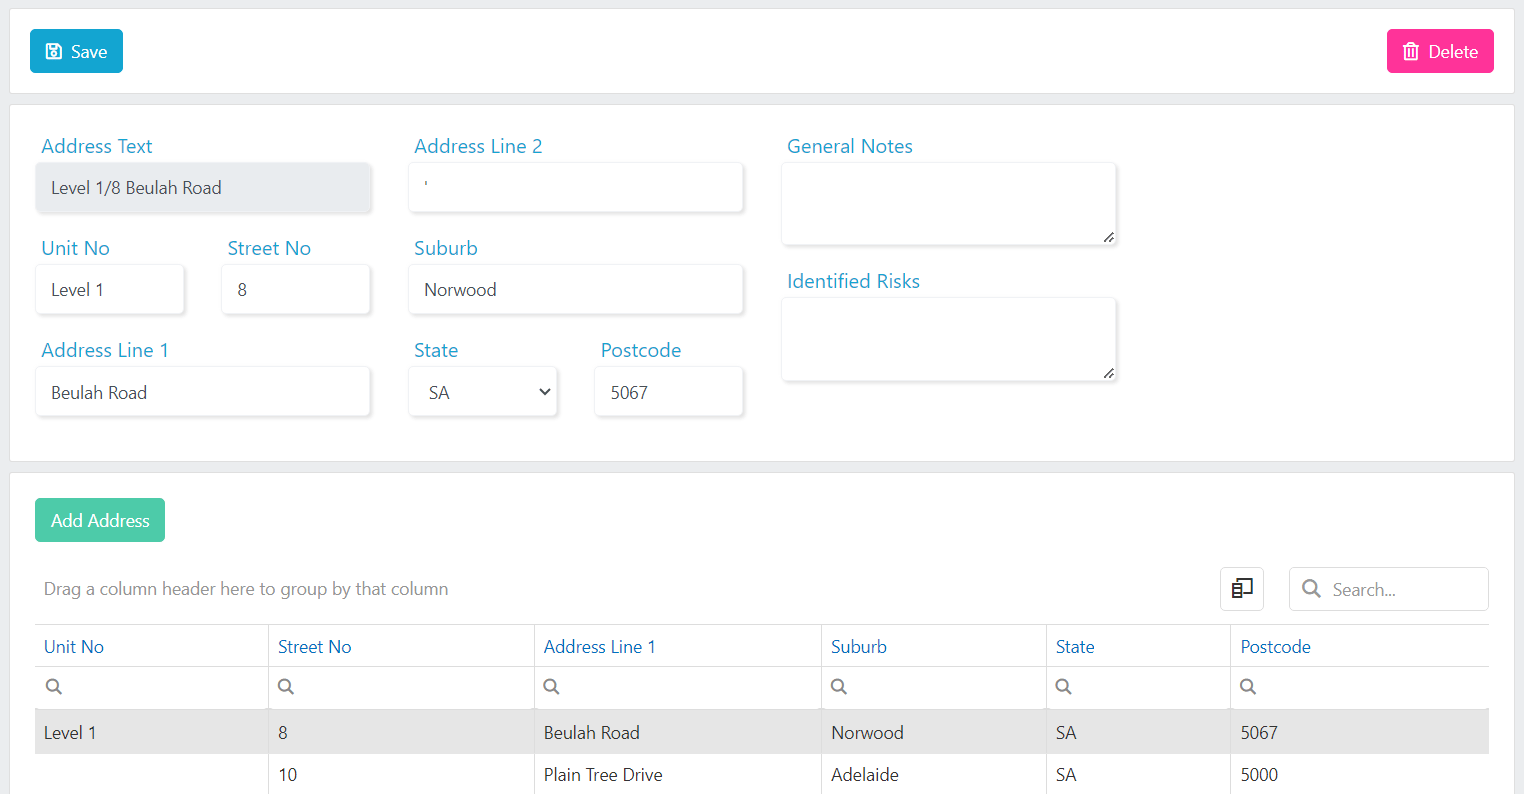
System addresses define pick-up or drop-off points for the transport run functionality. These are general public locations not specific to an individual client (for example, a group activity venue, medical practice, or shopping centre). Navigate to Maintenance → Addresses.Adding an address
- Click Add Address
- Enter the address details: Address Text, Unit No, Street No, Address Line 1, Address Line 2, Suburb, State, Postcode
- Optionally fill in the General Notes and Identified Risks fields for additional detail about the location
- Click Create to save
Running into issues?
See General troubleshooting for common errors and fixes.Related articles
Service management
Set up and manage services, charge rates, and pay rates
Form templates
Manage form template visibility and settings
Bulk edit tools
Edit multiple client or worker records at once