
Creating a new agreement
Navigate to the Agreement tab at the top of the client profile and click New Agreement.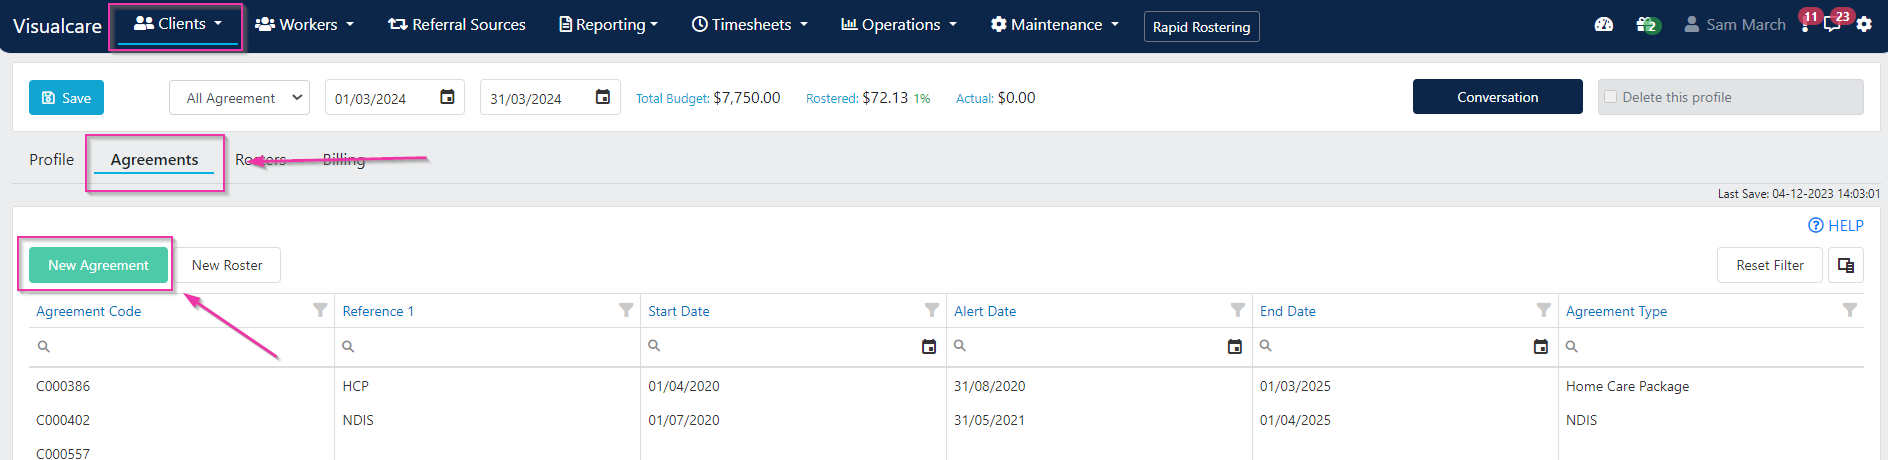
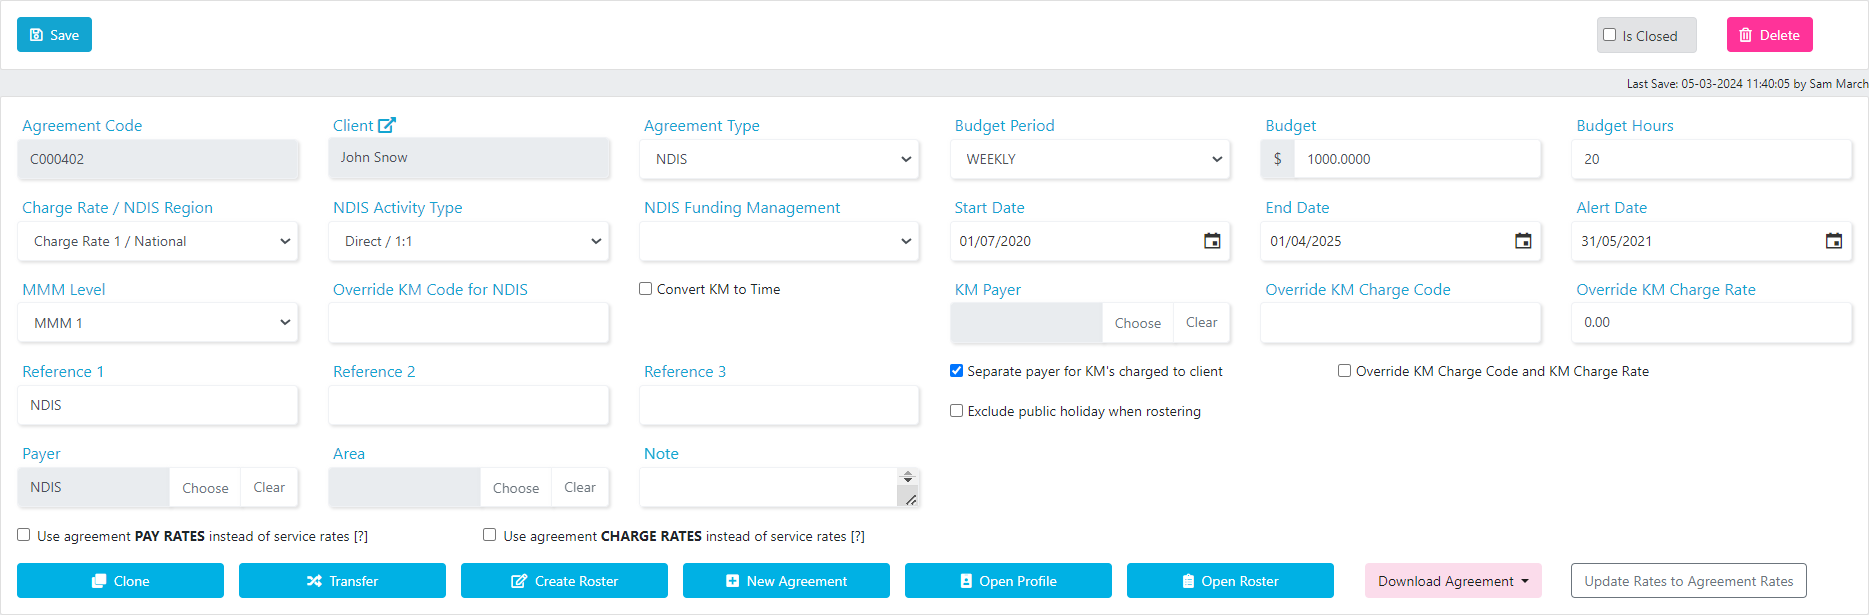
Agreement fields
NDIS activity types
When selecting NDIS as the agreement type, the NDIS Activity Type drop-down appears with these options:- Group - the system divides charge rates by the number of clients rostered on the day when creating an invoice
- Ratio - charges are based on the agreement settings regardless of client count. A Ratio column appears in the Services table (for example, 1.2 means one worker to two clients, and the charge rate is divided by two for location roster services)
- Set ratio when rostering - allows you to add or edit the ratio within the location roster

Adding services to an agreement
Click Add Services and select services from the list. Use the filtering options to find specific service groups. Tick the services you need and click Add selected services.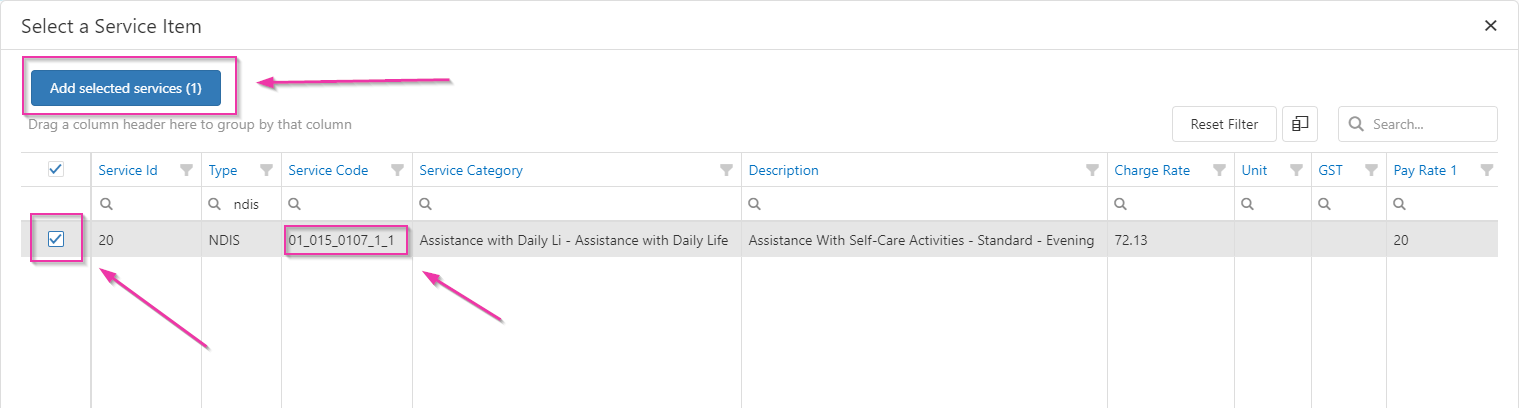
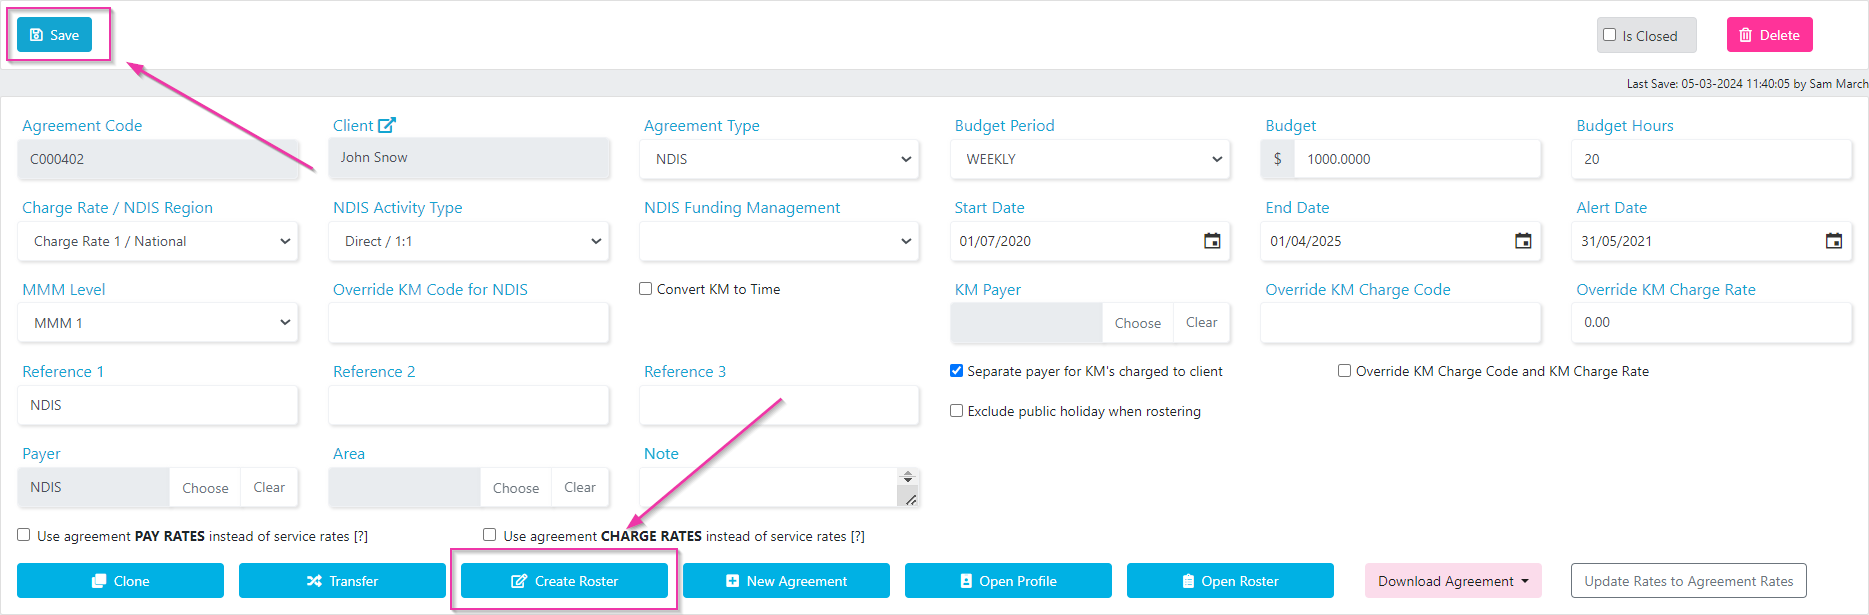
Deleting a service from an agreement
Click Delete next to a service to remove it.
Creating a roster from an agreement
Create a roster directly from the agreement tab by clicking the New Roster icon.
GST on agreements
If you need to add GST to specific services for a client, do this at the agreement level. This is typically used when most services are GST-free but a particular service for this client needs GST. Tick the GST field for the relevant service and update the charge rate to include GST. Click Save when done.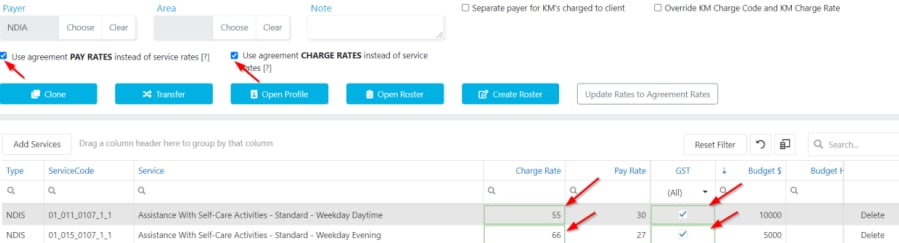
Agreement budgets
Four fields on an agreement drive budget calculations: Start Date, End Date, Budget Period, and Budget. Budget Period determines whether the budget is per-period or total:
For example, with a Budget Period of weekly, a Budget of A104,000 (2,000 × 52).
Monitoring budget utilisation
To check whether an agreement is tracking over or under budget, go to Client Profile → Agreements:- Tick Show Actual and Forecast Balance at the top of the screen
- Open the Column Chooser and add the columns you need:
These columns give fast visibility of utilisation, overspend risk, and remaining capacity. Colours at the bottom of the page indicate when dates or budgets have been exceeded.
Cloning, transferring, and closing agreements
Cloning an agreement
To create a copy of an existing agreement with all its service codes, open the agreement and click Clone, then click Clone again in the confirmation popup. The new agreement is created with all the same service codes as the original.Transferring roster items to a new agreement
When a client moves to a new agreement (for example, at the start of a new funding period), use the Transfer function to move their roster items across.1
Create or clone the new agreement
Create a new agreement or clone the existing one for the new period.
2
Open the Transfer tool
From the new agreement, click Transfer.
3
Set the transfer date
Select the From Date - this is the date from which roster items move to the new agreement.
4
Match the agreements
The old agreement appears on the left and the new agreement on the right. The system automatically matches service codes where it can. Manually match any unmatched service codes.
5
Apply the transfer
Click Apply to complete the transfer.
Closing an agreement
To close an agreement, set the End Date and tick Is Closed, then click Save.Running into issues?
See Client management troubleshooting for common errors and fixes.Related articles
NDIS agreements
NDIS-specific agreement configuration
CHSP agreements
Set up agreements for CHSP-funded clients
SAH agreements
Configure Support at Home agreements
Creating a client profile
Set up the client profile before creating agreements